39
Replacing Parts
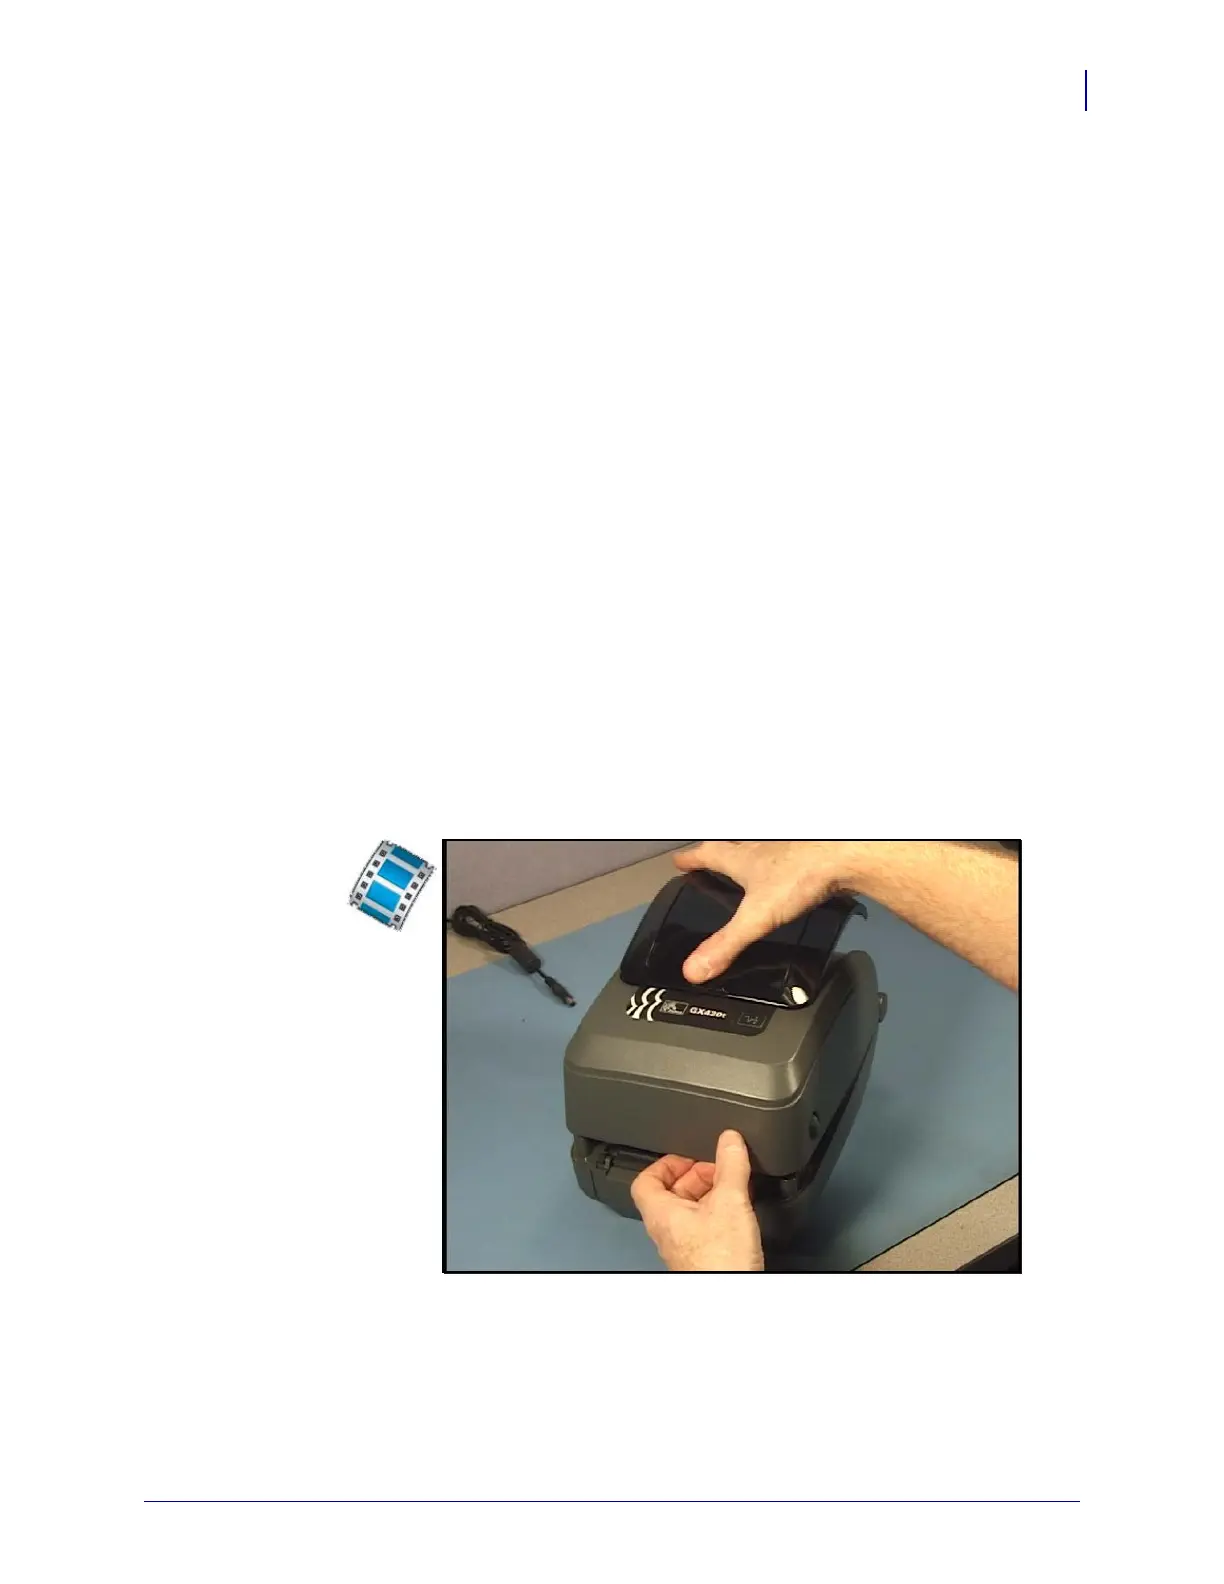
Replacing the Window
8/27/08 Thermal Transfer G-Series
TM
Service Manual 980618-001 A
Replacing the Window
Removal
1. Use a #0 Phillips screwdriver to remove the window’s screw.
2. Close the printer and lift the rear of the window.
3. Pull the window’s tabs out of their slots.
4. Lift the window away from the printer.
Installation
1. Align the window over the top cover.
2. With the tabs to the front, insert them into the top cover.
3. Lower the rear of the window in place.
4. While holding the window, open the printer.
5. Insert the window’s screw into its place.
6. Use a #1 Phillips screwdriver to tighten the screw
 Loading...