41
Replacing Parts
Replacing the Printhead
8/27/08 Thermal Transfer G-Series
TM
Service Manual 980618-001 A
Replacing the Printhead
In the event you need to replace the printhead, read the procedure and review the removal and
installation steps before actually replacing the printhead.
Removal
1. Open the printer. Remove any transfer ribbon from the printer.
2. Use a small flat bladed screwdriver to remove the ribbon guide. Gently pry the guide
right-side tab from the ribbon carriage. Pull the left side of the ribbon guide out.
3. Use a blunt tipped tool to press the release tab on the right side and then the left side of the
printhead. The tool diameter can be from 0.10 to 0.15 inches (2.5 to 3.8 mm).
Insert the tool into the ribbon carriage's printhead release access (the round) opening. Push
the release tab and gently pull the printhead bracket down.
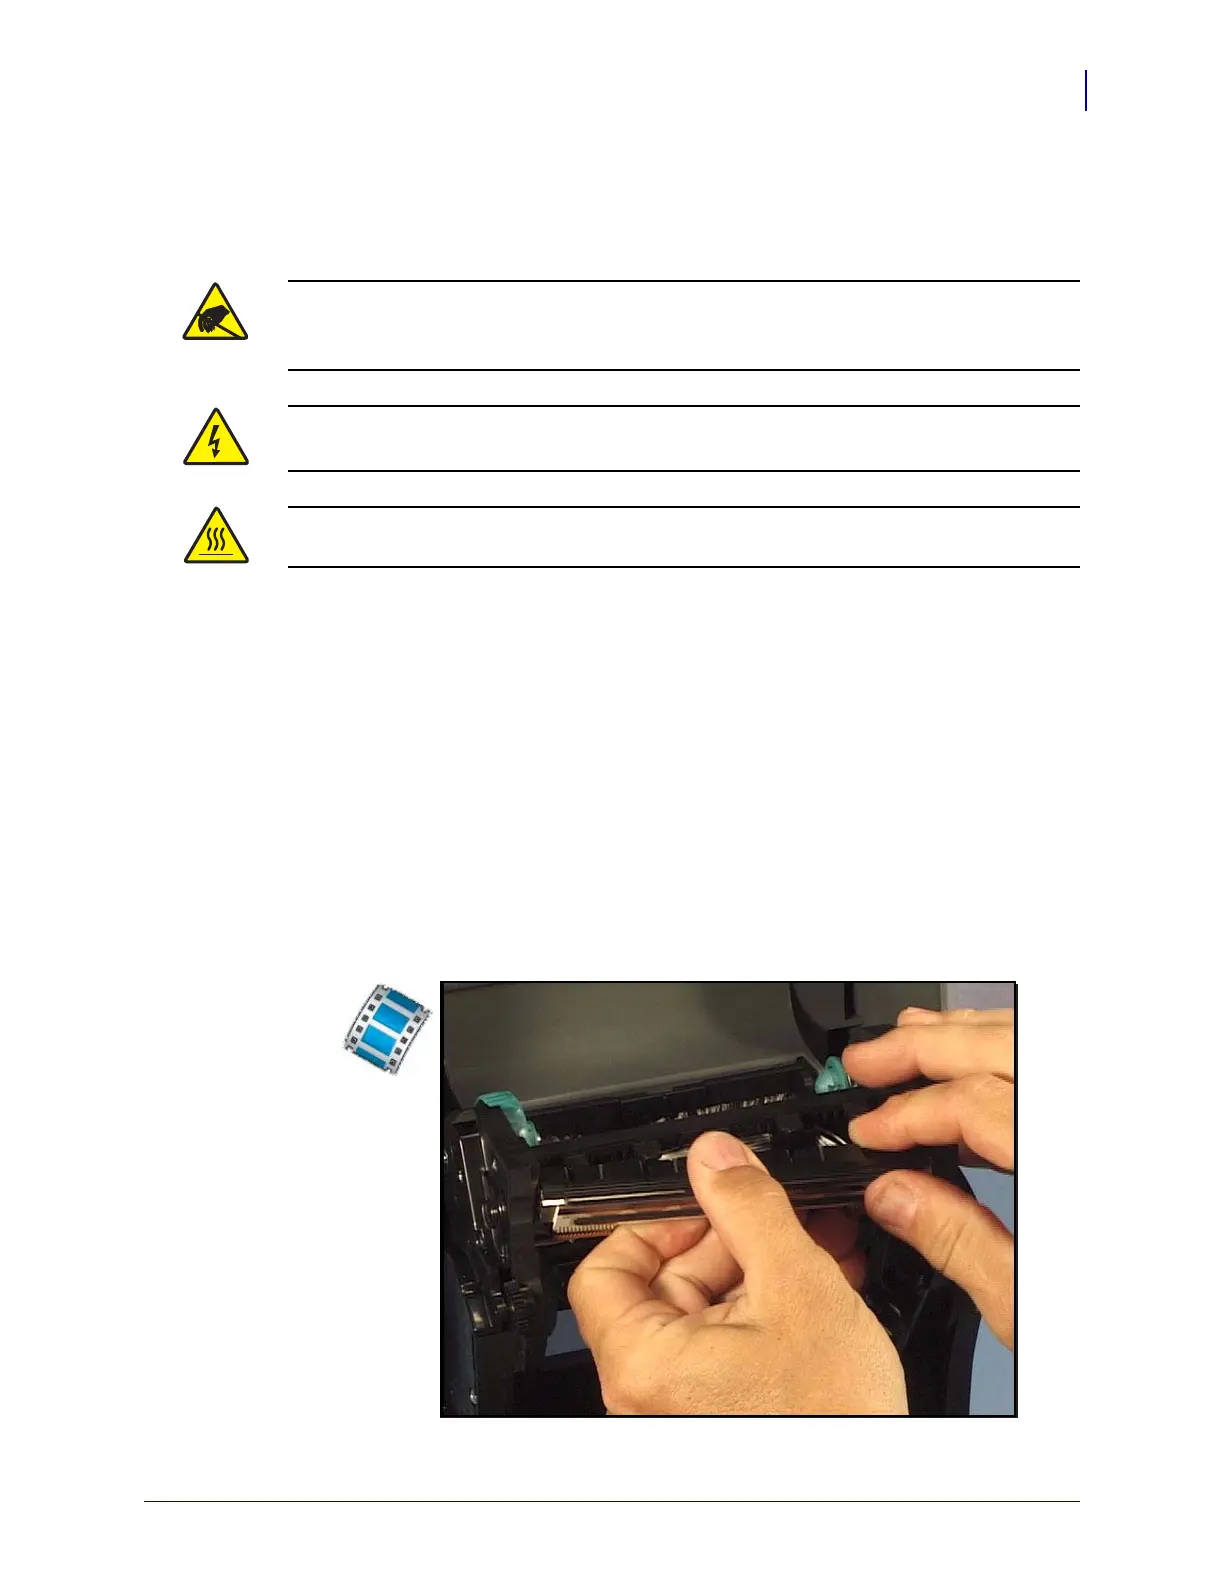
4. Gently but firmly pull the two printhead cable bundles’ connectors off of the printhead.
5. Gently but firmly pull the green ground wire off the printhead.
Caution • Prepare your work area by protecting against static discharge. Your work area
must be static-safe and include a properly grounded conductive cushioned mat to hold the
printer and a conductive wrist strap for yourself.
Caution • Turn the printer power off and unplug the power cord before replacing the
printhead.
Caution • Let the printhead completely cool before attempting to remove the printhead.
 Loading...