43
Replacing Parts
Replacing the Top Cover
8/27/08 Thermal Transfer G-Series
TM
Service Manual 980618-001 A
Replacing the Top Cover
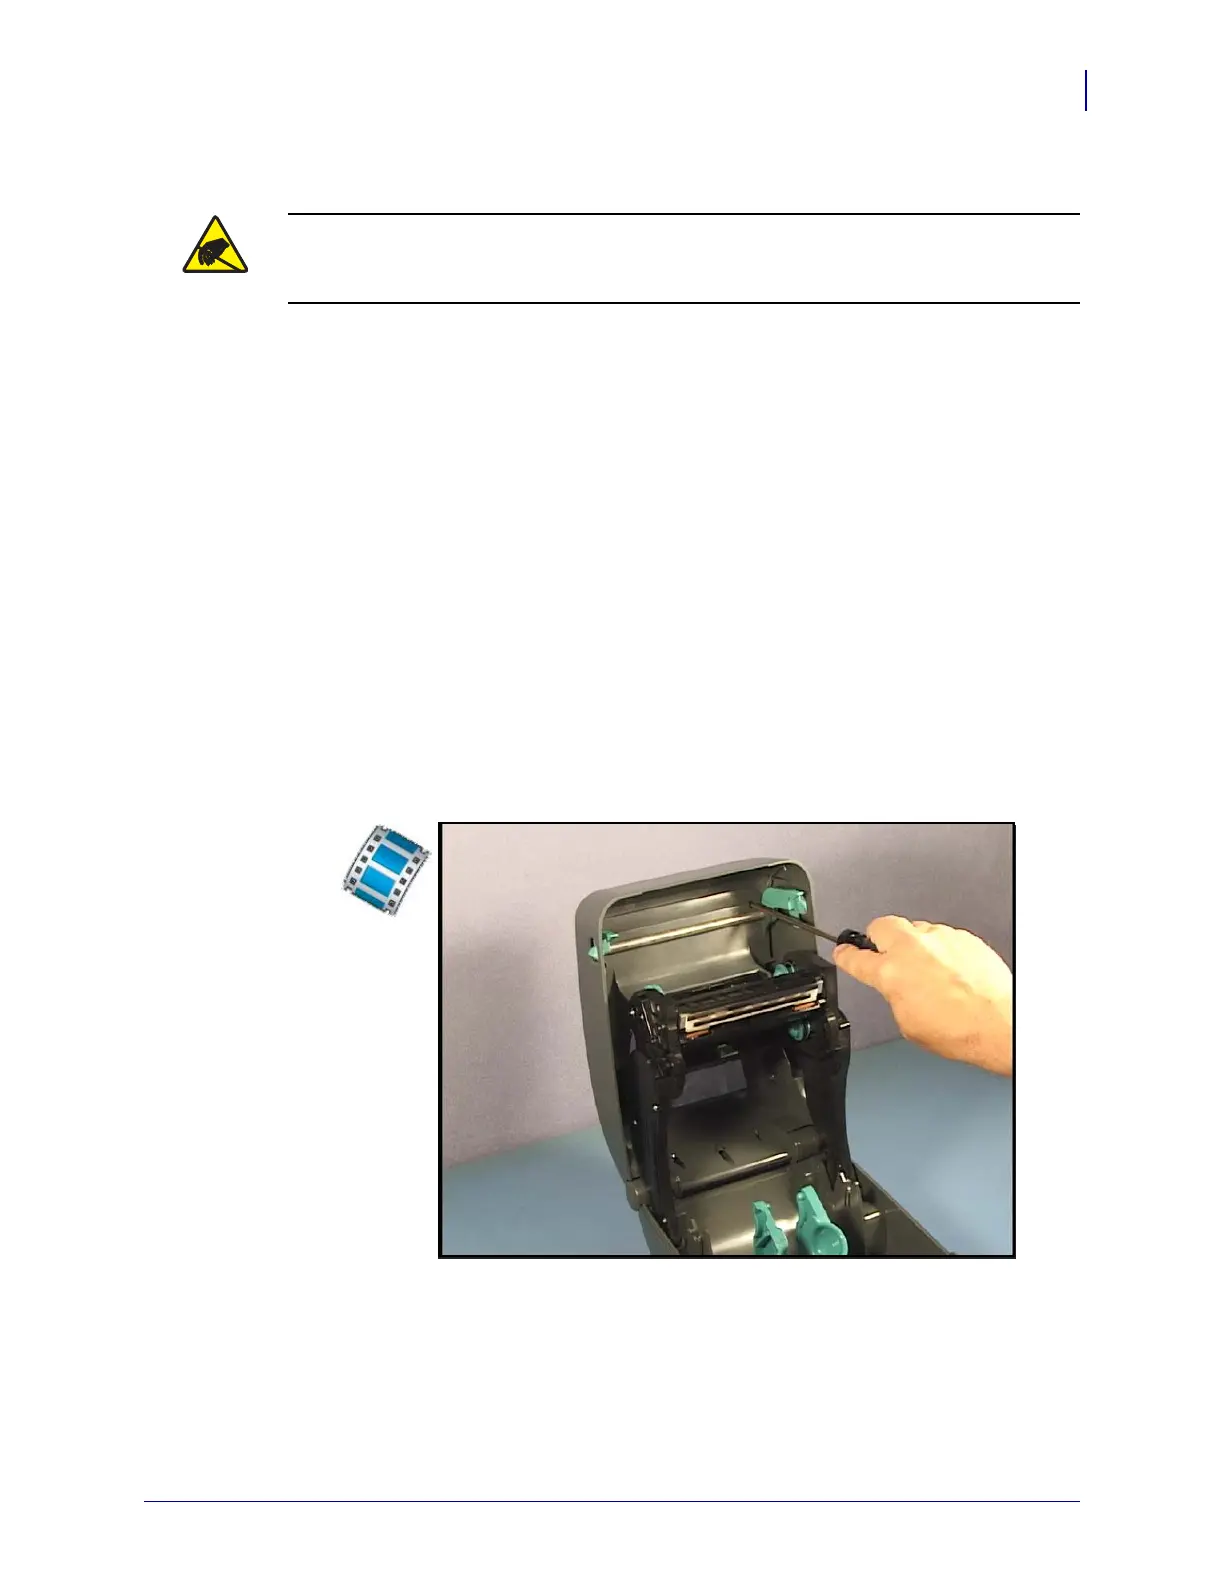
Removal
1. Open the printer and lean it back to gain access to the top of the media compartment.
2. Use a #1 Phillips screwdriver to remove the seven screws holding the top cover to the
inner, upper frame.
3. Lift the cover off the printer. Take care to slip the sides of the top cover around the latches
on the left and right sides. Close the printer
Installation
1. Lower the top cover onto the inner, upper frame.
2. Open the printer and make sure to align the latches in their access holes.
3. Put the latch springs in their slots.
4. Replace the seven screws that hold the top cover.
Caution • Prepare your work area by protecting against static discharge. Your work area
must be static-safe and include a properly grounded conductive cushioned mat to hold the
printer and a conductive wrist strap for yourself.
 Loading...