Programming the Mio R-4
Programming the Mio R-4
Overview
Most functionality of the Mio R-4 is handled using the application TPDesign4. Go to www.amx.com for the supporting
documentation.
The Mio R-4 recognizes a select number of NetLinx Commands. For a full list and descriptions, consult the
SEND_COMMANDs on page 36.
Using the Programming Jack on the Mio R-4
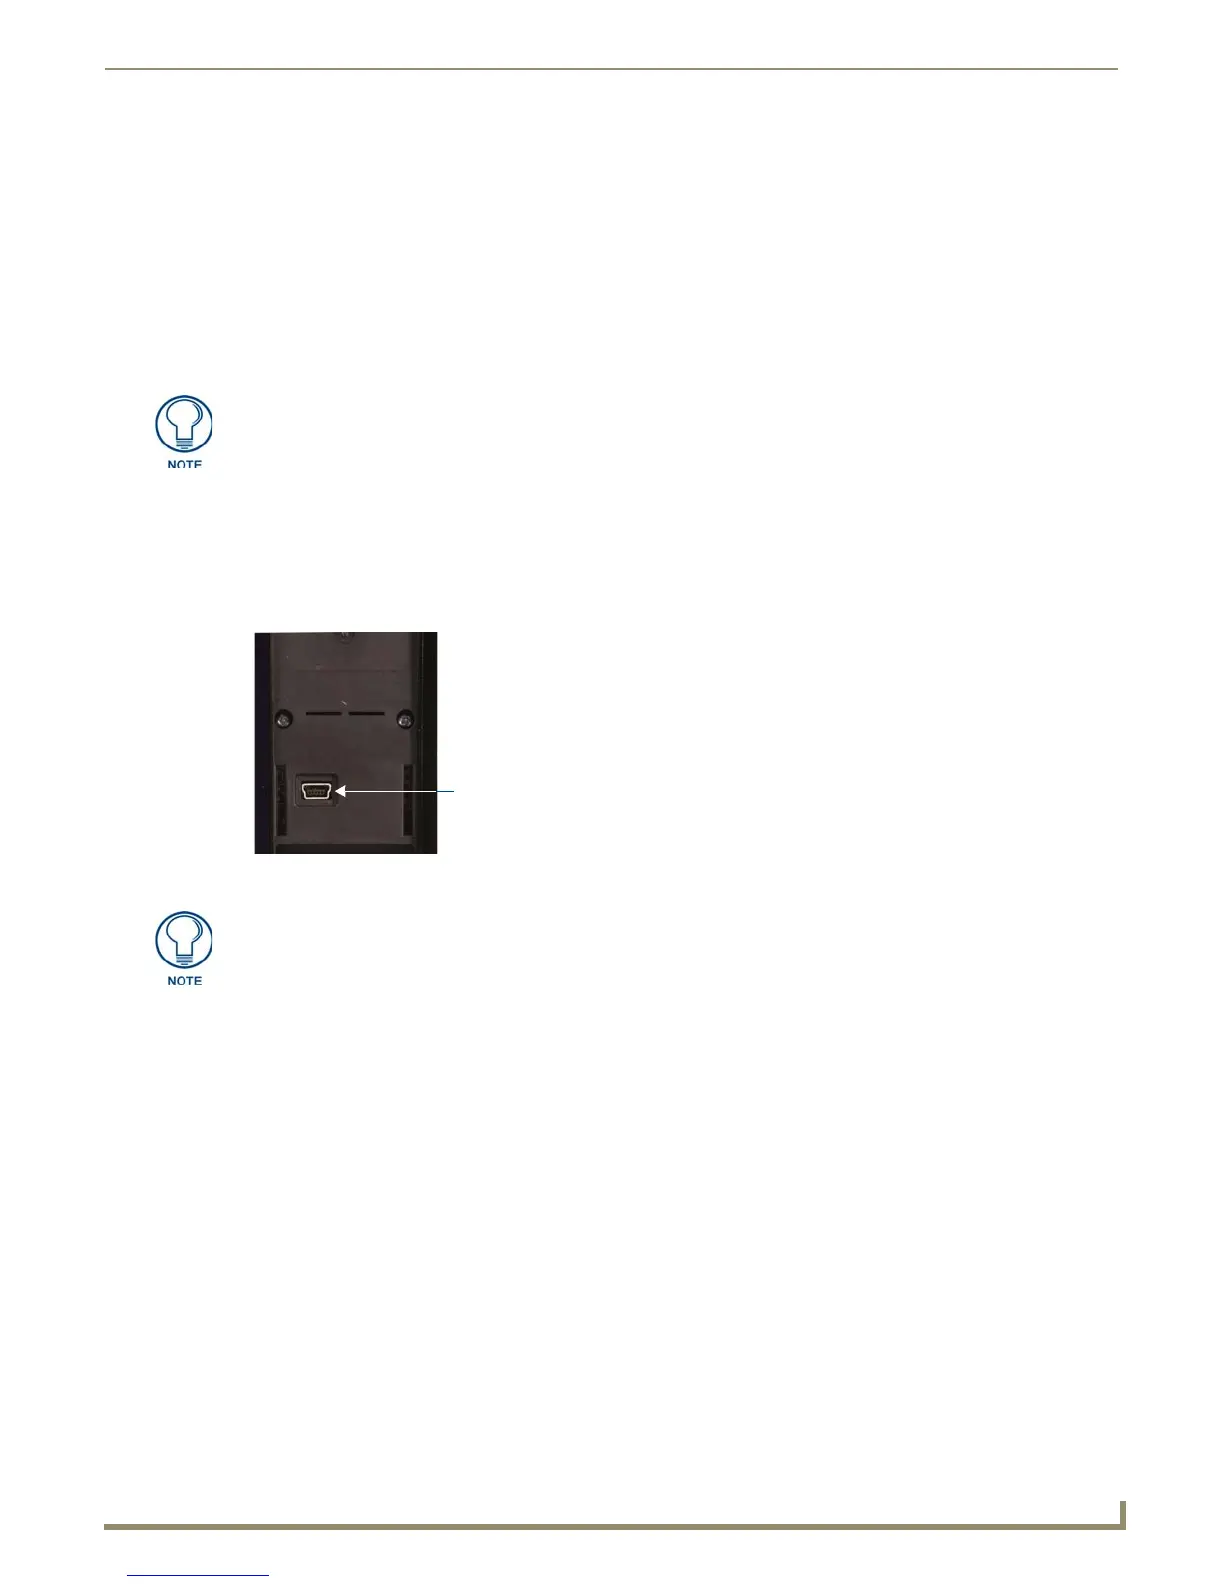
The programming jack located on the back of the Mio R-4 (FIG. 22) is used for communication between the device and
AMX software. The programming jack uses a CC-USB Programming cable, USB to mini USB (FG10-5965), which can
be ordered from AMX. Make sure the device is situated in the charging cradle before starting download of configuration
files.
To download Configuration Files
1. Flip and turn the Mio R-4 device so that the buttons are facing away from you and the device is upside down.
2. Holding the device in both hands, place your thumbs on the battery door and slide the battery door free.
3. Place the device in the charging cradle and connect the mini USB programming cable (FG10-5965) into the
programming jack on the back side of the remote device.
4. Connect the other end of the USB cable to the USB port on your computer.
5. Configure the communication parameters in NetLinx Studio or File Transfer 2 and download the resultant file.
6. Disconnect the USB cable after the download. The Mio R-4 will self-reboot after the file download.
Downloading Configuration Files through TPDesign4
TPDesign4 may also be used to download configuration files to the Mio R-4. To download files directly from
TPDesign4:
1. Place the device in the charging cradle and connect the mini USB programming cable (FG10-5965) into the
programming jack on the back side of the remote device.
2. Connect the other end of the USB cable to the USB port on your computer.
3. In TPDesign4, select Transfer->Connect...
4. Wait until the connection icon in the Mio R-4 setup pages turns green.
Before doing any programming for the Mio R-4, you must download and install the
latest AMX USB LAN driver from www.amx.com. The user will be required to install
the driver, put the device in USB mode, and connect the device to the computer prior
to any upload or download.
FIG. 22 The Mio R-4 Programming Jack
USB file transfers should only be performed while the unit is on the charging cradle
and with the sleep timeout set to 0 (off). Set the sleep timeout (in the Setup Menu,
Remote and Display Settings->Timeout) to 0 BEFORE attaching the USB cable.
 Loading...


