Axon Fleet 2 Installation Manual
Axon Enterprise, Inc. Page 14 of 39
Installation Warnings and Prerequisites
Read and follow all instructions included with the Axon Fleet 2 products, accessories, and
parts, including any supplemental instructions.
Failure to follow the instructions in this manual or as provided with any Axon Fleet products,
accessories or parts may result in Axon Fleet 2 or Axon Signal not working properly or cause
damage to the products or the vehicle. Save all instructions.
General Warnings
• The technician who installs the Axon Fleet 2 components and the Axon Signal Vehicle
unit must be qualified to work with automotive electronics.
• When installing Axon Fleet 2 and the Axon Signal Vehicle unit, ensure that drilling will
not damage the emergency vehicle's equipment or surface. Remove all burrs and
debris after drilling.
• Do not install Axon Fleet 2 components or the Axon Signal Vehicle unit anywhere
that will interfere with airbag deployment.
• Do not install any part of the Axon Fleet 2 system or the Axon Signal Vehicle unit in
the vehicle's engine compartment.
• Do not install any part of the Axon Fleet 2 system or the Axon Signal Vehicle unit on
the exterior of the vehicle.
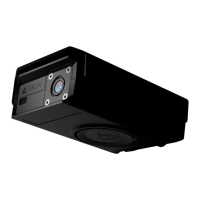
• The Axon Fleet 2 system front and rear cameras have Ingress Protection (IP) ratings
of IP53 and IP54, respectively. However, the entire Axon Fleet 2 system does not
have an IP rating and should not be considered waterproof.
Vehicle Power, Ground and Ignition Inputs
Ignition: The vehicle must use a true 12V ignition source (12V with key ON, 0V with key OFF)
• Key ON: Minimum of 6V and Maximum of 18V
Above 18V the Fleet Power Units will shut off power to the cameras.
Below 6V the Fleet Power Units see the ignition as OFF and will not charge (cameras
will power down below 50% Fleet Power Unit charge).
• Key OFF: 0V to 2V

 Loading...