Axon Fleet 2 Installation Manual
Axon Enterprise, Inc. Page 29 of 39
• Use 3M Silane Glass Treatment AP 115 for maximum adhesion.
• Wipe off excess Silane glass treatment with a paper towel before it is allowed to dry.
3. Peel the top protective layer from the adhesive strip and affix the mount to the
windshield.
4. Hold the mount in place for 30 seconds to ensure adhesion.
The front camera mount must have at least 50% adhesion. This can be approximated by
a visual check of the adhesive strip through the windshield.
5. Insert the camera swivel ball joint directly up into the mount. Tighten the thumbscrew to
hold the camera in place.
6. Connect the power unit to camera cable to the front camera.
Affix the Rear Camera Controller and Camera
Choose the appropriate rear camera and rear camera controller mount locations.
The rear camera controller and rear camera should be located so that the USB–C cable can
connect the controller and camera. The cable is approximately 4 feet long.
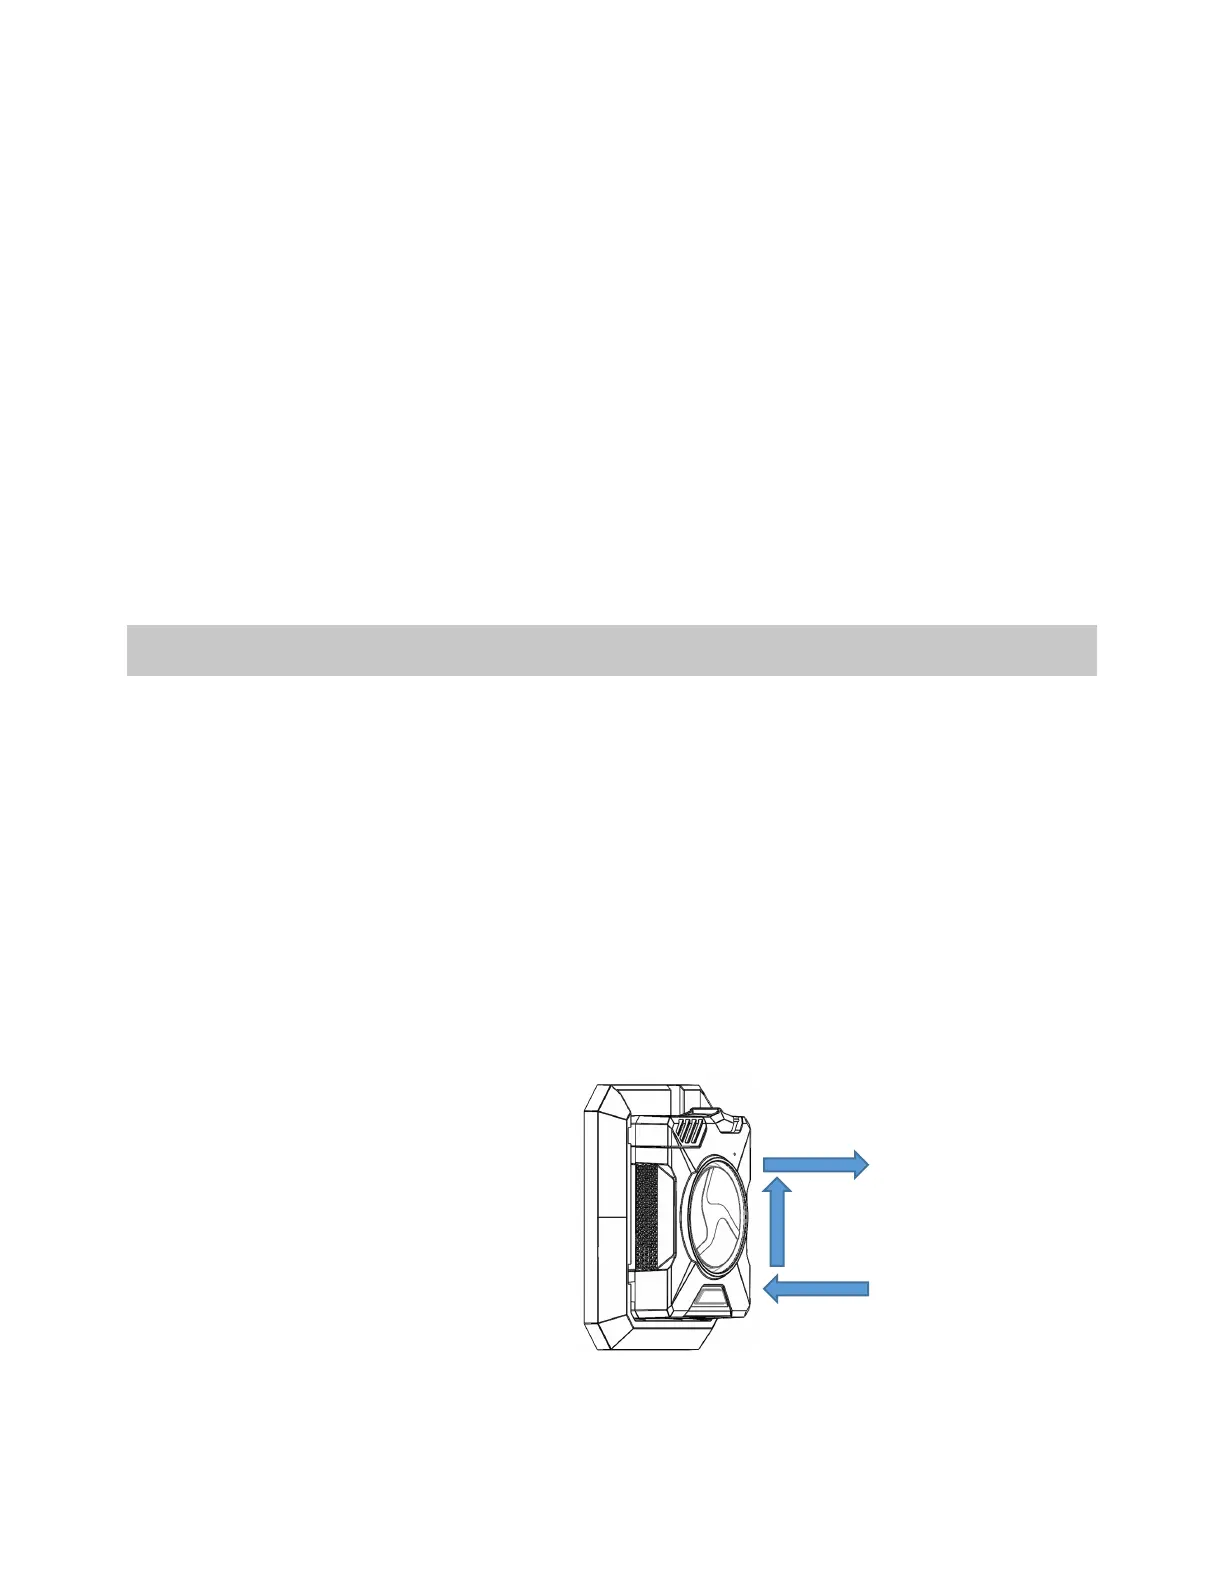
For the rear camera, the installer can use Axon View XL to find the location that best views
the cage area. After the camera is mounted, the installer can use the angle adjustment
screws to adjust the vertical view of the camera.
For proper adhesion ensure the rear camera controller is mounted on a flat surface.
1. Remove the rear camera controller from the mount by pushing in on the controller,
sliding it upward to align the tabs, and then pulling out.
2. Prepare the area for the rear camera controller mount by cleaning the area.
 Loading...