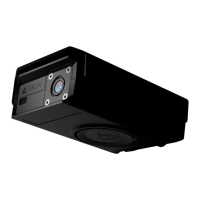
Axon Fleet 2 Installation Manual
Axon Enterprise, Inc. Page 39 of 39
1. Test fit the in-car charging dock to ensure there is no interference with
2. Use the four self-tapping screws, provided in the installation kit, with the No. 2 Phillips
driver to mount the dock.
3. Connect power to the in-car charging dock
.
Connecting Power to the In-Car Charging Dock
After the in-car charging dock is mounted, it must be connected to the vehicle power.
1. Connect the supplied 18’ power cable to the vehicle battery (constant 12V power supply)
and route the cable to the butt-splice terminals exiting the dock.
2. Route the wires from the vehicle battery to the in-car charging dock location.
3. Cut the 18’ power cable to the appropriate length at the butt-splice connectors
4. Strip no more than 0.25″ (6.35 mm) of insulation from each of the wires.
5. Insert into the stripped end of the wire into the appropriate butt-splice, connecting the
red wire to red and the black wire to black, and crimp.
Completion
1. Ensure all wiring is appropriately dressed and tucked away.
Use extreme caution to not to expose wiring to any place where it would likely be
damaged. Keep in mind, if vehicle trim was removed, special care will be necessary to
replace trim without damaging the Axon Fleet 2 system.

 Loading...