Axon Fleet 2 Installation Manual
Axon Enterprise, Inc. Page 24 of 39
Notes:
• For the straightest picture, the mount needs to be as close to the center of the
window as possible, without interfering with the rearview mirror, or equipment
attached to the windshield.
• The installer can wait to affix the mount to the window until the system is installed,
then use the live view feature to help align the camera and mount
• Fit the camera and mount prior to installation. Incorrect installation can interfere
with visibility, the ability to move the rearview mirror, or sun visors.
• If possible do not install on tinted windows or on window frit.
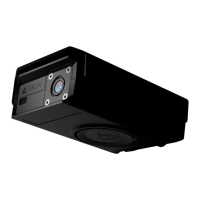
Rear Camera and Controller
For the rear camera, the installer should find a proper location, based on the installation
of agency specific components.
• The rear camera controller should be installed so that users can easily access the
power switch and Event button.
• The rear camera controller and rear camera should be located so that the USB–C
cable can connect the controller and camera.
• For the rear camera, the installer can use Axon View XL to find the location that best
views the cage area.
Locate the Vehicle’s Electronics
The next step to installing the Axon Fleet 2 system is locating the wiring for the vehicle. The
vehicle make and model will dictate where wiring is found. The installer needs to locate the
following wires:
• Active Power
• Ground
• Ignition/accessory
To easily access wiring, it may be helpful to remove the weather-stripping and door seals
near the wiring harness. It may also be helpful to remove any plastic interior that easily
snaps on and off below the A-pillar.

 Loading...