III-42
[ 12 ] Demonstration Print and Final Check
1. Starting the Inspection Mode
First, press the “ON/OFF” key while pressing the “Code” and “R” keys, and release the
“ON/OFF” key, then “Code” and “R” keys so that the RAM is cleared, and the machine performs
normally. Then, when the power is OFF, press the “ON/OFF” key while pressing the “Code”
and “K” keys and release the “ON/OFF” key, then the “Code” and “K” keys so that the machine
goes into the inspection mode. (When the machine goes into the inspection mode, the display
as shown in Fig.2 appears.)
If the following errors occur, take an appropriate action to recover from them.
1.1 Checking the ROM, Temperature and Solder
Check the ROM, temperature and solder points.
If the ROM is not connected correctly, the “ROM PROBLEM” message is displayed, and the
check is finished.
If the room temperature is out of the specified range (10°C to 40°C), the “TEMP NG” message
is displayed, and the check is finished.
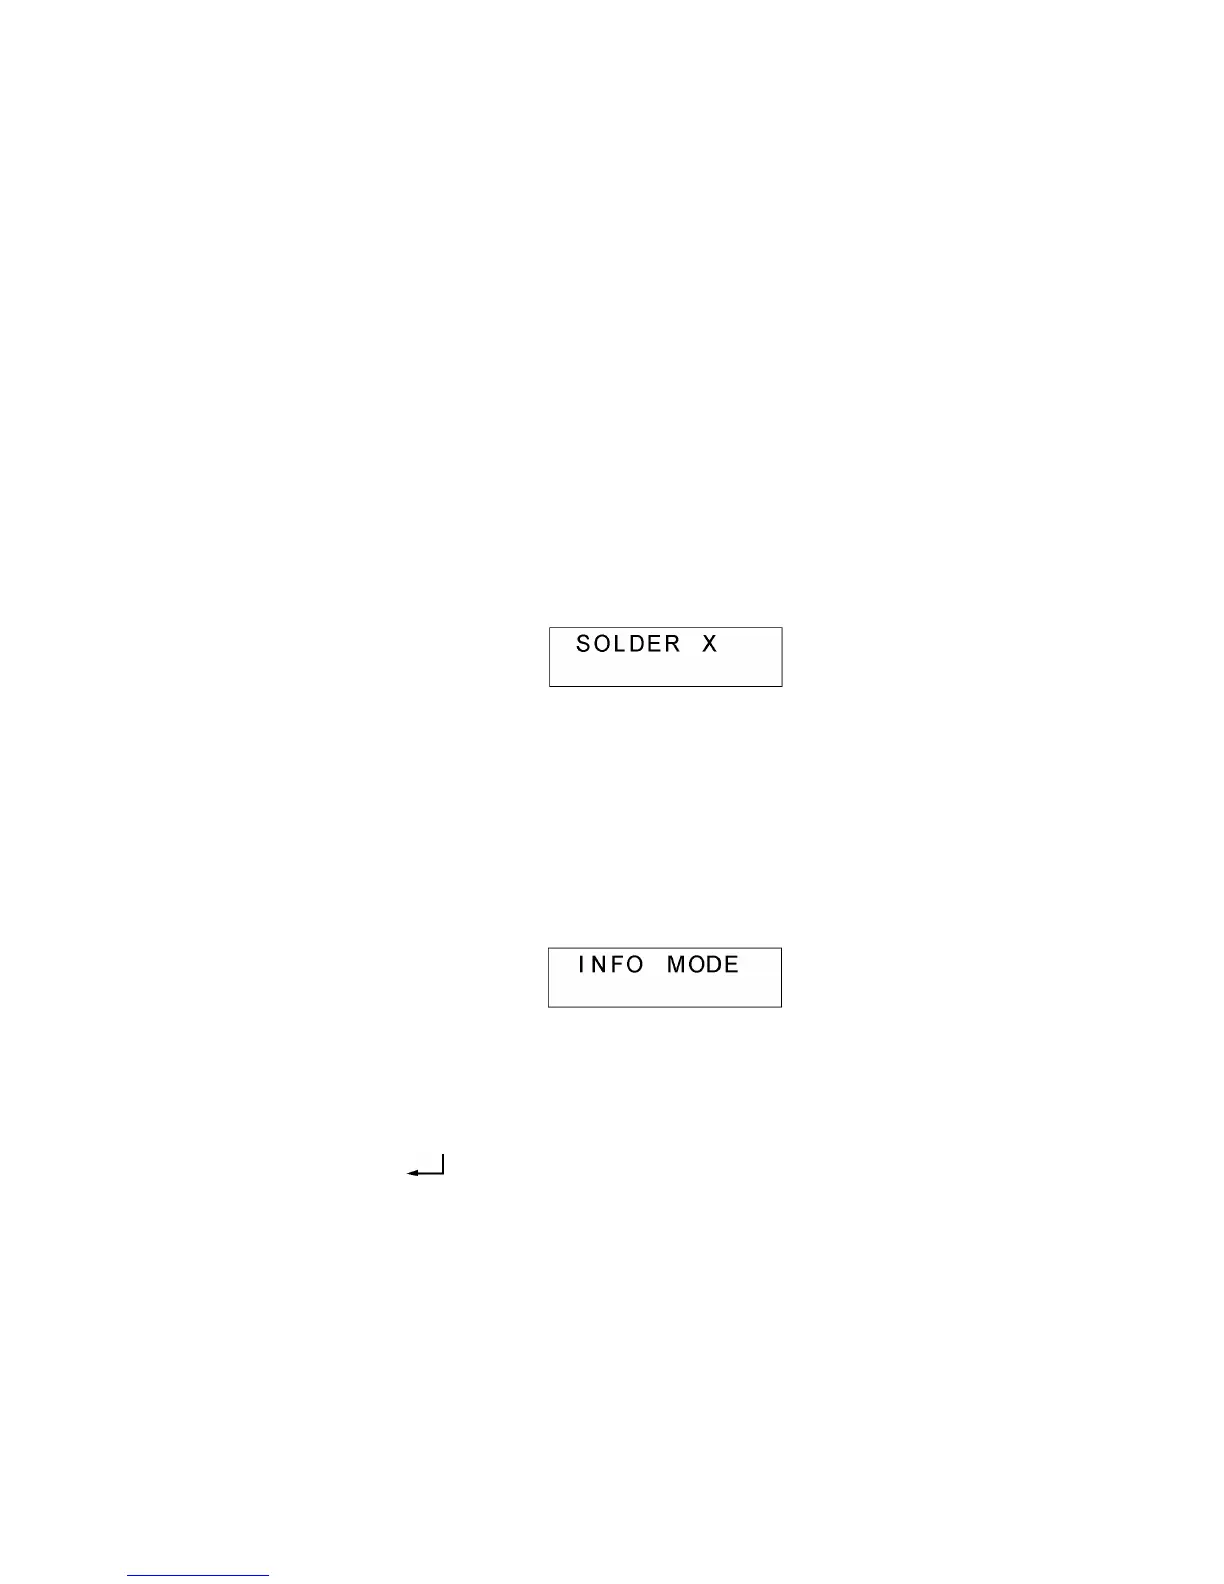
If the same kind of two or more solder points is ON, or the solder point is not correct, the
message as shown in Fig.1 is displayed, and the check is finished.
Fig. 1
2. Inspection Mode
The mode is used after the machine is repaired or assembled.
The mode includes the following nine modes; Information Mode, Key Inspection Mode, Jog Dial
Inspection Mode (for PT-1850 only), Cassette Sensor Inspection Mode, Cut Mode, Print 1
Mode, Print 2 Mode, Motor Mode, Voltage Check Mode. For the details on the Motor Mode and
Voltage Check Mode, they are omitted in this section because they are not related to the
inspection.
Fig. 2
2.1 Information Mode
The display as shown in Fig.2 is indicated when the machine goes into the inspection mode, or
when the “1” key is pressed.
By pressing the “ ” key in the Information mode, the country and head rank are displayed,
and the input power supply is checked.
 Loading...