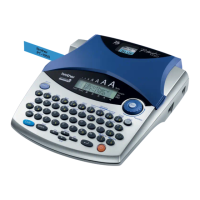
IV - 1
CHAPTER IV TROUBLESHOOTING AND ERROR MESSAGE
4.1 TROUBLESHOOTING
This section gives the service personnel some of the troubleshooting procedures to be followed if
an error or malfunction occurs with this machine. It is impossible to anticipate all of the possible
troubles which may occur in future and determine the troubleshooting procedures, so this chapter
covers some sample troubles. However, those samples will help service personnel pinpoint and
repair other defective elements if he/she analyzes and examines them well.
4.1.1 Precautions
Be sure to observe the following precautions to prevent the secondary problems from happening
during troubleshooting:
(1) Get a good idea of what the trouble is. Whenever more than one trouble source is found,
plan the most reasonable repairing procedure after reviewing the relationship between them.
(2) When supplying power to this machine having problems from either a set of batteries or the
AC adapter, make sure that its output voltage level is 11 to 13V under no load.
(3) When supplying power from a stabilized power unit, use the power unit with approx. 3A
capacity and choose the output level of 11 to 13V. When connecting it to this machine, be
careful with the polarity.
(4) When using a circuit tester for testing the conductivity, remove all of the batteries and the AC
adapter from this machine.
4.1.2 After Repairing
After repairing the defective section, be sure to check again (CHAPTER III , [ 12 ] Demonstration
Print and Final Check) to see if the repaired section works correctly. Also make a note of the
troubleshooting procedure so that it will be handy should problems occur in the future.
 Loading...