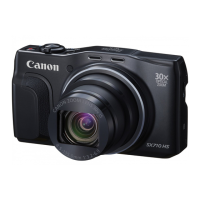
21
Preparing the Camera
Setting the Date/Time
The Date/Time menu will be displayed when
camera power is turned on for the first time or
with low date battery power. Perform
operations from Step 4 (Replace the date
battery when power from the current one is
exhausted (p. 120)).
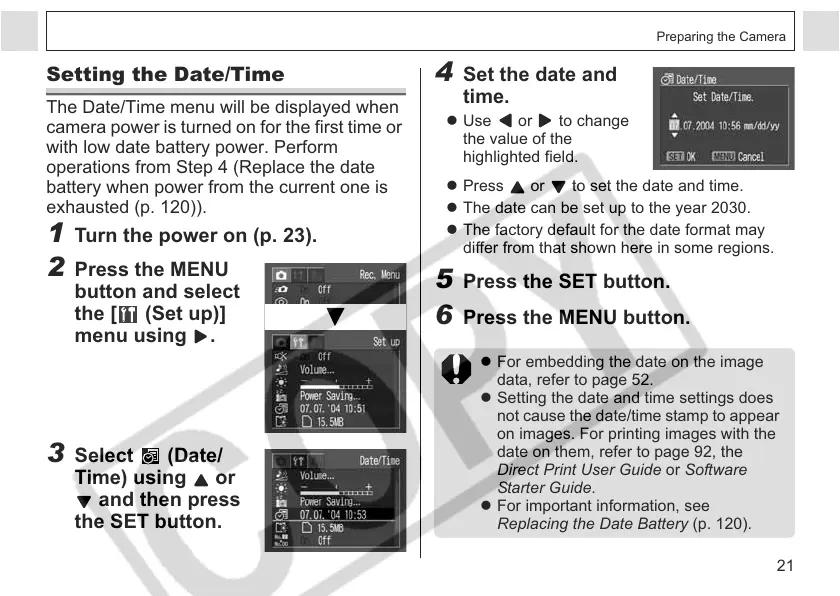
1 Turn the power on (p. 23).
2 Press the MENU
button and select
the [ (Set up)]
menu using .
3 Select (Date/
Time) using or
and then press
the SET button.
4 Set the date and
time.
z Use or to change
the value of the
highlighted field.
z Press or to set the date and time.
z The date can be set up to the year 2030.
z The factory default for the date format may
differ from that shown here in some regions.
5 Press the SET button.
6 Press the MENU button.
z For embedding the date on the image
data, refer to page 52.
z Setting the date and time settings does
not cause the date/time stamp to appear
on images. For printing images with the
date on them, refer to page 92, the
Direct Print User Guide or Software
Starter Guide.
z For important information, see
Replacing the Date Battery (p. 120).
 Loading...