84
be obtained the moment the Privacy Mask Setting
Tool is launched.
(6) [Control for Admin] button
Displays the Control for Admin Panel (p. 120).
(7) Registered Privacy Mask Display Area (Capture area)
You can check the settings for the area where the
camera can physically capture privacy masks.
Even if a panorama image is saved in the camera, it
will not be displayed here.
(8) [Registered Privacy Masks]
Show the number of registered privacy masks. You
can set up to eight privacy masks.
(9) [Next]
When multiple privacy masks are set, clicking this
button switches to the privacy mask selected.
(10)[Color]
Choose the color for the privacy mask area. All
privacy mask areas are set to the selected color.
(11)[Quick adding]
Add a privacy mask area and save it in the camera.
(12)[Quick change]
Change a privacy mask area and save it in the
camera.
(13)[Delete]
Delete the privacy mask area selected from the
camera.
(14)[Image Stabilizer]
Show the usage condition of the image stabilizer. Set
the image stabilizer under [Camera] in the Setting
page (p. 53).
(15)[Detailed Settings]
Show the detailed settings.
(15)-1 [Enable privacy mask] checkbox
Select the checkbox if you want to enable the
selected privacy mask area settings.
(15)-2, (15)-3 [Get camera info]
Load the current camera angle. Load the pan, tilt,
and zoom settings of the camera and show them in
(15)-2.
(15)-4 [Privacy Mask Position and Size]
Set left and upper edge, width, and height of the
privacy mask.
(15)-5 [Preview settings]
The settings will be reflected in the image display
area and in the registered privacy mask display
area (capture area).
(16)[Restore settings]
Clear the settings you have specified on the screen of
the tool and restore the settings saved in the camera.
(17)[Save settings]
Save the privacy mask settings specified under
[Detailed Settings] in the camera.
Setting the Privacy Mask Area
Set the privacy mask area while checking the image on
the camera.
A preview frame showing the privacy mask area is
shown in the image display area.
If you want to change the size, drag the square
markers (■) positioned at the four sides of the preview
frame. Drag from inside the frame to move the privacy
mask area.
If you want to cancel the changes and restore the
settings saved in the camera, click [Restore settings].
The set privacy mask area is saved in the camera.
You can set up to eight privacy masks. Repeat the
setting operations to set multiple privacy mask areas.
Saved privacy mask areas are shown in the image
display area and registered privacy mask display
area (capture area).
1
If you have not yet obtained the camera control
privileges, click the [Obtain/Release Camera Control]
button and obtain the control privileges.
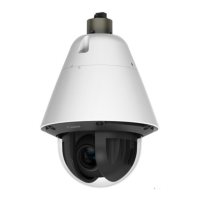
2
Set the position and size of the privacy mask area.
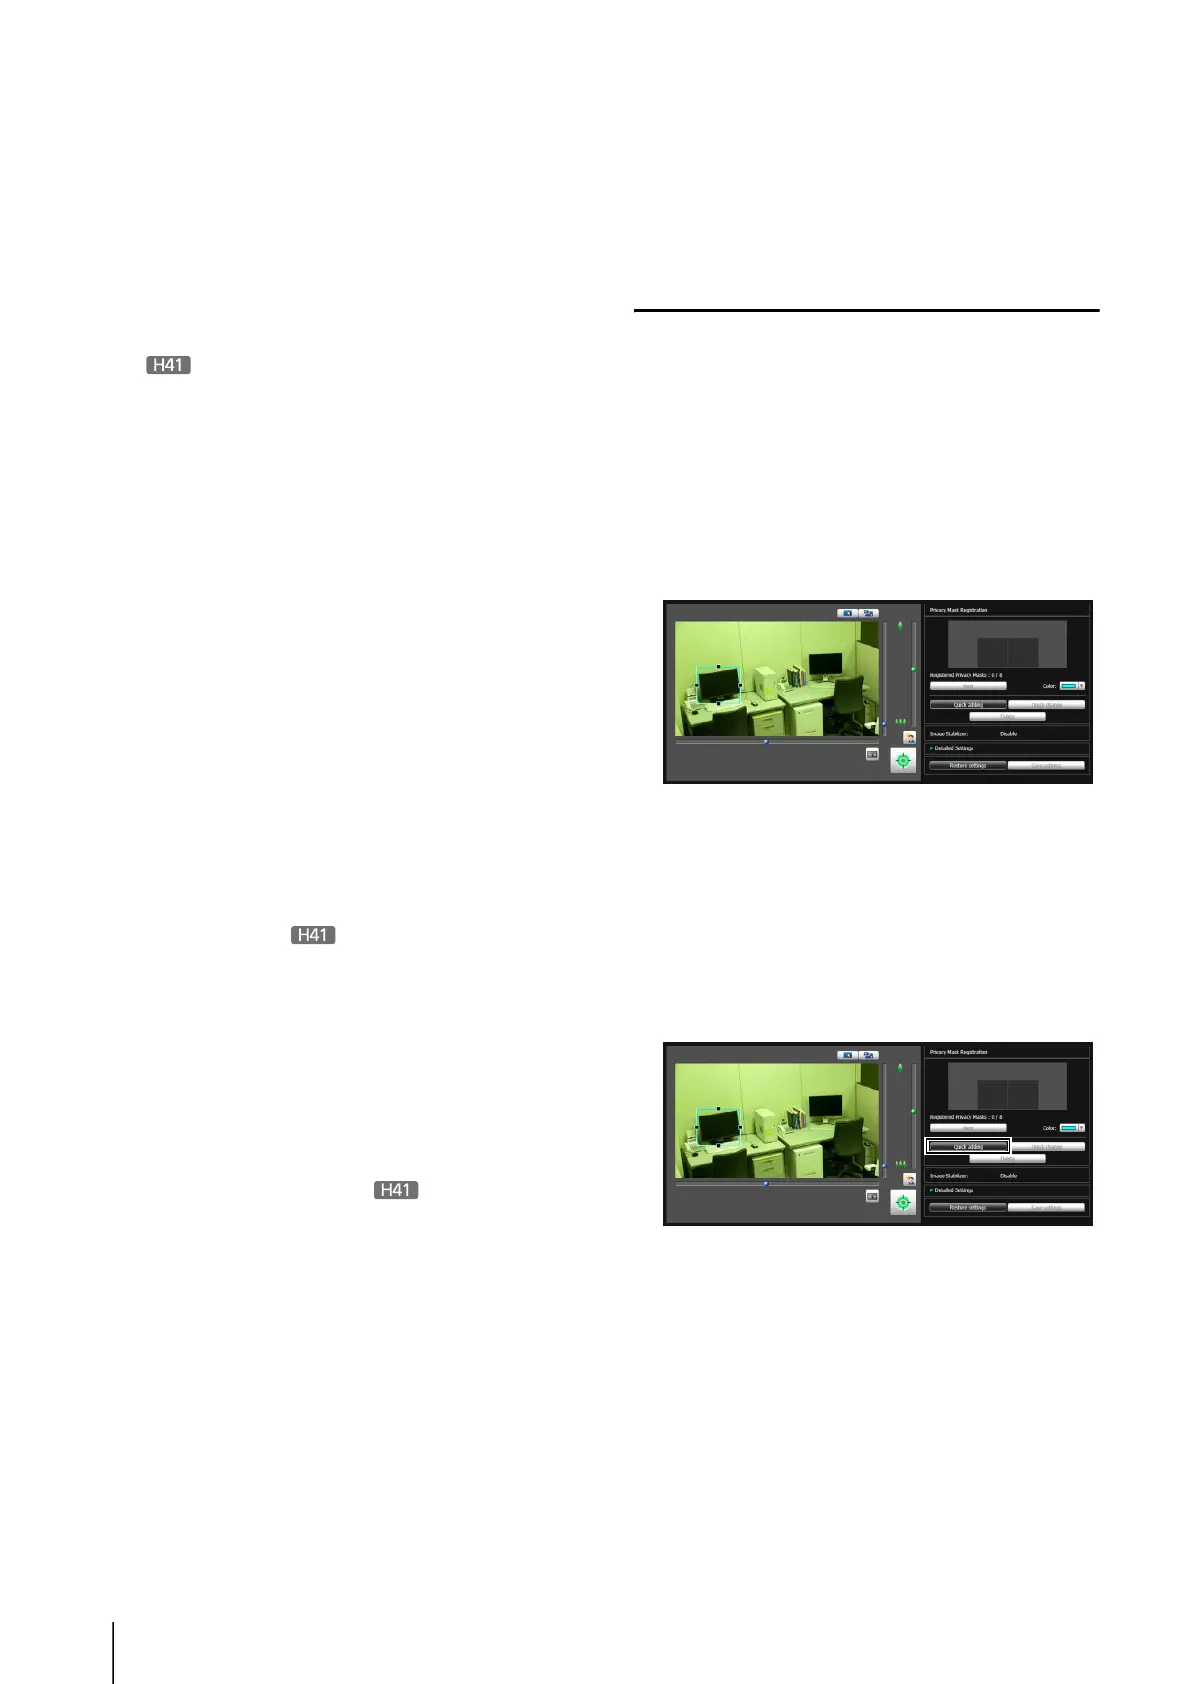
3
Click [Quick adding] to save the privacy mask area.
4
Confirm privacy mask areas.
 Loading...