Installation Manual SiBE12-908
67 Installation / Operation Manual
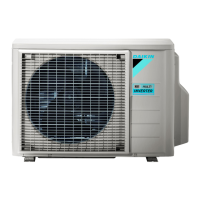
1.2 Outdoor Units
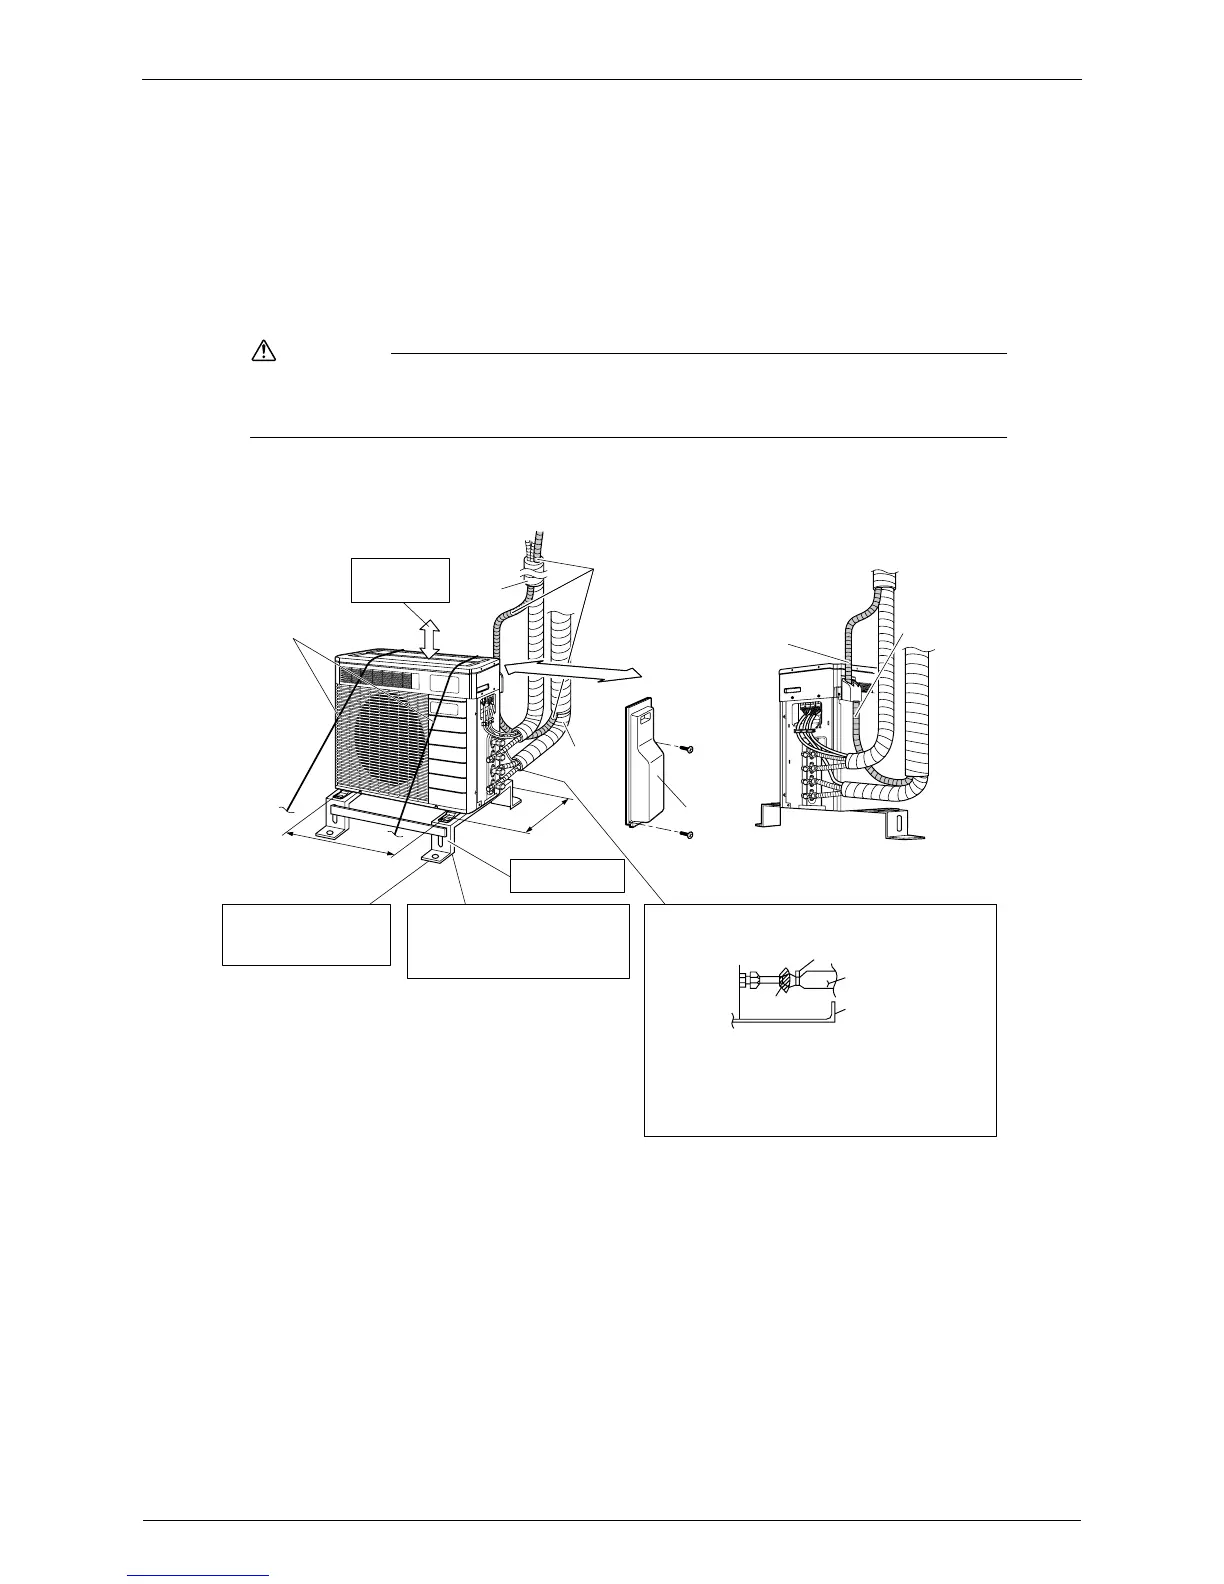
Outdoor Unit Installation Drawings
1. Precautions for humidifying hose installation work.
• Moisture on the outdoor unit is brought to the indoor unit together with air around the outdoor unit during humidifying operation.
Install the outdoor unit in a clean and calm location.
• Be sure to use the humidifying hose sold as an optional accessory. (KPMH996A10S (10m set), KPMH996A15S (15m set))
CAUTION
Do not connect the embedded branch piping and the outdoor unit when only carrying out piping work without connecting the
indoor unit in order to add another indoor unit later.
Make sure no dirt or moisture gets into either side of the embedded branch piping.
See “Precautions for Laying Refrigerant Piping” on page 9 for details.
Installation of humidifying hoses, respectively, in upward direction in ROOM A and in downward
direction in ROOM B.
3
<Front side> <Back side>
Allow 300mm of
work space below
the ceiling surface.
Wire
ROOM A
5
7
4
(
H
o
l
e
p
i
t
c
h
o
f
f
o
o
t
b
o
l
t
s
)
Humidifying hose
2
5
0
m
m
f
r
o
m
w
a
l
l
ROOM B
Stop valve cover
3
1
1
(
H
o
l
e
p
i
t
c
h
o
f
f
o
o
t
b
o
l
t
s
)
Level mounting base
(available separately)
If the location does not have good drainage,
place the unit on a level mounting base (or a
plastic pedestal). Install the outdoor unit in a
level position. Failure to do so may result in
water leakage or accumulation.
If there is the danger of the unit
falling or overturning, fix the unit
with foundation bolts, or with
wire or other means.
Humidifying hose
ROOM A
Humidifying hose
ROOM B
unit: mm
Also insulate the connection on the outdoor unit.
Use tape or insulating material on all connections to
prevent air from getting in between the copper
piping and the insulation tube.
Be sure to do this if the outdoor unit is installed
above.
Clamping material
Insulation tube
Stop valve cover
Tape

 Loading...