Steps
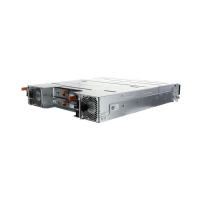
1. Place the fan interface board in the system.
NOTE: Ensure that the tabs on the back of the fan interface board engage with the notches on the system.
2. Slide the fan interface board toward the midplane until the connector engages firmly with the pins on the midplane.
3. Tighten the two spring-loaded screws to secure the fan interface board to the system.
Next steps
1. Install the following:
●
cooling-fan cage
● cooling fans
● system cover
2. Follow the procedure listed in After working inside your system on page 33.
Related tasks
Installing the cooling-fan cage on page 55
Installing a cooling fan on page 53
Installing the system cover on page 35
Related information
Removing the fan interface board on page 58
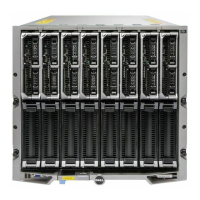
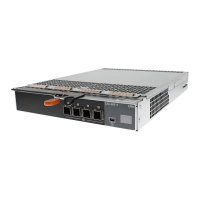
Interposer module
The interposer module allows you to install quarter-width sleds in the PowerEdge FX2/FX2s enclosure that comes pre-installed
with half-width or full-width sleds. Your system supports up to two interposer modules.
60
Installing and removing PowerEdge FX2/FX2s enclosure components
 Loading...