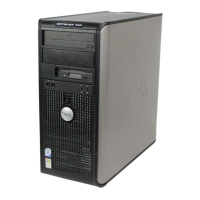
Installing AC power supply unit
Steps
Slide the PSU into the system until the PSU is fully seated and the release latch snaps into place.
Next steps
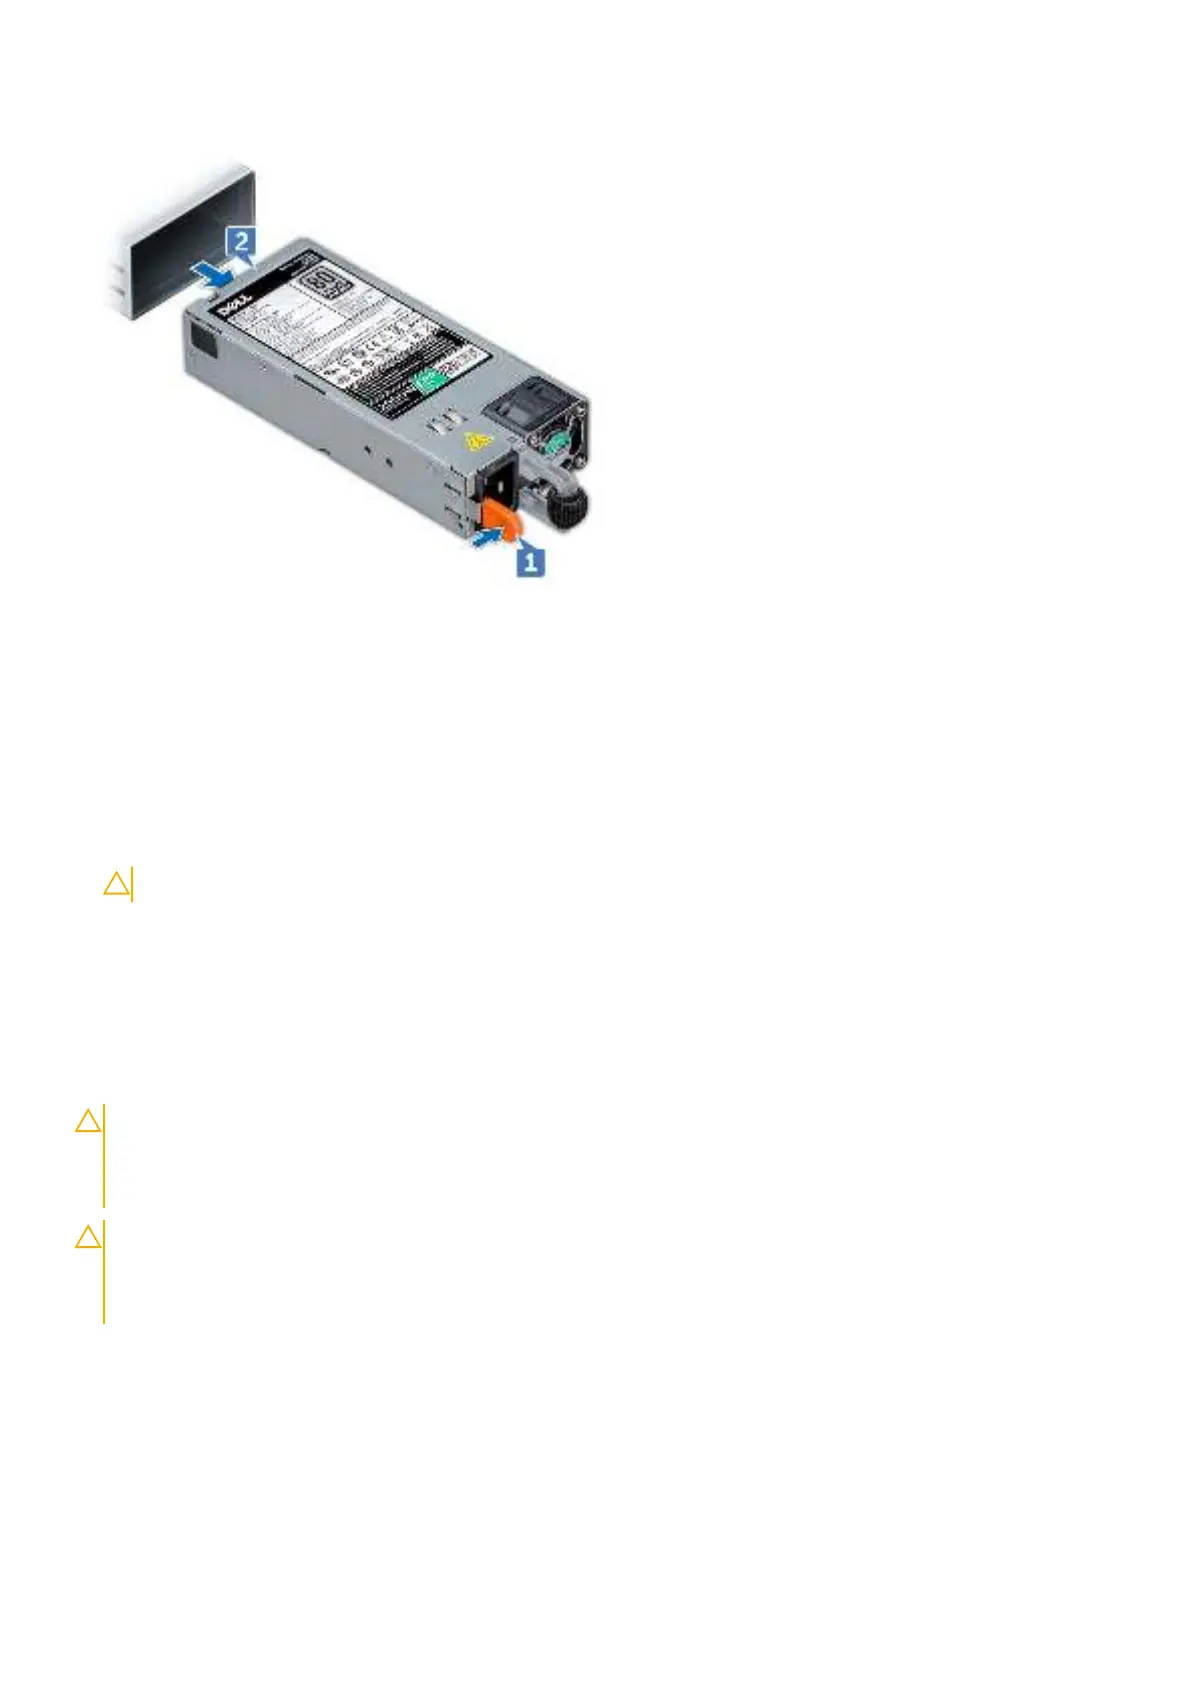
1. Connect the power cable to the PSU, and plug the cable into a power outlet.
CAUTION: When connecting the power cable to the PSU, secure the cable to the PSU with the strap.
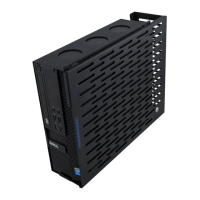
System board
Removing system board
Prerequisites
CAUTION: If you are using the Trusted Platform Module (TPM) with an encryption key, you may be prompted
to create a recovery key during program or System Setup. Be sure to create and safely store this recovery key.
If you replace this system board, you must supply the recovery key when you restart your system or program
before you can access the encrypted data on your hard drives.
CAUTION: Do not attempt to remove the TPM plug-in module from the system board. Once the TPM plug-in
module is installed, it is cryptographically bound to that specific system board. Any attempt to remove an
installed TPM plug-in module breaks the cryptographic binding, and it cannot be re-installed or installed on
another system board.
1. Remove the following:
a. Air shroud
b. Cooling fan assembly
c. Optical drive
d. Power supply unit(s)
e. All expansion card risers
f. vFlash card
g. USB 3.0 module
Disassembly and reassembly 61
 Loading...