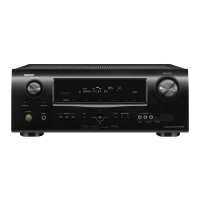
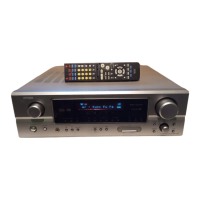
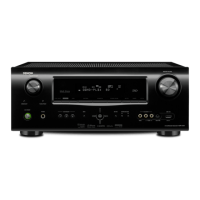
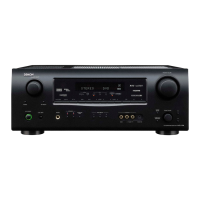
ENGLISH
Auto Setup
Optimize settings for speakers
In
use
If
an
error message appears during the measurements, check "Error
Messages
';
take the necessary countermeasures, then redo the
measurements
(1I2if'
page
21).
g,$i.
•
Do
not disconnect the setup microphone until the auto setup
procedure
is
completed.
• When using headphones, unplug the headphones before starting
the auto setup procedure.
•
)
)
-"
Measurements
can
be
completed even if only taken
in
5 positions, but
for better results we recommend taking them
in
6 positions.
The
listening environment with respect to the listening position
("Speaker
size
check'; "Crossover Frequency check"
and
"Room
EO
correction")
is
measured automatically at positions 2 to
6.
o Press
'1
to select "2nd Start'; then press
<l.
• Measurements for the 2nd point start.
® Move the microphone to the 3rd point
and
press
<l.
• Measurements for the 3rd point start.
® Perform ® repeatedly.
When "Calculate"
is
selected at "Step 2'; the speaker system
is
analyzed automatically.
"Calculate"
is
displayed when
you
complete measurements
in
6
points.
To
complete
STEP
2
in
5 or less positions, press
'1
to select
"Calculate':
( Step 2 : Measurements
( Step 3 : Calculation
~,
The
time required for this analysis depends
on
the number of speakers
connected.
The
more the number of speakers, the longer the time
required for analysis.
-u·n.
Do
not change the speaker connections or subwoofer volume after
making the measurements.
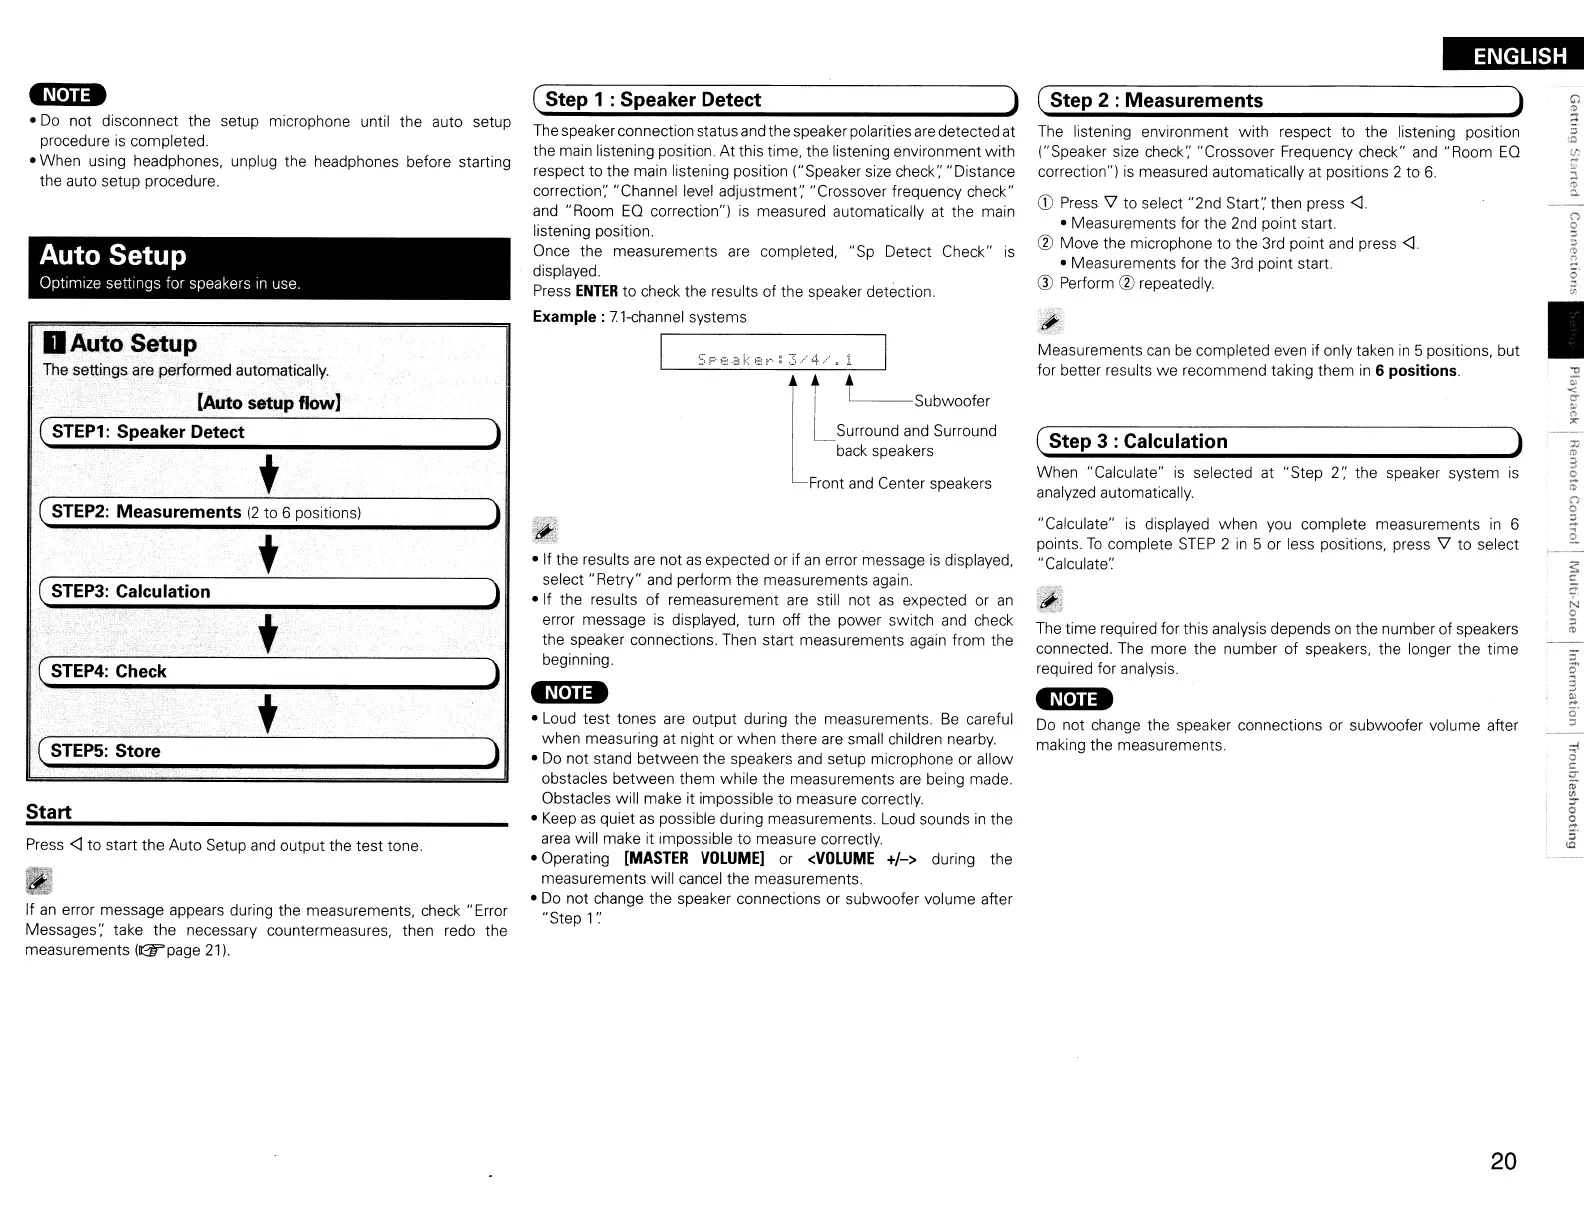
SF;::..;k
e~-·:
3
.....
4./.1
&l
&L
t Subwoofer
Surround
and
Surround
back
speakers
Front
and
Center speakers
• If the results
are
not
as
expected or if
an
error message
is
displayed,
select"
Retry"
and
perform the measurements again.
• If the results of remeasurement
are
still not
as
expected or
an
error message is displayed, turn off the power switch
and
check
the speaker connections.
Then
start measurements again from the
beginning.
( Step 1 : Speaker Detect )
The
speaker connection status
and
the speaker polarities
are
detectedat
the main listening position. At this time, the listening environment with
respect to the main listening position ("Speaker
size
check'; "Distance
correction'; "Channel level adjustment'; "Crossover frequency check"
and
"Room
EO
correction")
is
measured automatically at the main
listening position.
Once the measurements
are
completed, "Sp Detect Check"
is
displayed.
Press
ENTER
to check the results of the speaker detection.
Example:
7.1-channel
systems
-------~
-n·n.
• Loud test tones
are
output during the measurements.
Be
careful
when measuring at night or when there
are
small children nearby.
•
Do
not stand between the speakers
and
setup microphone or allow
obstacles between them while the measurements
are
being made.
Obstacles will make it impossible to measure correctly.
•
Keep
as
quiet
as
possible during measurements. Loud sounds
in
the
area
will make it impossible to measure correctly.
• Operating
[MASTER
VOLUME]
or
<VOLUME
+/->
during the
measurements will cancel the measurements.
•
Do
not change the speaker connections or subwoofer volume after
"Step 1
':
)
)
)
)
)
DAuto
Setup
The
settings
are
performed automatically.
(Auto setup flow]
t
t
t
t
( STEP3: Calculation
( STEP1: Speaker Detect
( STEP2: Measurements
(2
to 6 positions)
(
STEPS:
Store
( STEP4: Check
Press
<l
to start the Auto Setup
and
output the test tone.
Start
20
 Loading...