Section 9: Standard & Optional Machine
Features
133
Zing 24 Rotary Attachment
The optional Rotary Attachment allows you to mark, engrave or cut cylindrical
objects. The Rotary Attachment works in both raster and vector modes.
Machine Preparation
If you already have a Zing laser system and have just received your rotary
attachment, there is a bracket that needs to be installed before using the attachment.
This bracket is supplied with the rotary attachment and is used to route the connector
cable that leads from the rotary attachment to be connected at the machine.
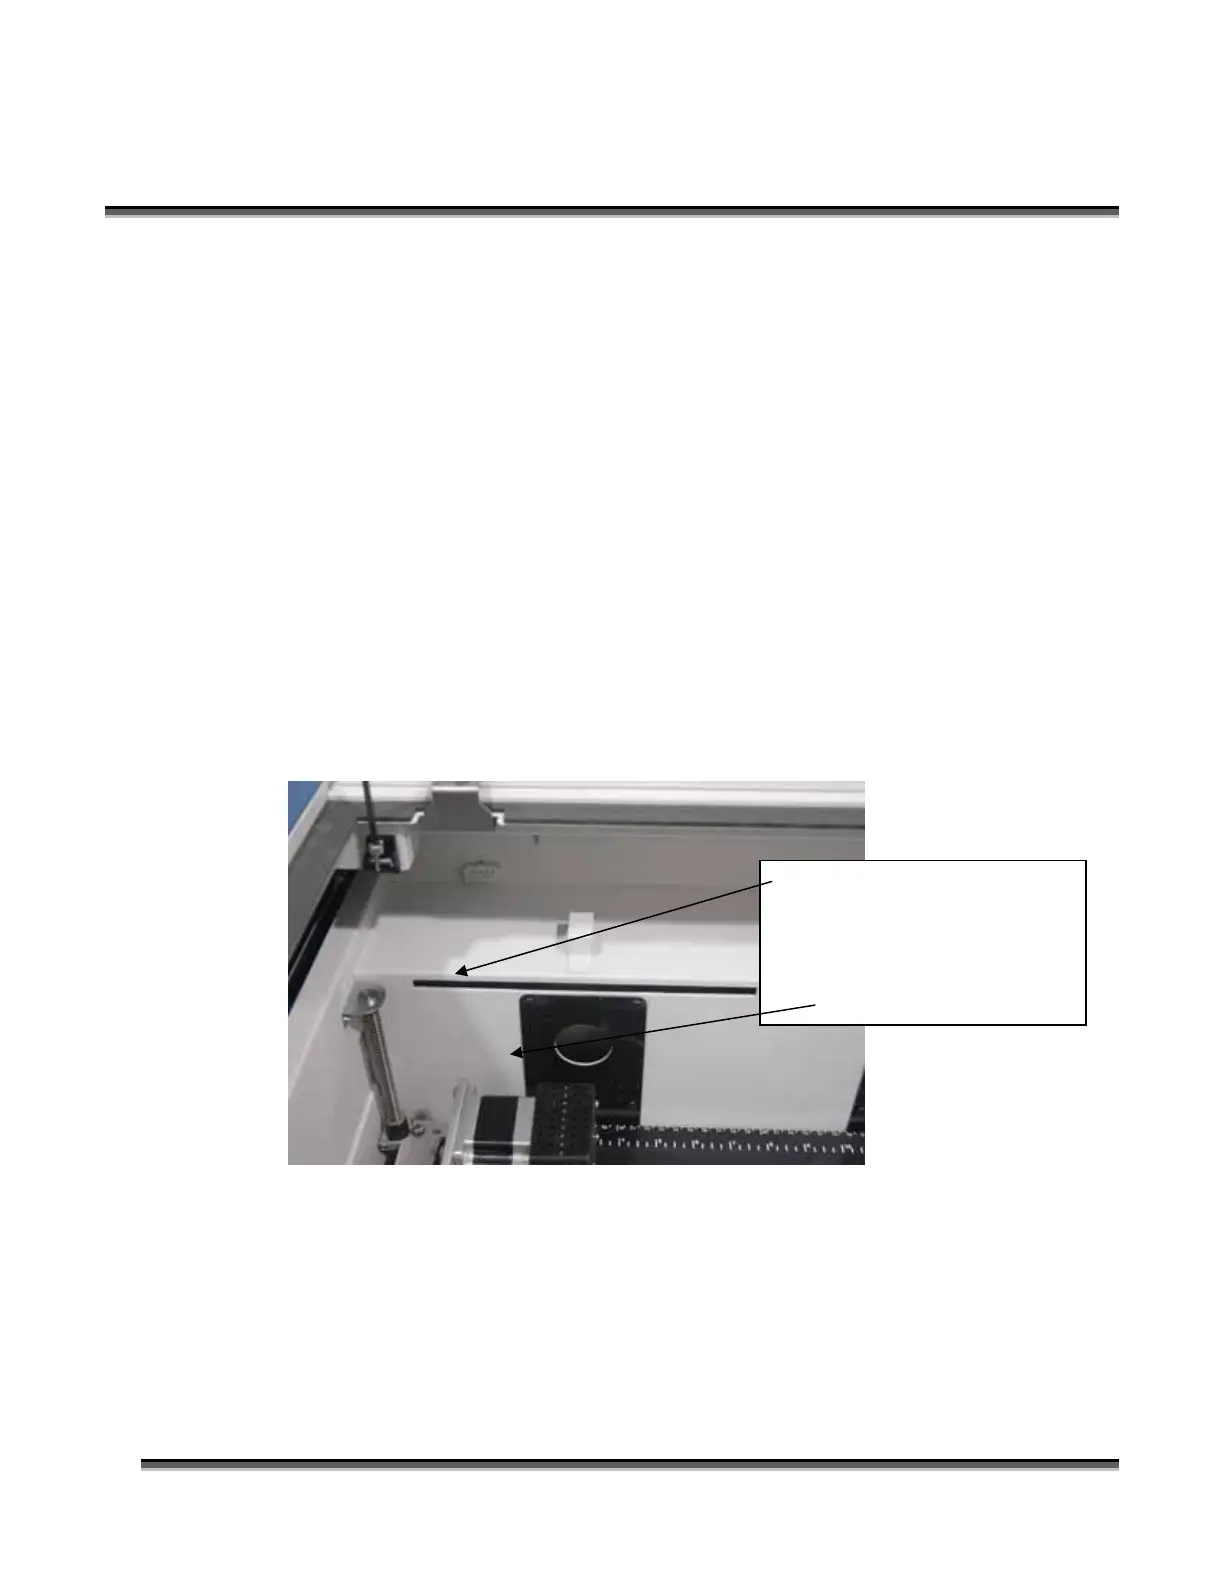
The bracket does not need tools to install. Adhesive is used to bind it to the chassis.
To install the bracket, remove the protective plastic from the adhesive and press the
bracket into place at the location shown in the photo below.
Firmware Preparation
Your Zing 24 laser system needs firmware version 1.0.0.6 or higher to operate the
rotary attachment. To determine what version of firmware is installed into your
machine, turn on your machine and watch the display as the machine goes through its
initialization sequence. At the end of the sequence the display will show you the
firmware version. If your machine has a lower version number of firmware you will
Attach the bracket so the front
edge is almost to the bend in
the plenum. The bracket
should be centered above the
black exhaust port.

 Loading...