Section 9: Standard & Optional Machine
Features
134
need to upgrade your firmware by accessing the Epilog web site at
www.epiloglaser.com/downloads under the Tech Support tab. Instructions on how to
download and then upgrade the firmware can be found on the download page as well
as in your owner’s manual.
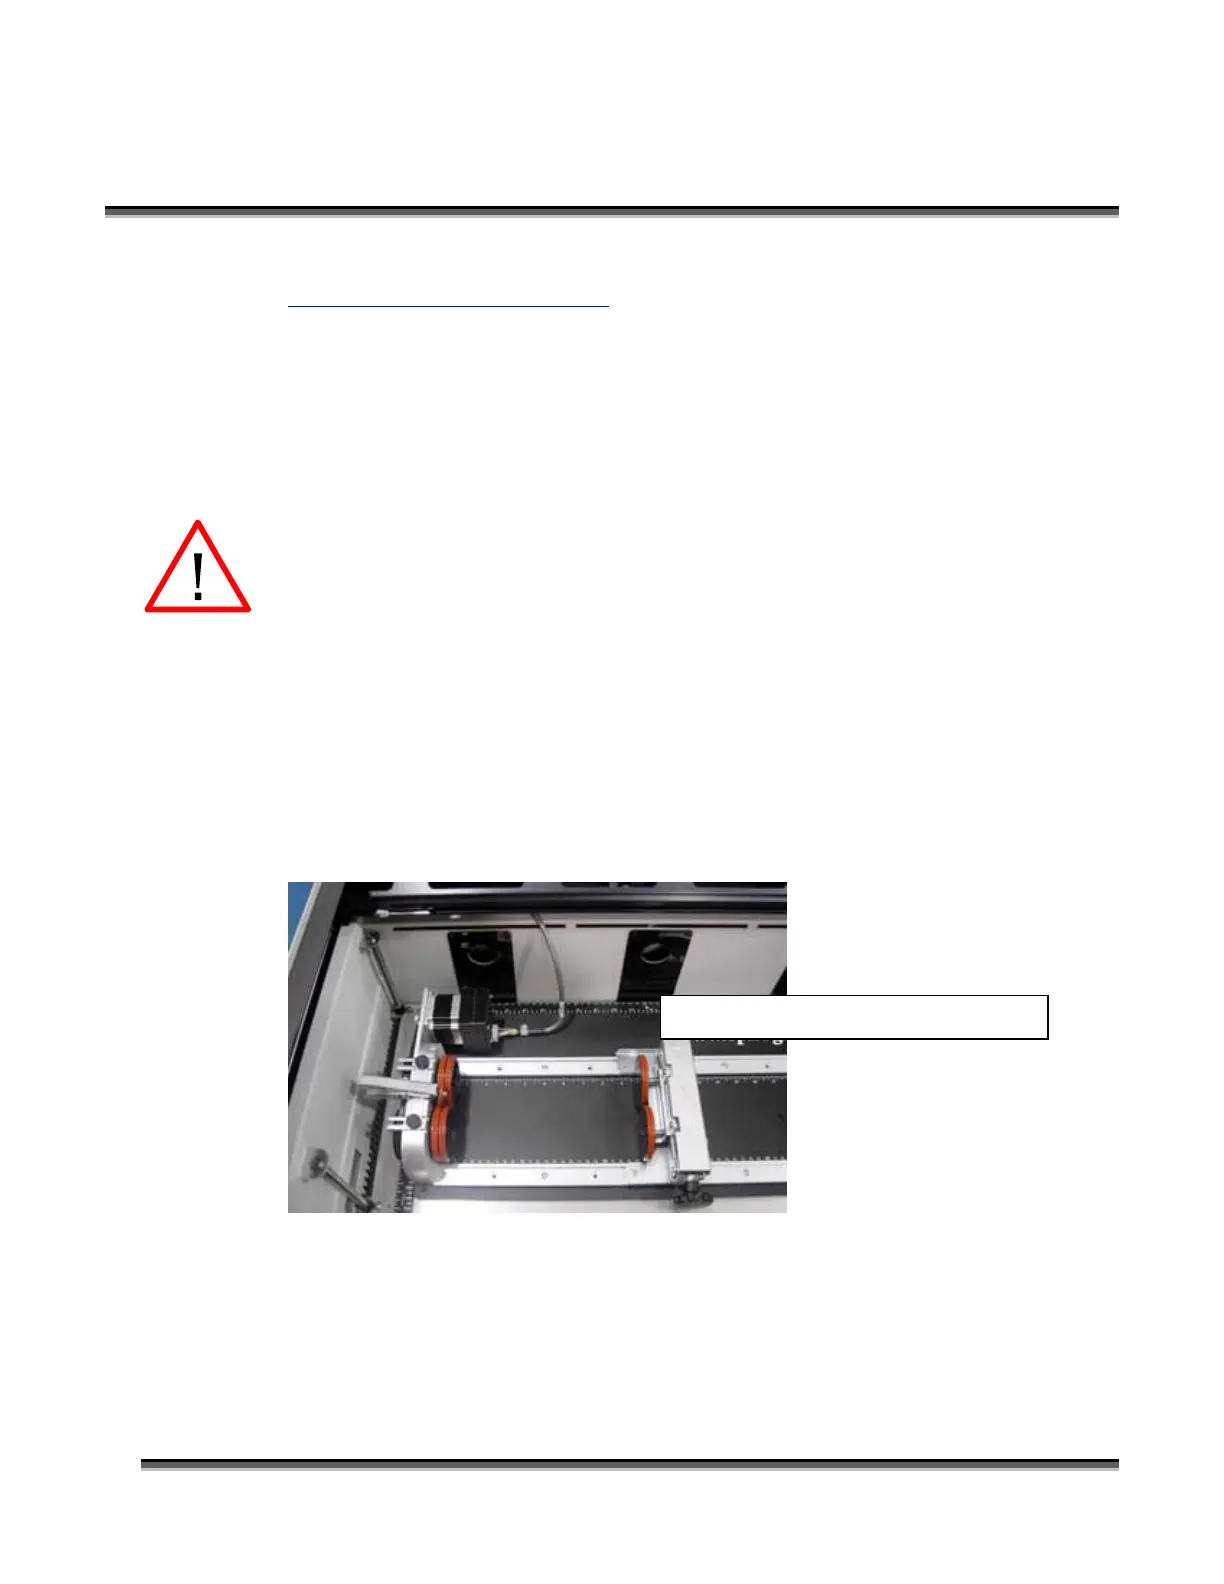
Rotary Attachment Installation
1. Lower the engraving table to its lowest point.
Turn off the power to the engraver. It’s important that the laser system is turned
off before installing the rotary attachment.
2. Manually move the X-beam towards the front of the machine. This provides
better access for plugging in the rotary attachment.
3. Place the rotary attachment with the motor end of the attachment in the upper
left corner of the table. The rotary base plate should be positioned against the
left side ruler and the top side ruler. The rotary rests on the table against the
rulers and does not need to be locked in place.
4. Insure the rotary base plate is not resting on top of the rulers.
5. Route the connector cable as shown below. This routing prevents the cable
from being pinched by the X-Beam when it travels to the back of the machine
during the initialization sequence at power-up.
This photo shows the rotary in place.

 Loading...