Section 9: Standard & Optional Machine
Features
135
Once your rotary is connected you can power-up the laser system.
Setting Home (First time use only).
New installations may need to set the Rotary Home Position.
1. Install the rotary and power up the system. The X-beam will go through its
standard power up sequence and will come to rest over the rotary.
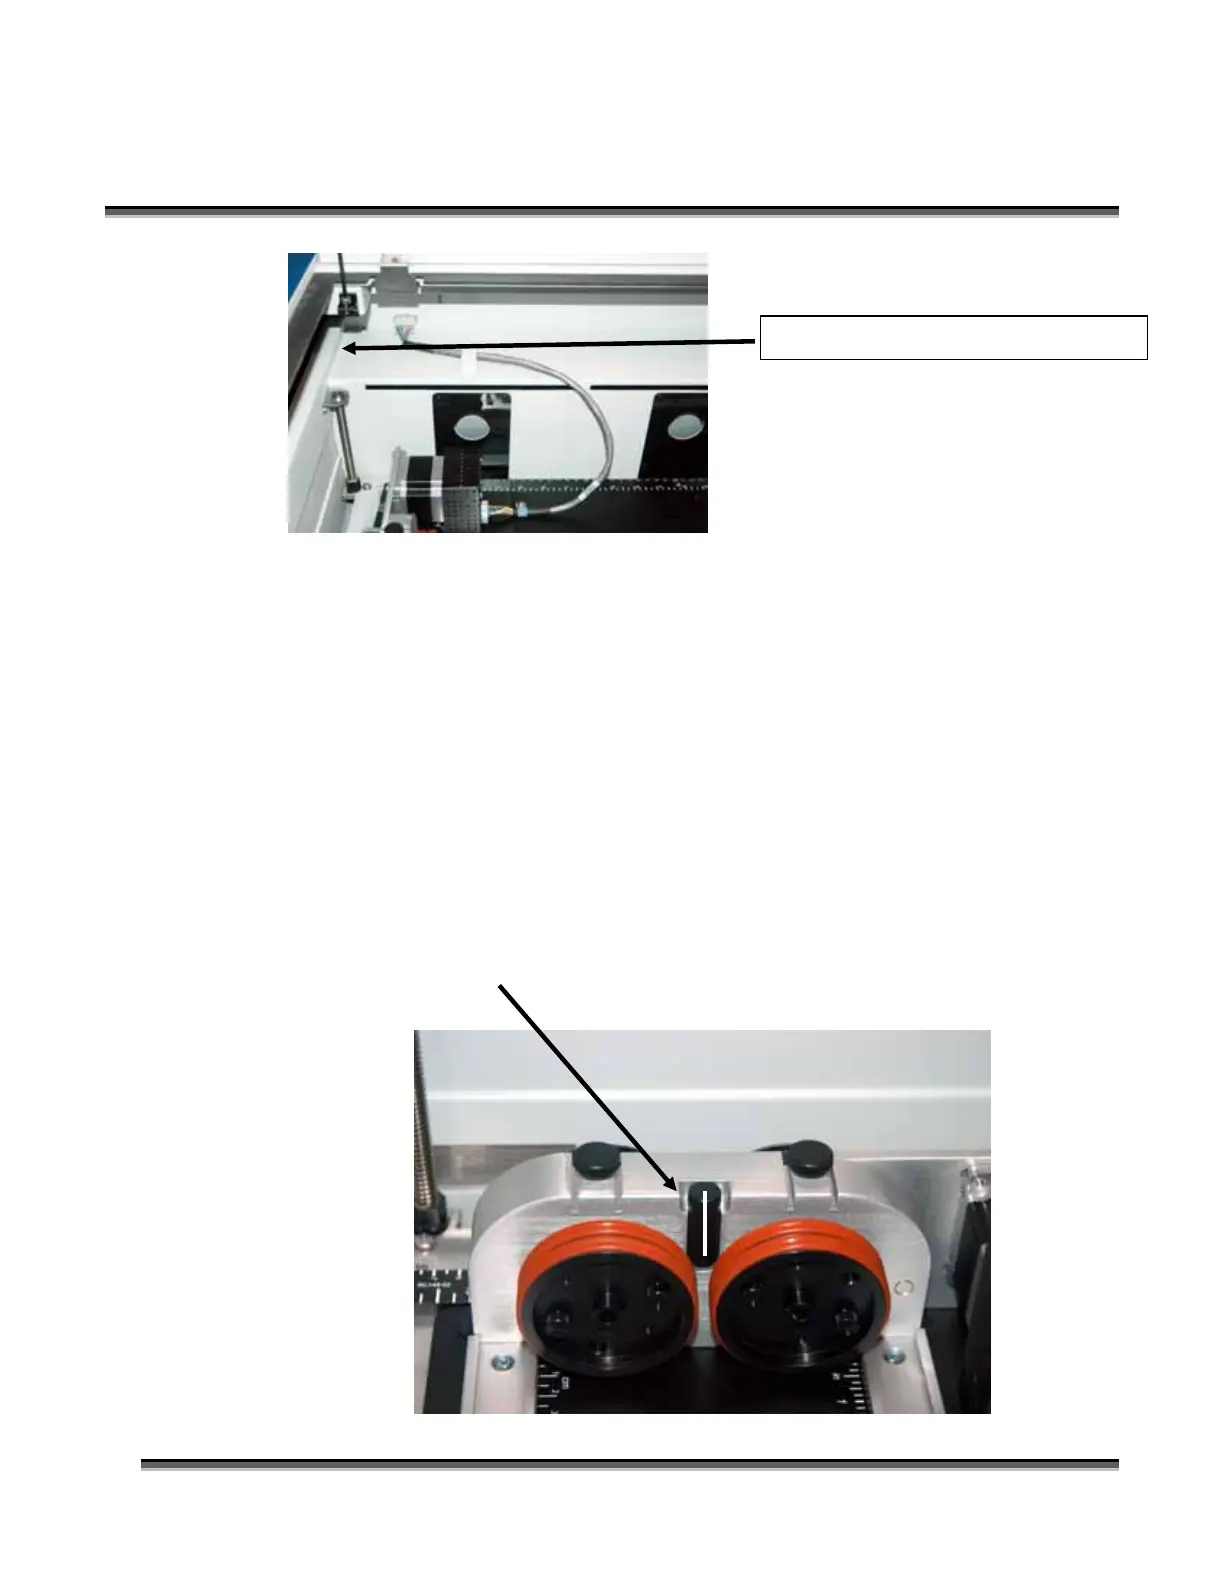
2. Turn on the red dot pointer (you may need to raise the table to focus the red dot
pointer). The red dot will show you the location of your Home position. For
proper operation, the Home position should be at the middle edge of the black
bumper as shown below. If your red dot is not at this location, you will need to
adjust the X and Y axis settings to establish the correct rotary home position.
Route the cable through the bracket.

 Loading...