Section 9: Standard & Optional Machine
Features
136
There is an adjustable numerical setting for both the X and Y axes that allow you to
adjust your red dot pointer so it is calibrated to the edge of the bumper. To change the
Rotary Home settings follow the instructions below:
3. Press the Config button on your Zing keyboard.
4. Use the left or right cursor arrows to scroll to X R Home to change the x-axis
(Y R Home for the Y-axis)
5. Use the Up or Down cursor buttons to adjust the numerical setting.
6. After adjusting the setting, press the Go button to save the new setting.
7. Press the Reset button to move the carriage to its new position.
8. Repeat these steps to fine tune your position.
Once you have set and saved the X and Y rotary Home position you will not have to
set it again.
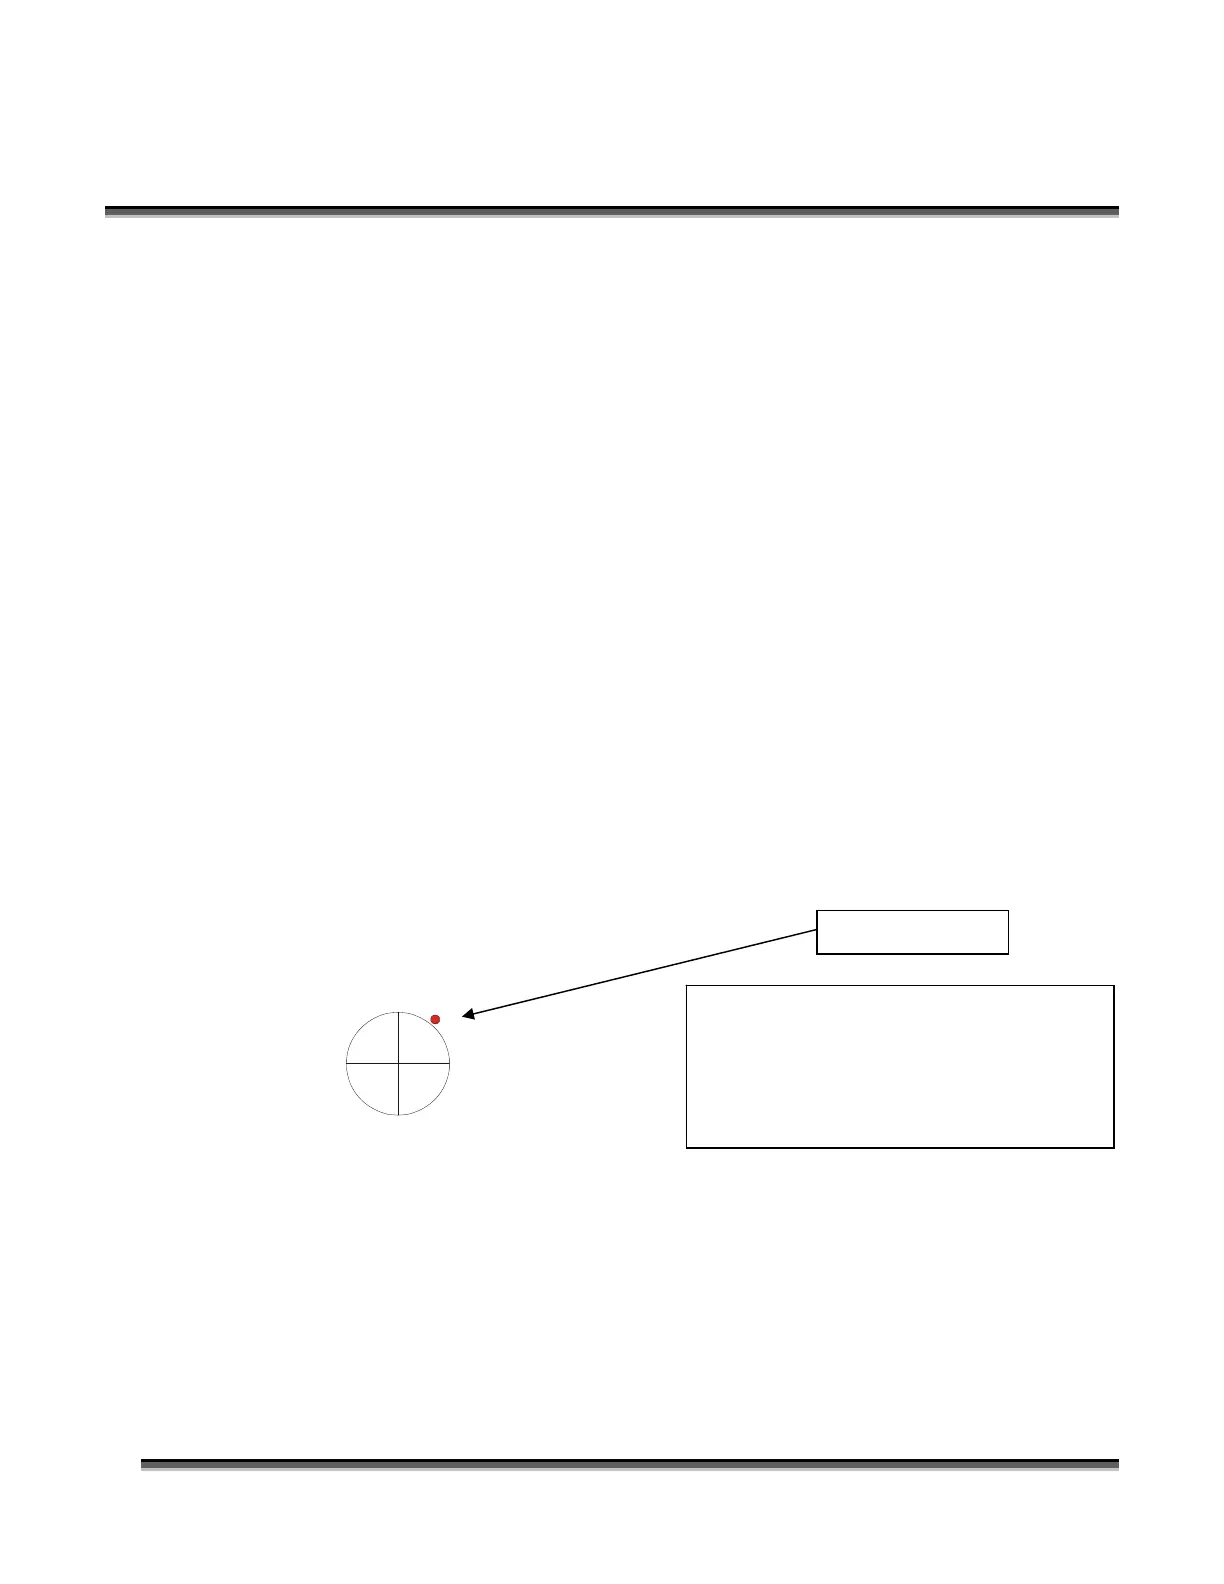
We have found the following diagram along with the red dot pointer is helpful in
visualizing how to set the Home position. The drawing represents the black bumper.
The standard rotary Home position is at the East (E) edge of the bumper. The
numbers represent the total range available for adjustment, although the available
adjustment is far greater than what is necessary to set the red dot at the East edge of
the bumper. The larger numbers are used for very specialized applications where an
entirely different Home setting is desirable.
We need to move the red dot a little South (S) and a little East (E). We’ll adjust the
Y-axis first. We need to move the red dot to the South (towards +9500). Press the
Config button, and then the left or right cursor buttons until you get to the Y R Home:
menu item. We need to increase this number, but not by much, so we’ll press the Up
cursor button to increase the number to +0150. Next press Go, and then Reset. The
red dot will move to its new Y Home position:
Red dot pointer
For the following example, we’re going
to assume that when we first install the
rotary and turn on our red dot pointer,
it’s located at in the following position
on the black bumper:
N
S
EW
-2000
+7500
+9500
-4000

 Loading...