Appendix B Printing from AutoCAD
232
description of how Color Mapping works, refer to the Using The Epilog Legend
Dashboard, Color Mapping section of this manual.
Model Space, Paper Space, and Precise Location
AutoCAD was designed to print to paper plotters and some of the assumptions
(especially Scaling and Margins) that AutoCAD makes when printing can cause
frustration for laser users that are used to being able to send a job to the laser and
have its precise location be very predictable. Printing from either Paper Space or
Model Space will work. Be aware that the scaling and margin assumptions made
by AutoCAD can affect both the size and location of the work.
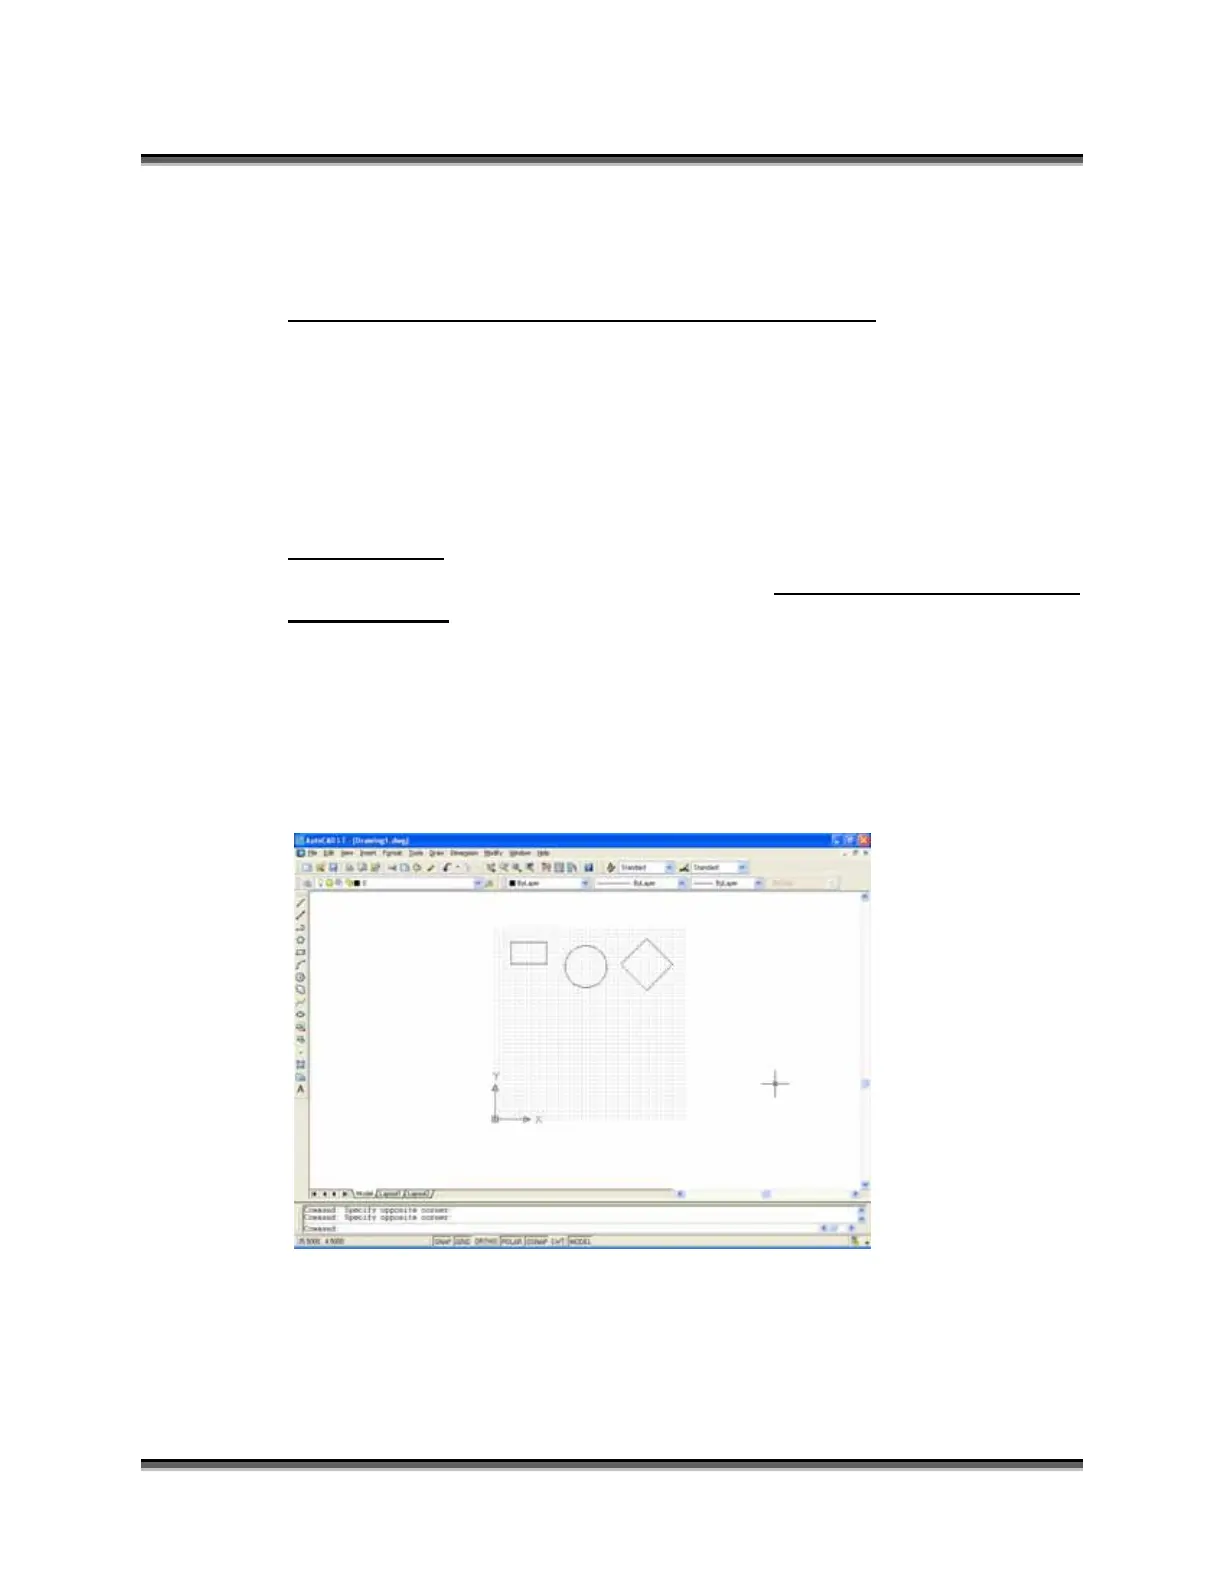
Helpful Hints
When printing from AutoCAD you will need to set up your AutoCAD page so
that it is square. This prevents the objects from rotating 90 degrees when you
print them. The page in the example below is set to 16 x 16 inches.
Place all of your objects in the upper portion of the AutoCAD page (see
illustration below). If you are printing to a bed size of 16 x 12 inches (406 x 305
mm) and you have a 16 x 16 inch page, the objects in the lower 4 inches will not
be processed.

 Loading...