❏ Platen Gap
❏ Detect Paper Thickness
❏ Paper Feed Adjust
❏ Paper Suction
❏ Roll Paper Tension
❏ Remove Skew
❏ Setting Name
Setting Item DetailsU “Paper menu” on page 44
Saving Settings
Use the following procedure to save paper settings.
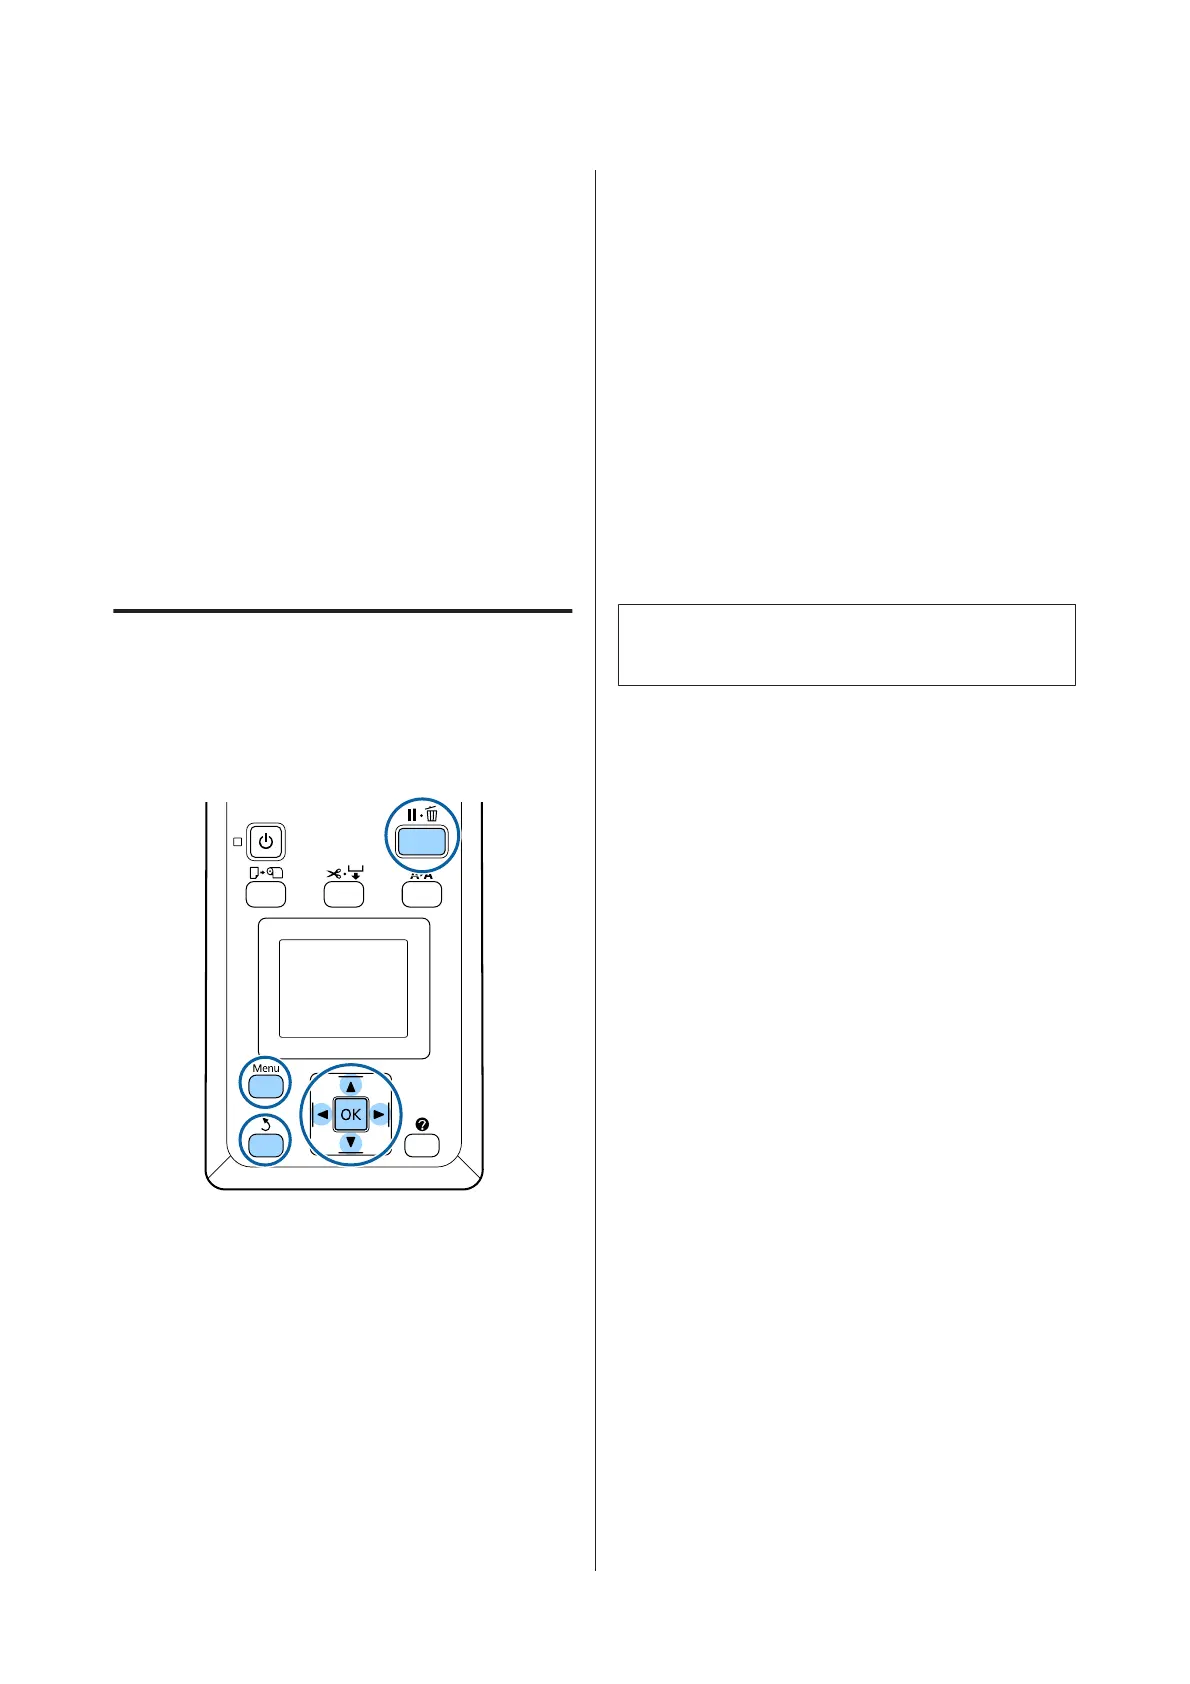
Buttons that are used in the following settings
Selecting the Save Destination for
Custom Paper Setting
A
Confirm that the printer is ready to print.
Press the l/r buttons to open the . tab, then
press the Z button.
The Paper menu will be displayed.
B
Press the d/u buttons to highlight Custom
Paper Setting and press the Z button.
The Custom Paper Setting menu will be
displayed.
C
Press the d/u buttons to select the slot (1 to 10)
where you want to save the custom paper
settings, then press the Z button.
The custom paper settings menu for the selected
number will be displayed.
Note that if you select a number for which
settings have already been saved, the old settings
will be overwritten.
Note:
Press the W button to close the settings menu.
Select Reference Paper
Select the paper type that is the closest in characteristics
to the paper you are using.
A
Select Select Reference Paper in the paper
settings menu, then press the Z button.
B
Press the d/u buttons to select reference paper,
and then press the Z button.
C
Press the d/u buttons to select the paper closest
to the one you are using, then press the Z
button.
D
Press the y button twice to return to the paper
settings menu.
Platen Gap
Select the platen gap which is the distance between the
print head and the paper. Normally, select Standard.
Select a wider setting if printed images are smeared. If,
upon performing head alignment you feel that it is still
not completely aligned, select Narrow.
A
Press the d/u buttons on the paper settings
menu to highlight Platen Gap and then press the
Z button.
B
Press the d/u buttons to select the target setting
value, and then press the Z button.
SC-F6200 Series/SC-F6000 Series User's Guide
Basic Operations
32
 Loading...