Head Alignment
Depending on the model or setting status being used,
the maximum length of the media required to print
the test pattern differs as shown below.
Status Length of Media
Used
In 1 head mode Approx. 270 mm
In 2 head mode Approx. 320 mm
Setting procedure
A
Check that the printer is ready, and load the
media according to the actual usage conditions.
When using the Auto Take-up Reel Unit,
attach the media to the roll core.
U “Loading media” on page 27
U “Using the Auto Take-up Reel Unit” on
page 33
B
Press the Menu button.
The settings menu will be displayed.
C
Select Media Setup - Customize Settings -
Media Adjust - Manual - Head Alignment.
D
Press the Z button to print the adjustment
pattern.
Wait until printing is complete.
E
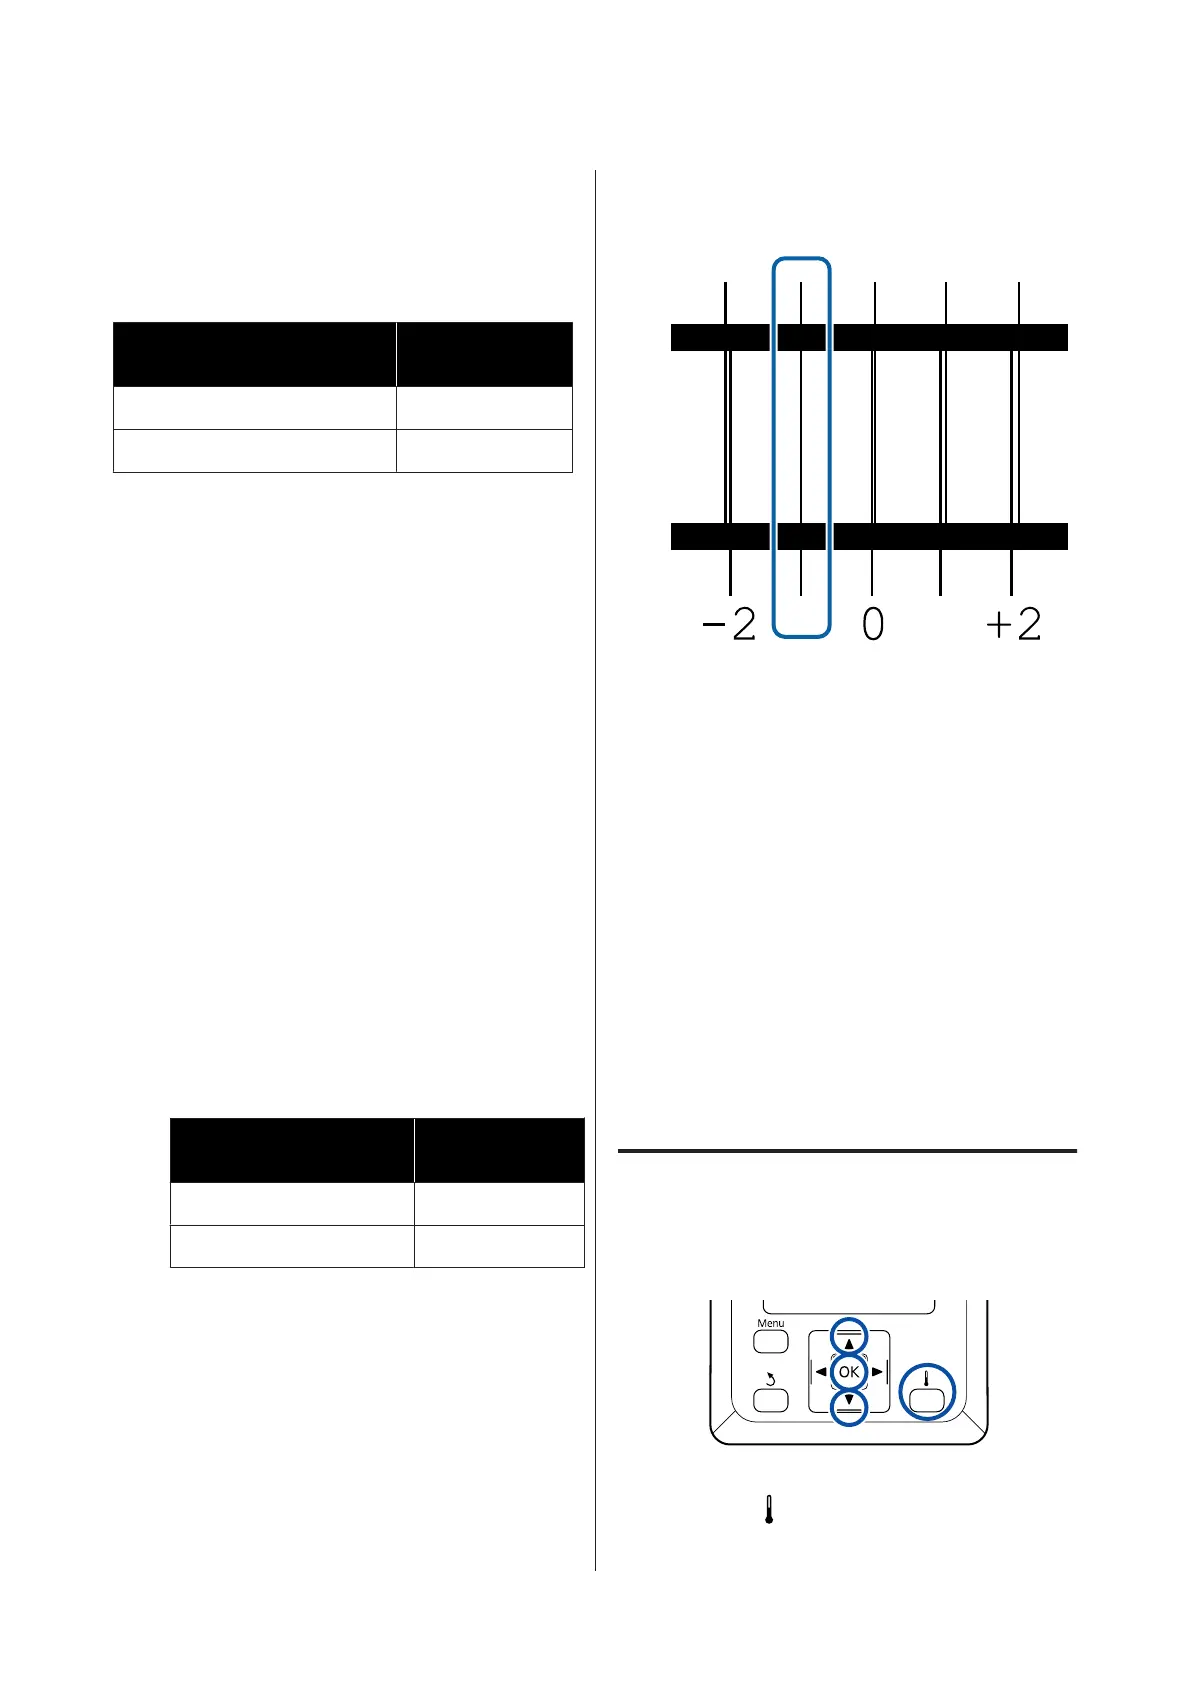
Check the printed adjustment pattern.
Status Adjustment
Pattern
In 1 head mode 4 blocks, A to D
In 2 head mode 12 blocks, A to L
Select the finest lined pattern (all lines overlap)
for both. Select “-1” in the cases shown below.
F
The screen for entering values is displayed.
Using the u/d buttons, enter the pattern
number recorded in Step 5 and press the Z
button.
G
When multiple check patterns have been
printed, select the number per check pattern,
and then press the Z button.
The media setup menu will be displayed when you
enter the pattern number for the last color.
Changing settings during
printing
Changing the Heater's
Temperature
Buttons that are used in the following settings
A
Press the button during printing.
The Heating & Drying menu is displayed.
SC-F9300 Series User's Guide
Basic Operations
50
 Loading...


