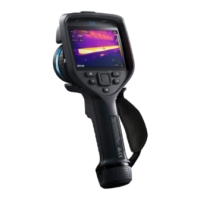
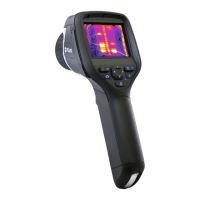
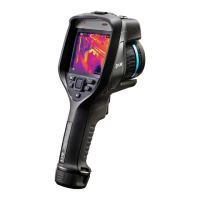
Quick start guide
5
Follow this procedure:
1. Put a battery into the battery compartment.
2. Connect the USB battery charger to the USB connector at the top of the camera.
3. Charge the battery for 2 hours before starting the camera for the first time.
4. Insert a memory card into the card slot at the top of the camera.
Note Empty or use a memory card that has not previously been used in another
type of camera. The cameras may organize files differently on the memory card.
There is therefore a risk of losing data if the same memory card is used in different
types of cameras.
5. Push the on/off button
to turn on the camera.
6. Aim the camera toward the object of interest.
7. Adjust the infrared camera focus by rotating the focus ring.
Note It is very important to adjust the focus correctly. Incorrect focus adjustment af-
fects how the image modes work. It also affects the temperature measurement.
8. Pull the trigger to save an image.
9. When you have completed the inspection, connect the camera to a computer using
the USB cable.
10. Import the images into a FLIR Thermography software and create an inspection
report.
5.1 To keep in mind
• Adjust the focus first. When the camera is out of focus, the measurement will be
wrong.
• By default, most cameras adapt the scale automatically. Use this mode first, but do
not hesitate to set the scale manually.
• A thermal camera has a resolution limit. This depends on the size of the detector, the
lens, and the distance to the target. Use the center of the spot tool as a guide to the
minimum possible object size, and get closer if necessary. Make sure to stay away
from dangerous areas and live electrical components.
• Be careful when holding the camera perpendicular to the target. Be observant of re-
flections, especially at low emissivities—you, the camera, or the surroundings may be-
come the main source of reflection.
• Select a zone of high emissivity, e.g., an area with a matte surface, to perform a
measurement.
• Blank objects, i.e., those with low emissivities, may appear warm or cold in the cam-
era, because they mainly reflect the environment.
• Avoid direct sunlight on the details that you are inspecting.
• Various types of faults, e.g., those in a building’s construction, may result in the same
type of thermal pattern.
• Correctly analyzing an infrared image requires professional knowledge about the
application.
#T810587; r. AA/74078/74713; en-US
9
 Loading...