Working with measurement tools12
4. Push the navigation pad to display a dialog box.
5. Use the navigation pad to change the parameter.
6. Push the navigation pad to confirm and exit the menu mode.
12.5.4.2 Changing local parameters
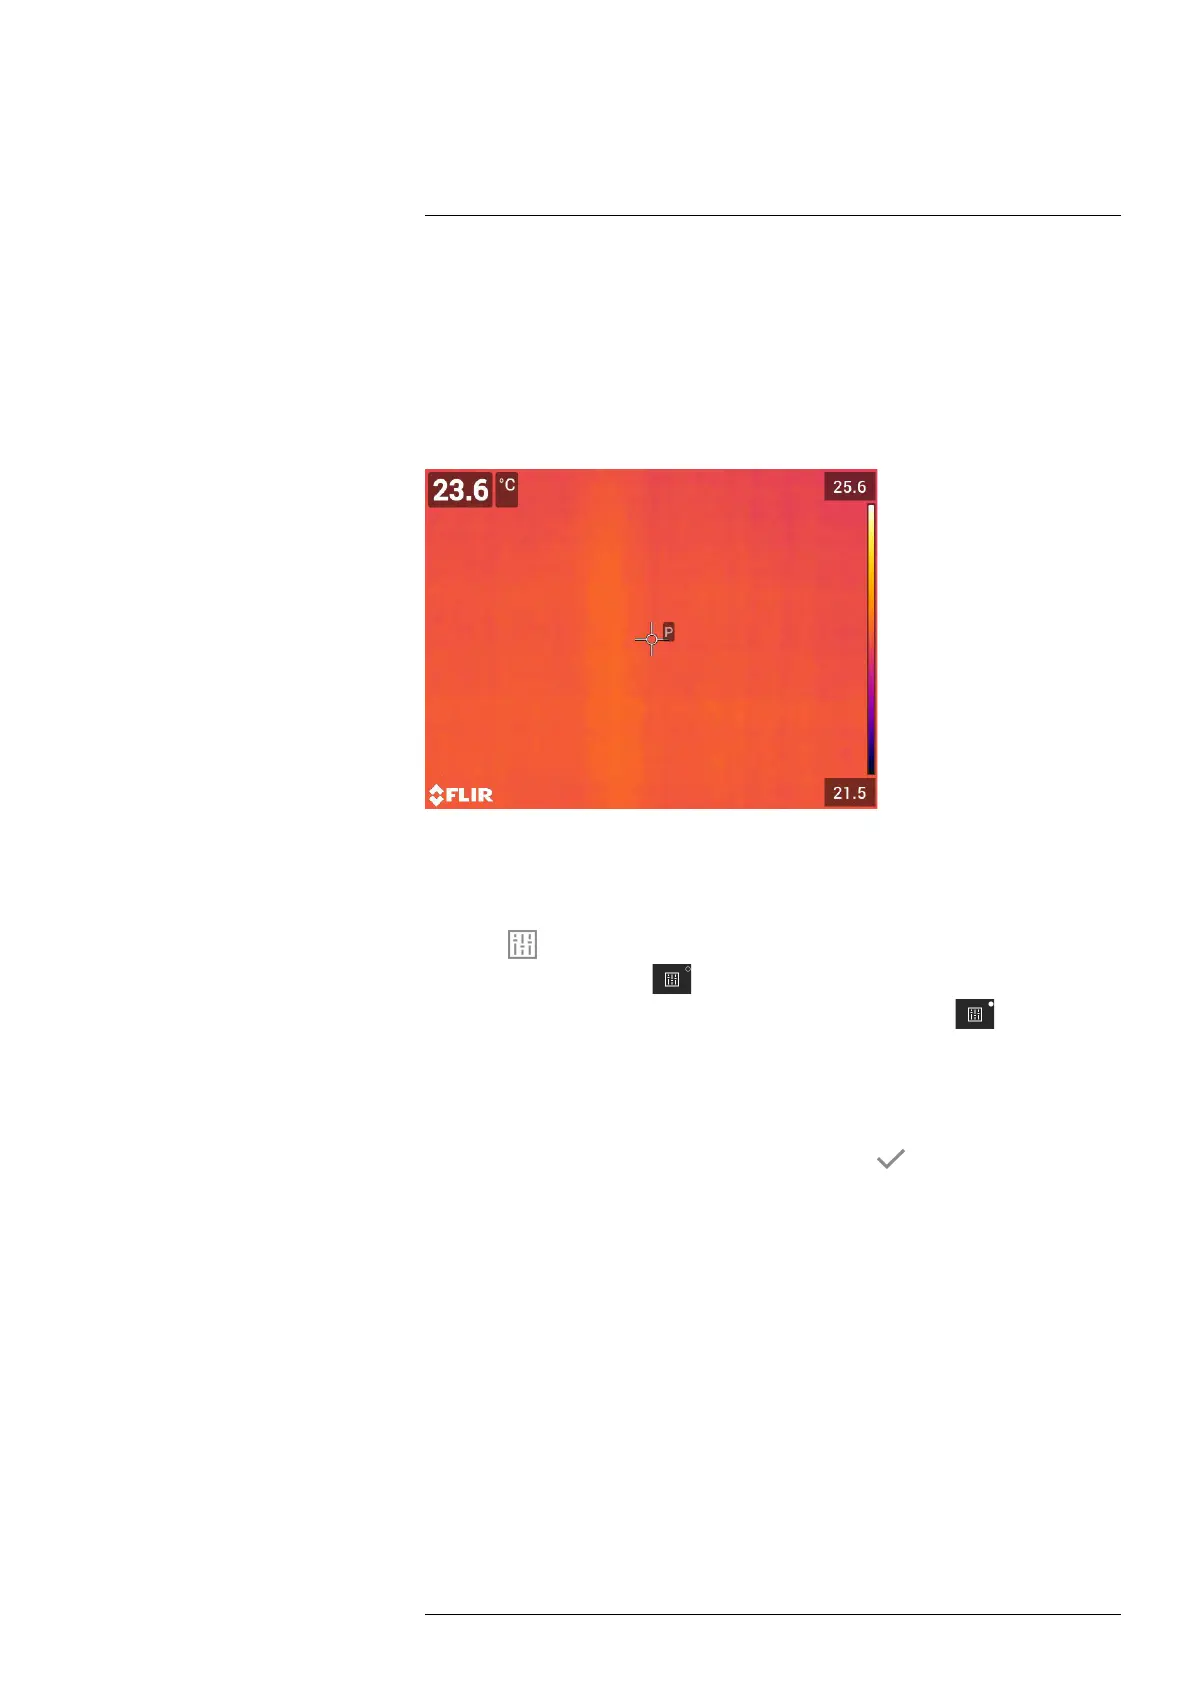
You can change the local parameters for a measurement tool.
A P next to the measurement tool on the screen indicates that local parameters have
been activated for the tool.
Follow this procedure:
1. To select the measurement tool, touch the tool on the screen. The tool is now dis-
played with one or more handles.
2. Push the navigation pad—or touch and hold the tool. This displays a context menu.
3. Select
(Use local parameters).
4. Push the navigation pad.
(icon with unfilled indicator) is displayed.
5. Push the navigation pad to activate the use of local parameters.
(icon with filled
indicator) is displayed together with a submenu.
6. Use the navigation pad to select one or more of the local measurement parameters.
7. Push the navigation pad to display a dialog box.
8. Use the navigation pad to change the parameter.
9. Push the navigation pad. This closes the dialog box.
10. When completed, push the navigation pad and select
(Done).
11. Push the navigation pad to confirm and exit the menu mode.
Note When you select another measurement tool, the local parameters are reset. If
you wish to keep the local parameter settings, use the user preset feature, see section
12.3 Editing user presets.
12.6 Displaying values in the result table
For the box and circle tools, you can set the camera to display the maximum, minimum,
average, and area values in the result table.
#T810587; r. AA/74078/74713; en-US
63
 Loading...