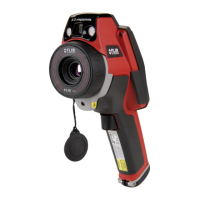
Camera parts
14
7. A/M button (Auto/Manual).
Function:
• Push and release the button to change the image adjustment method between Au-
to, Manual, and HSM.
• Push and hold down the button for more than 1 second to perform a non-uniform-
ity correction (NUC).
Note
◦ Performing an NUC is typically not needed during normal operating procedures.
◦ The NUC should be performed against a uniform temperature scene. Other-
wise, the present image will create an artifact that will appear as a superim-
posed ghost image. If this occurs, restart the camera.
◦ When an NUC has been performed, an asterisk (*) is displayed in the result ta-
ble, indicating that the measurement may be affected. The asterisk disappears
when the camera is restarted.
◦ For more information, see section 42 About calibration, page 122.
8.
button.
Function:
• When an image is in preview or archive mode, push the button left/right to adjust
the zoom.
• When an image is in live mode, the button has no function.
9. Hand strap.
10. Focus ring on the infrared lens.
11. Infrared lens.
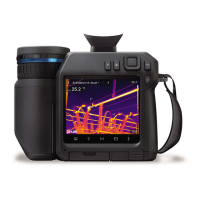
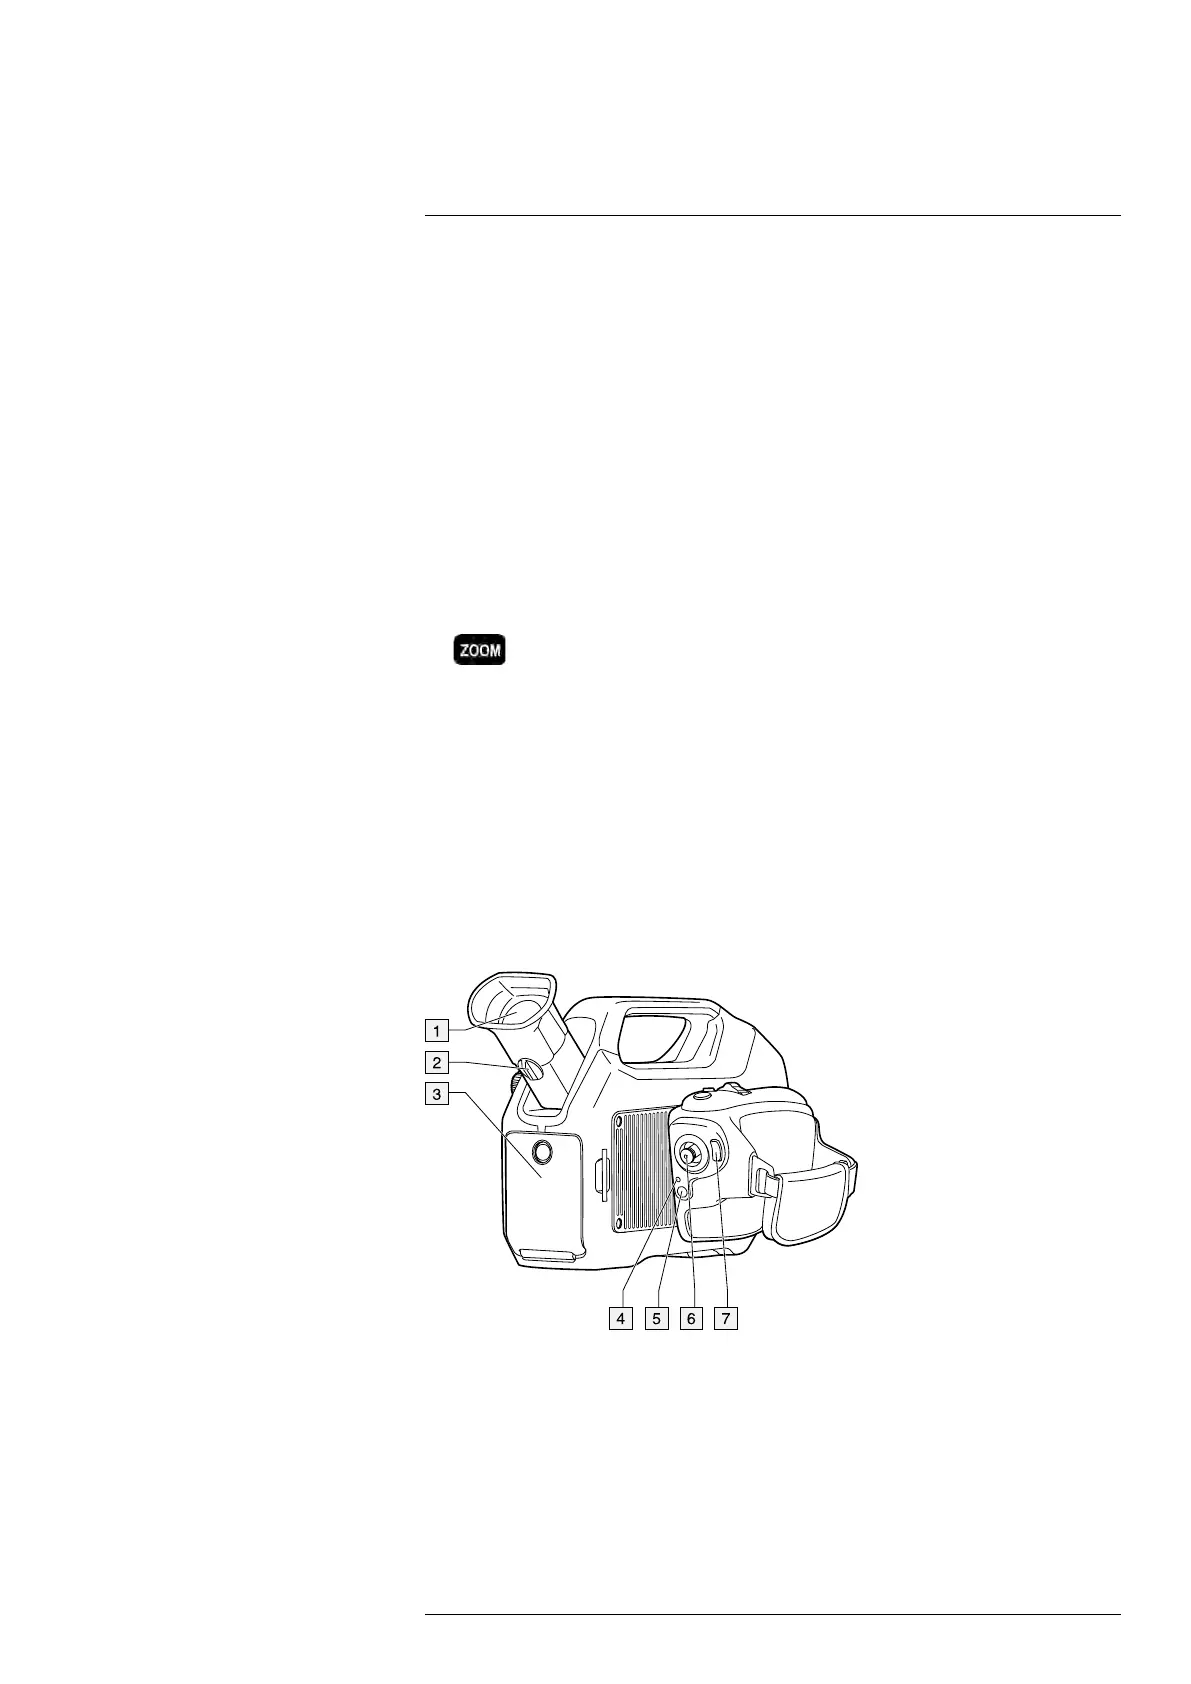
14.3 View from the rear
14.3.1 Figure
14.3.2 Explanation
1. Viewfinder.
2. Adjustment knob for the viewfinder’s diopter correction.
3. Cover for the connector and battery compartment. The cover is fastened with a Torx
screw (T20).
4. Power LED indicator.
#T810169; r. AN/42241/42268; en-US
36
 Loading...