4 Scan
196
Scan
4
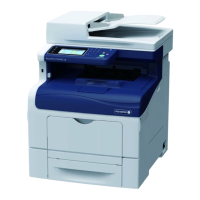
1 Check [Preview].
2 The message screen on the right will be
displayed. Configure each settings and press
the <Start> button.
3 Preview the scanned images after the document is scanned.
For more information, refer to "Previewing the Scanned Images during a Scan Job" (P.177).
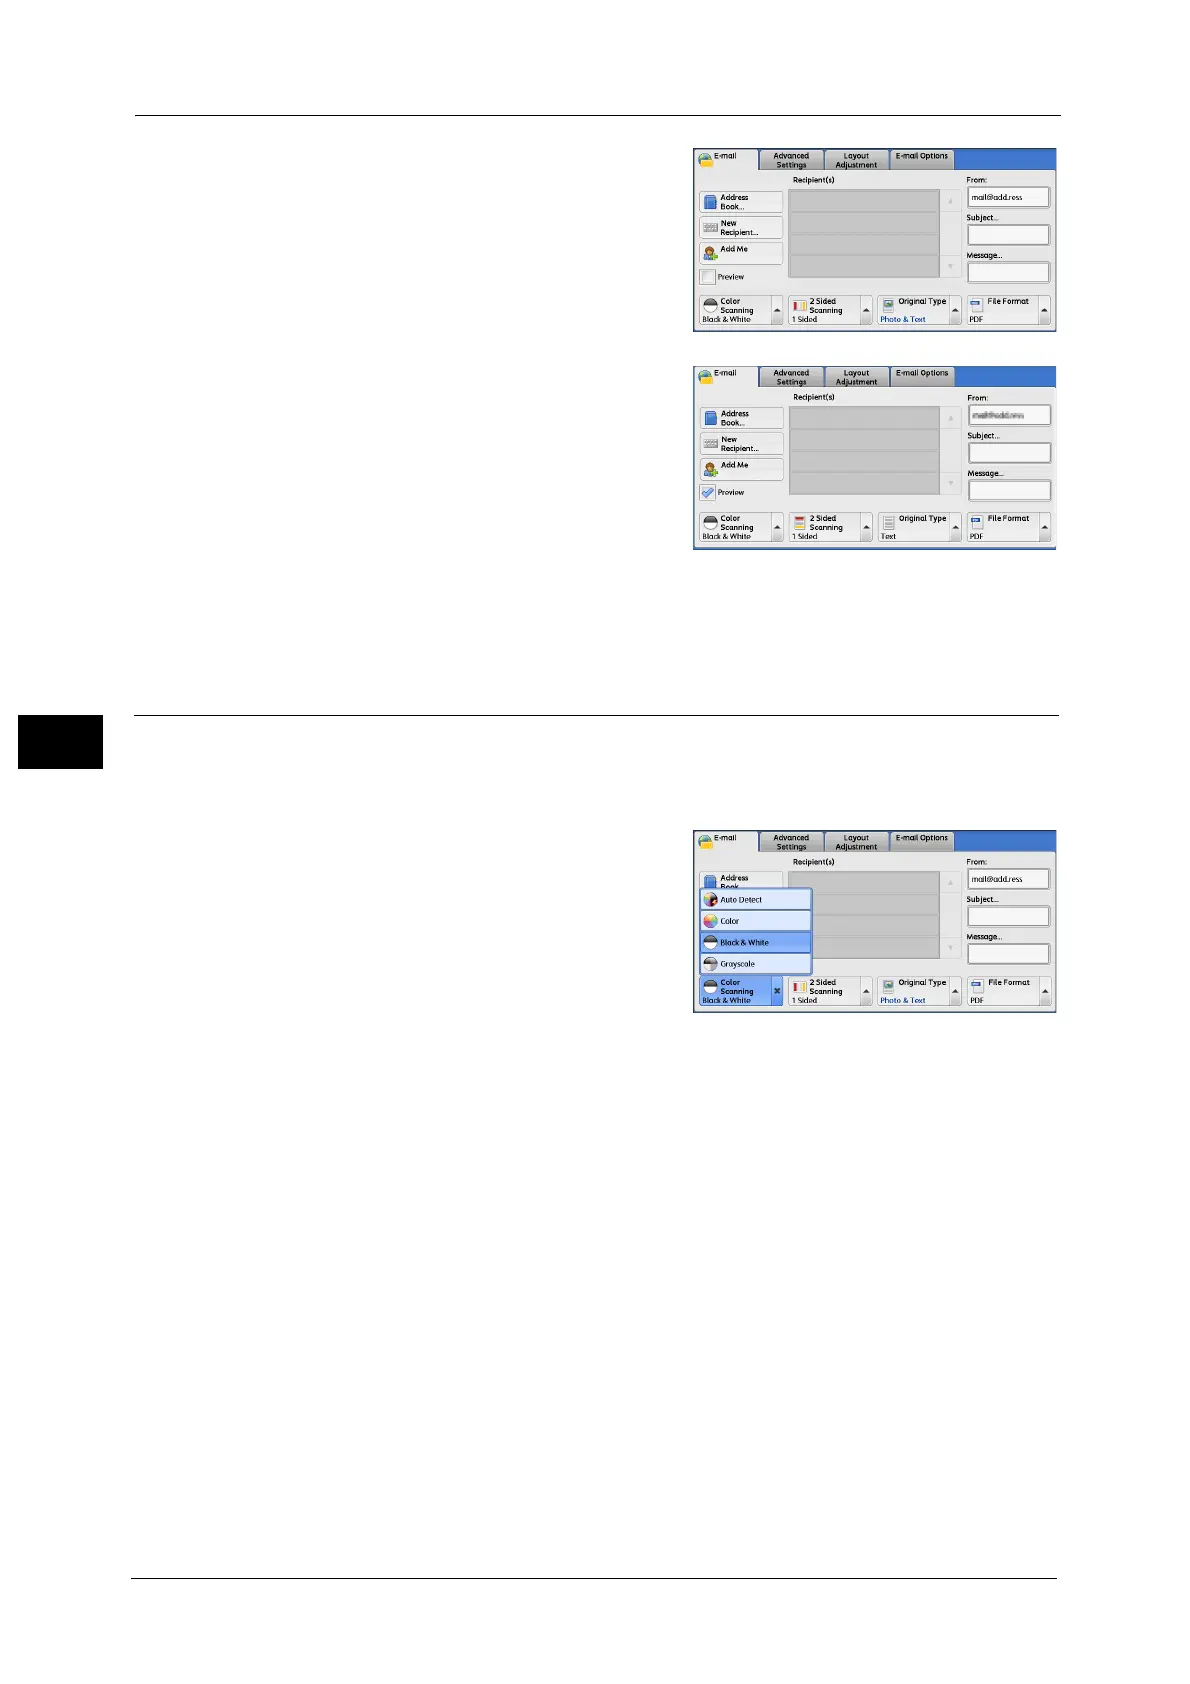
Color Scanning (Selecting an Output Color)
You can set the output color to scan a document.
Note • [Color Scanning] is not displayed on the [E-mail] screen depending on the settings in the System
Administration mode. In that case, set [Color Scanning] from the [Advanced Setting] screen.
1 From the menu displayed by selecting [Color
Scanning], select any option.
Auto Detect
The color of the document is determined automatically; the machine scans in full color when
the document is colored, otherwise scans in monochrome.
Note • When you select [Auto Detect], the available features on the [Advanced Settings] screen are the
same as when you select [Color] in [Color Scanning] for color documents, or the same as when you
select [Black & White] in [Color Scanning] for monochrome documents.
Color
Select this option to scan a color document.
Black & White
Scans a document in monochrome two tones. You can select the document type in [Original
Type].
Note • [Black & White] is not selectable when [MRC High Compression] is set to [On] on the [File Format]
screen or Microsoft
®
Office format is selected.
 Loading...