217 Troubleshooting
Performing Auto Correct
Auto Correct allows you to correct the color registration automatically.
The Operator Panel
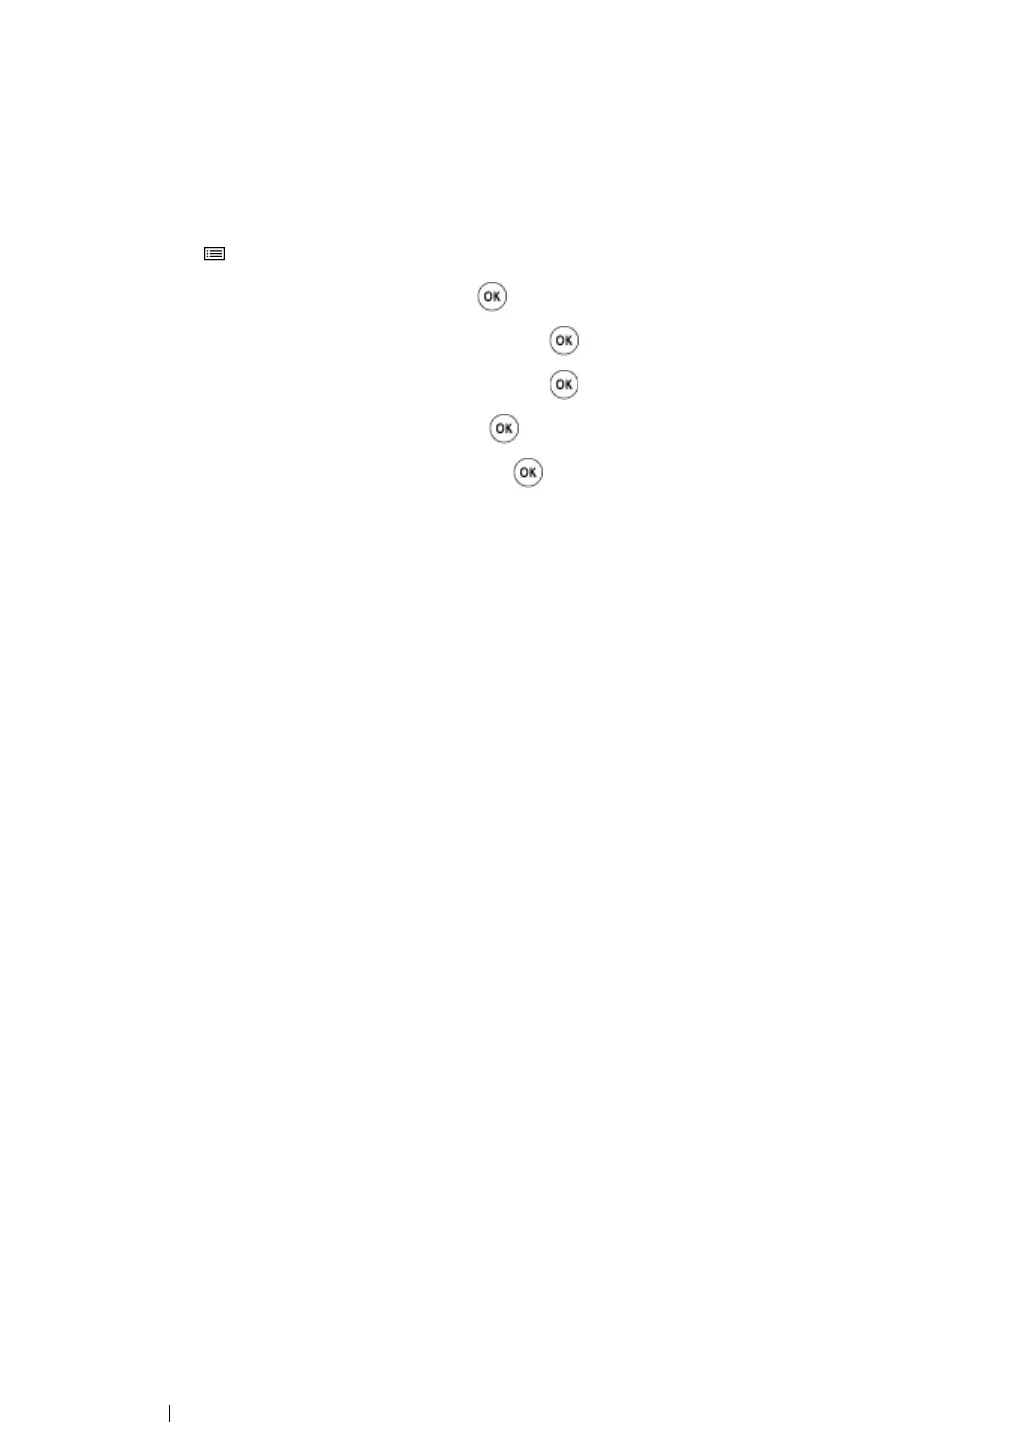
1 Press the (Menu) button.
2 Select Admin Menu, and then press the button.
3 Select Maintenance Mode, and then press the button.
4 Select Adjust ColorRegi, and then press the button.
5 Select Auto Adjust, and then press the button.
6 Select Are you sure?, and then press the button.
Auto Correct is performed.
The Printer Setting Utility
The following procedure uses Microsoft
®
Windows
®
XP as an example.
1 Click start → All Programs → Fuji Xerox → Fuji Xerox Printer Software for Asia-Pacific →
FX DocuPrint CP205/FX DocuPrint CP205 w
→ Printer Setting Utility.
NOTE:
• The Select Printer window appears in this step, when multiple print drivers are installed on your
computer. In this case, click the name of the desired printer listed in Printer Name.
The Printer Setting Utility opens.
2 Click the Printer Maintenance tab.
3 Select Color Registration Adjustment from the list at the left side of the page.
The Color Registration Adjustment page is displayed.
4 Deselect the check box next to On.
5 Click the Start button next to Auto Correct.
The color registration is corrected automatically.

 Loading...