CHAPTER 3: INTERFACES SOFTWARE SETUP
350 FEEDER PROTECTION SYSTEM – INSTRUCTION MANUAL 3–17
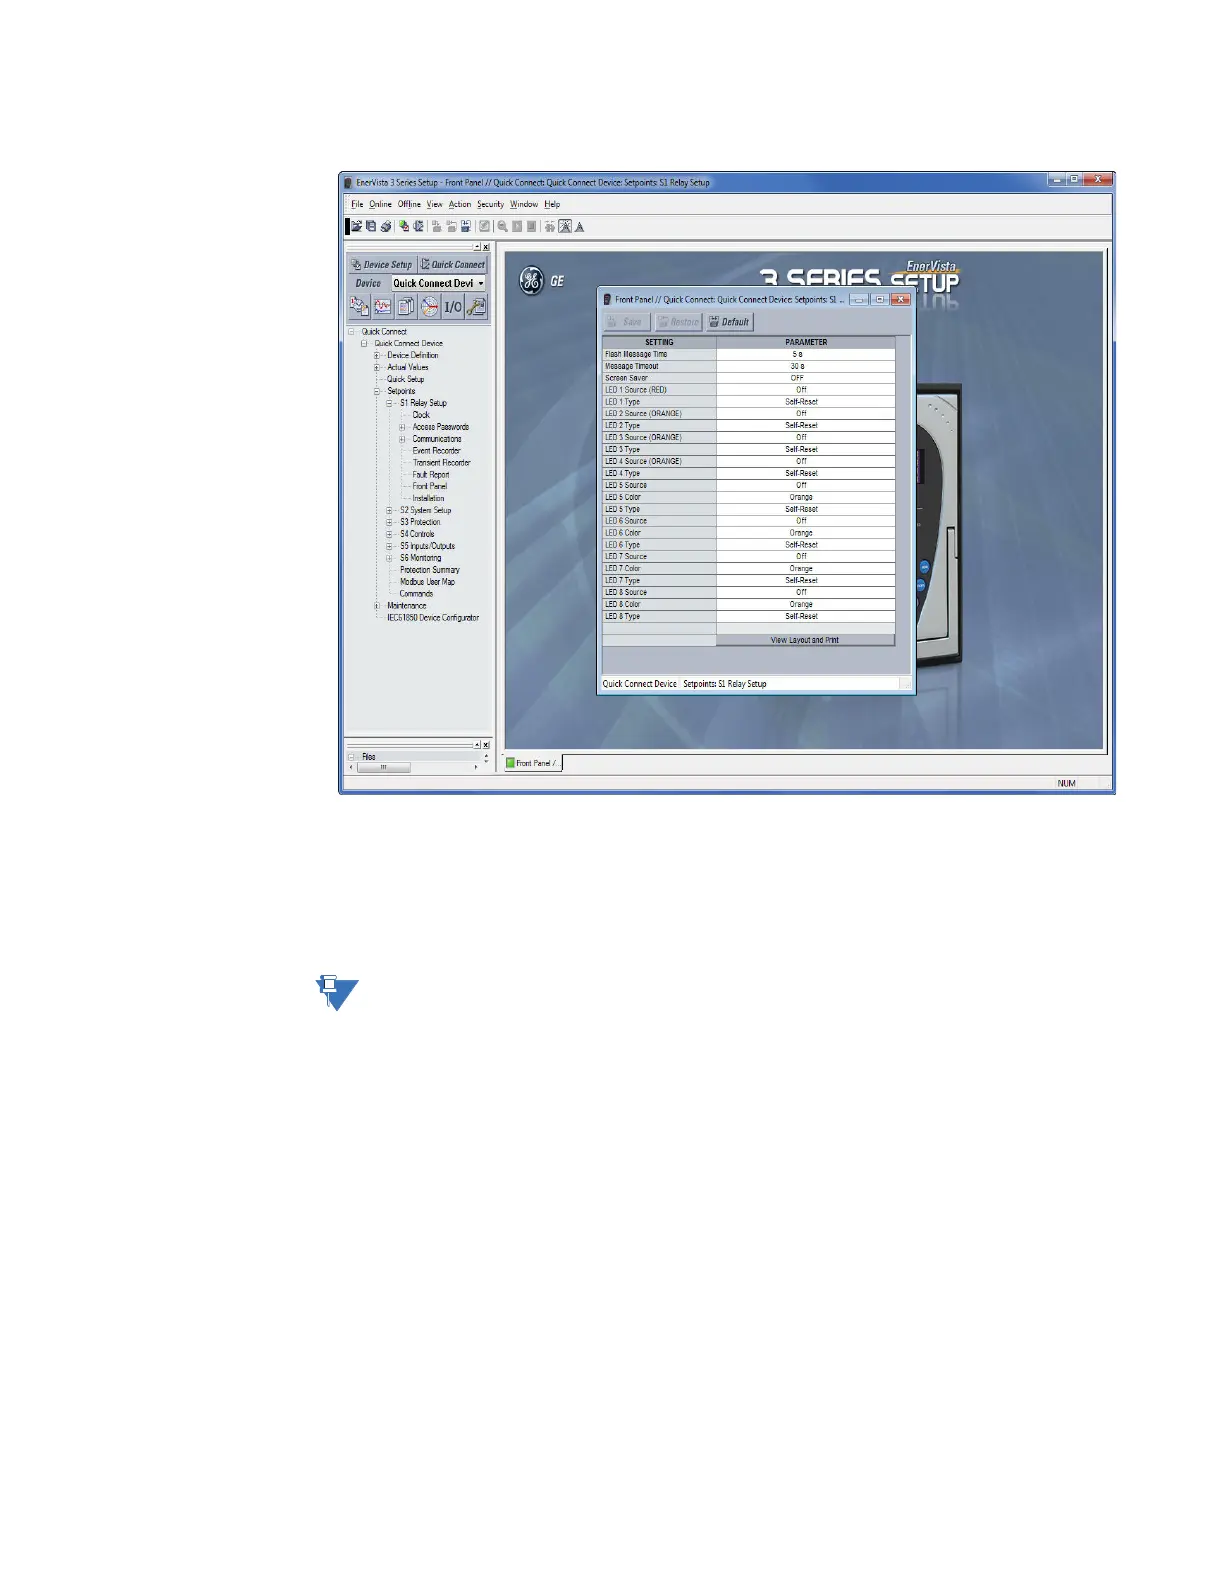
The 350 Site Device has now been configured via the Quick Connect feature for either USB
or Ethernet communications. Proceed to Connecting to the Relay below, to begin
communications.
Configuring Ethernet
communications
Before starting, verify that the Ethernet cable is properly connected to the RJ-45 Ethernet
port.
NOTE:
350 supports a maximum of 3 TCP/IP sessions.
1. Install and start the latest version of the EnerVista 3 Series Setup Setup software
(available from the GE EnerVista CD). See the previous section for the installation
procedure.
2. Click on the Device Setup button to open the Device Setup window and click the Add
Site button to define a new site.
3. Enter the desired site name in the "Site Name" field. If desired, a short description of
the site can also be entered. In this example, we will use “Substation 1” as the site
name.
4. The new site will appear in the upper-left list.
5. Click the Add Device button to define the new device.
6. Enter the desired name in the "Device Name" field, and a description (optional).
7. Select “Ethernet” from the Interface drop-down list. This will display a number of
interface parameters that must be entered for proper Ethernet functionality.
 Loading...