GE Grid Solutions
GE Information 994-0081-3.00-21
Physical Mounting
19” Rack
Physical
Mounting
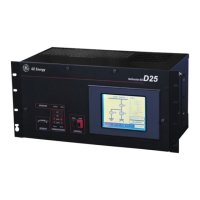
To mount the D25 in a rack:
1. Align the D25 in the desired position in a 19-inch mounting rack.
2. Holding the D25 firmly in place in the rails of the mounting rack, install and
tighten the four rack screws.
You are now ready to connect all power and field wiring to the back of the D25, see
0 Connecting Field Wiring.
Rack Spacing
When mounting multiple D25s in a rack (or if mounting a D25 in a rack with other
equipment) verify that there is at least one rack unit (RU) space above and below the
D25 to allow for cooling airflow.
1 RU = 1.75 inches (44.5mm)
Required
Clearances
The exterior dimensions of the standard D25 enclosure are:
• 19” length x 9” deep x 8.75” high (483mm x 227mm x 222mm)
Clearance:
• Allow approximately 14 inches (356 mm) of total cabinet depth to provide
clearance for hardware on the front panel, and interface cables on the rear.
Wiring Rod
Installation
The optional D25 Wiring Rod assembly supports field wiring and prevents undue
stress on the connectors on the rear of the D25.
You require:
• Wire Rod Assembly, Part Number: 953-4029
• 2 - 6-32 - ½ inch LG Screws (screws removed from enclosure may be re-used, if
they are ½ inch long)
Mount the Wiring Rod on the back of the unit at a height where it will support cables
attached to the DB-25 or FACE-40 connectors.
 Loading...