– 50 –
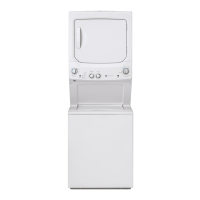
Other than push-type harness wire ties, there is
an edge clip wire tie used on the bottom.
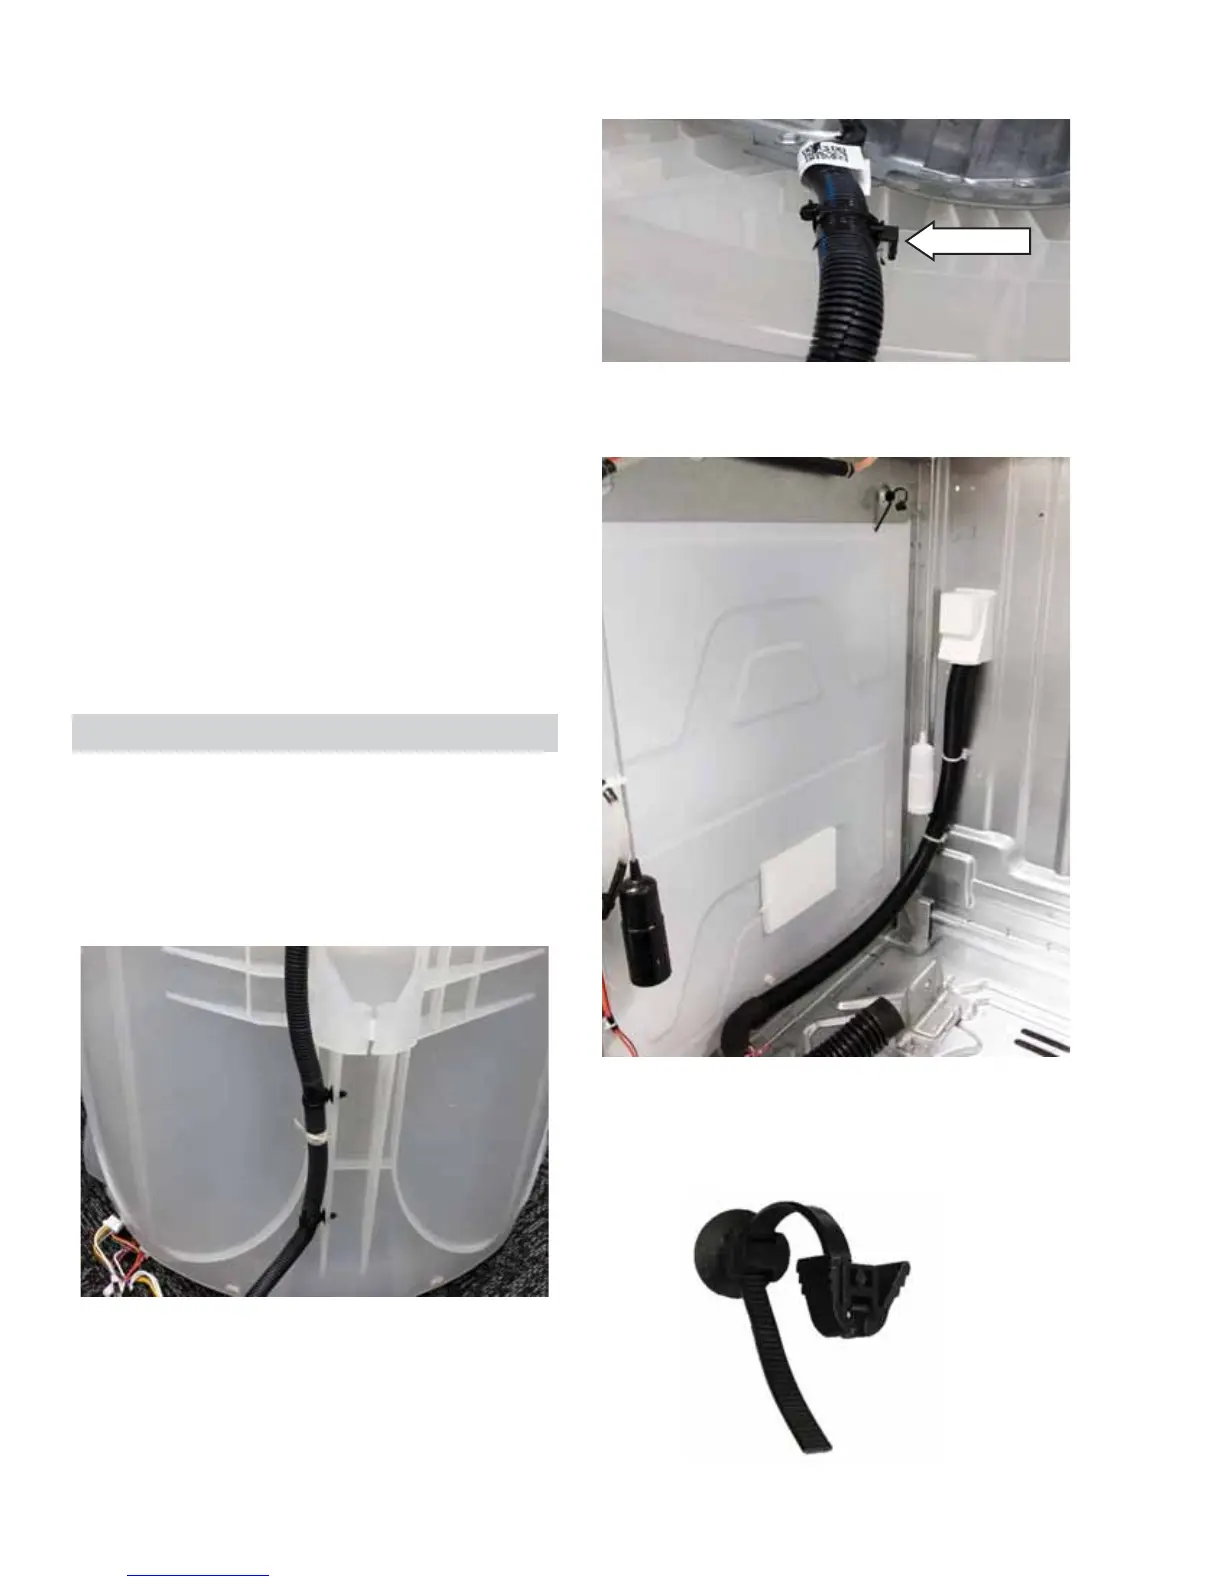
Towards the top of the harness, there is a
reusable wire tie mounted to the rear left side of
the cabinet.
Just squeeze the head of the wire tie to release
the harness from it. There is also one of these
wire ties securing the lid lock harness to the top
cover.
Platform/Transmission Assembly
Reinstallation
1. Slide the shaft of the transmission into the
opening on the bottom of the tub.
2. Line the guide post with the opening in the
platform.
3. Press down on the platform to get the seal in
position.
4. Tighten the eight hex-head bolts in a
crisscross pattern (about 1/4 of the way in at a
time) so that the tub seal is pulled into the tub
evenly.
5. Once all of the bolts are in, torque to 65 inch
pounds.
6. Reinstall the basket assembly.
7. Reinstall the Belleville washer and hub nut.
The hub nut has reverse threads, and needs
to be turned counter-clockwise to tighten.
Torque to 100 foot pounds.
There are four separate harnesses for the
washer. There is the main harness. The main
harness runs down the rear left side of the tub.
As shown here, the main harness is not held in
place with screws on the tub. Push-type wire ties
are used.
Washer Harnesses
 Loading...