X
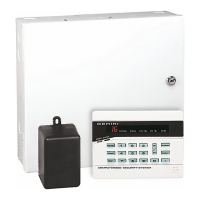
GEM-P9600 Programming Instructions
L
NAPCO Security Systems
WI777D 08/00
!
Page 6
GEM-RP1CAe2 Keypad: Zones per Area, Fire Zones, 2-Wire Fire Zones & CS Reporting
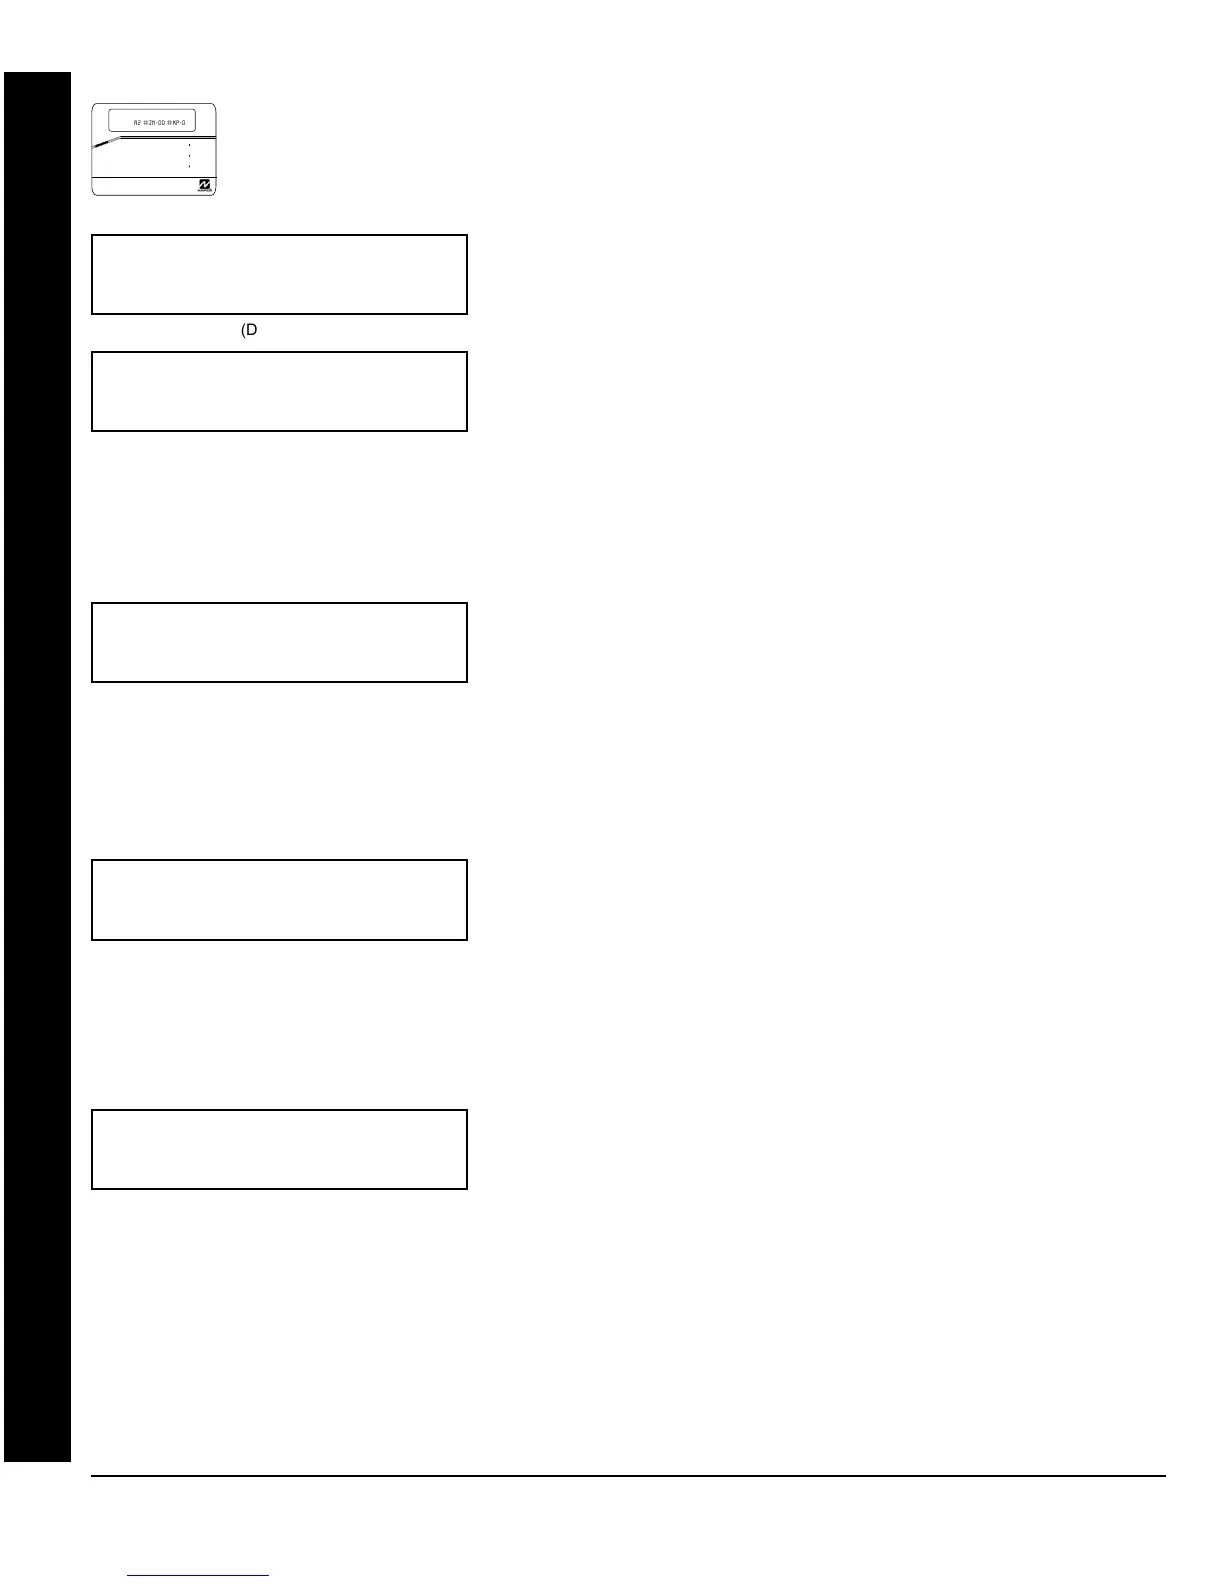
A. GEM-RP1CAe2 Keypad
To create your customized default program using a GEM-RP1CAe2 keypad, enter the following
parameters. In each of the following steps, press the
A
button to set cursor, the NEXT (
E
)
button to go forwards, the PRIOR (
F
) button to go backwards, the
J
button to save and the
C
button twice to exit at any time.
Total Number of Zones in Area 1 & Area 2
(Appears for New Panel Only)
Directly enter the total number of zones to be programmed for Area 1 and
Area 2, respectively. Valid entries are from 01 to 96. Directly enter the total
number of zones, including leading zeros. Use number buttons
1
through 9. NOTE: Press the 0 button for a zero. The system is
based on groups of 4 zones each (after the first 8 zones), and will
automatically round up to the next group of 4. For example, if you enter 18,
it will automatically convert this to 20 zones. Press
J
to save. Press NEXT
(
E) button to proceed.
Note: The GEM-P9600 is limited to a combined maximum of 96 zones and 15 keypads. All 96 zones and 15 keypads may
be programmed in the EZ Program Mode. For more options, see Zone and Keypad Options in Direct Address
Programming.
Fire Zones (Appears for New Panel Only)
Enter the zone number of any Fire Zones (both 2-wire, 4-wire or wireless).
Valid entries are from 01 to 96. Directly enter each zone number, including
leading zeros, and press
J
to save, and then repeat for any additional
zone(s). Press NEXT (
E
) button to proceed.
NOTE:
If you are programming a 2 Area system, enter the zone number of zones required for Areas 1 & 2. All fire zones
are common to areas 1 and 2. The Direct Address Program Mode can then be used to customize them as needed. See
Zone Options.
2-Wire Fire Zones (Appears for New Panel Only)
Enter the zone number of any Fire Zones (from previous question) which
are to be used with 2-wire smoke detectors. The only valid entries are 01
through 08. Directly enter each zone number, including leading zeros. Press
J
to save, and then repeat for any additional zone(s). NOTE: Only zones
which have been designated as Fire Zones can be programmed as 2 Wire Fire zones. Press NEXT (
E
) button to
proceed. NOTE: JP7 must be set to “2-WF” position for 2-wire fire zones 7 and 8 (refer to Installation Instructions).
Local System or C.S. Reporting System (Appears for New Panel Only)
Press YES (
E
) button for all zones to report; press NO (
F
) button
for no zones to report (LOCAL SYSTEM).
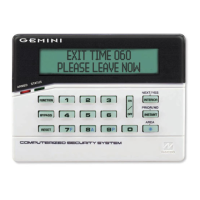
R
COMPUTERIZED SECU RITY SYSTEM
GEMINI
ARMED
STATUS
SYSTEM ARMED
01/01/97 12:00AM
12
4
3
56
7890
A
B
C
D
E
F
G
NEXT/YES
PRIOR/NO
AREA
# OF ZONES IN AREA 1
ENTER # ZONES X X
AI #ZN=08 #KP=1
A2 #ZN=00 #KP=0
(Direct Entry)
#OF ZNS IN AREA1
ENTER # ZONES 08
(Direct Entry)
#OF ZNS IN AREA2
ENTER # ZONES 00
(Direct Entry)
FIRE ZONES
ENTER ZONE # 00
(Direct Entry)
2-WIRE FIRE ZNS
ENTER ZONE # 00
(Press YES or NO)
REPORT ALL ZONES
TO CENTRAL? Y/N
 Loading...