L
NAPCO Security Systems
X
GEM-P9600 Programming Instructions
WI777D 08/00
!
Page 67
KEYPAD CONFIGURATION MODE
This section will focus on configuring the GEM-RP1CAe2 and GEM-RP2ASe2 Keypads. If there is more than one keypad in the
system, only Keypad No. 1 may be used for programming.
KEYPAD INSTALLATION
Three types of keypads may be used with the GEM-P9600: the GEM-RP1CAe2, GEM-RP2ASe2 and the GEM-RP3DGTL. Each
must be assigned an address number (1–15) and each requires its own configuration procedure (see CONFIGURING THE
KEYPADS, which follows, and DIRECT ADDRESS KEYPAD AREA OPTIONS). At least 1 keypad must be used; only 1 is required
for a single-area Commercial Burglary installation.
GEM-RP1CAe2
- is a 2-line combination fire/burglary/access keypad capable of supporting 4 EZM zones and a PGM output. A
GEM-RP1CAe2 is recommended for use as Keypad #1.
GEM-RP2ASe2
- is a utility LCD keypad combining several preset LCD words with a limited message line.
NOTE:
Due to space
constraints, available messages are abbreviated and will scroll automatically.
GEM-RP3DGTL
-is a 2 digit LED display keypad for arming and disarming.
CONFIGURING THE KEYPADS
A total of up to 15 keypads may be connected to the panel. GEM-RP1CAe2 and GEM-RP2ASe2 keypads may be intermixed but
require different configuration procedures, as described in the following paragraphs.
Configuring the GEM-RP1CAe2 Keypad
Each GEM-RP1CAe2 keypad must be configured for (a) keypad tactile beep; (b) entry sounder; (c) keypad address; (d) compatibility
number; (e) EZM address; and (f) zone response.
To enter the GEM-RP1CAe2 Configuration Mode:
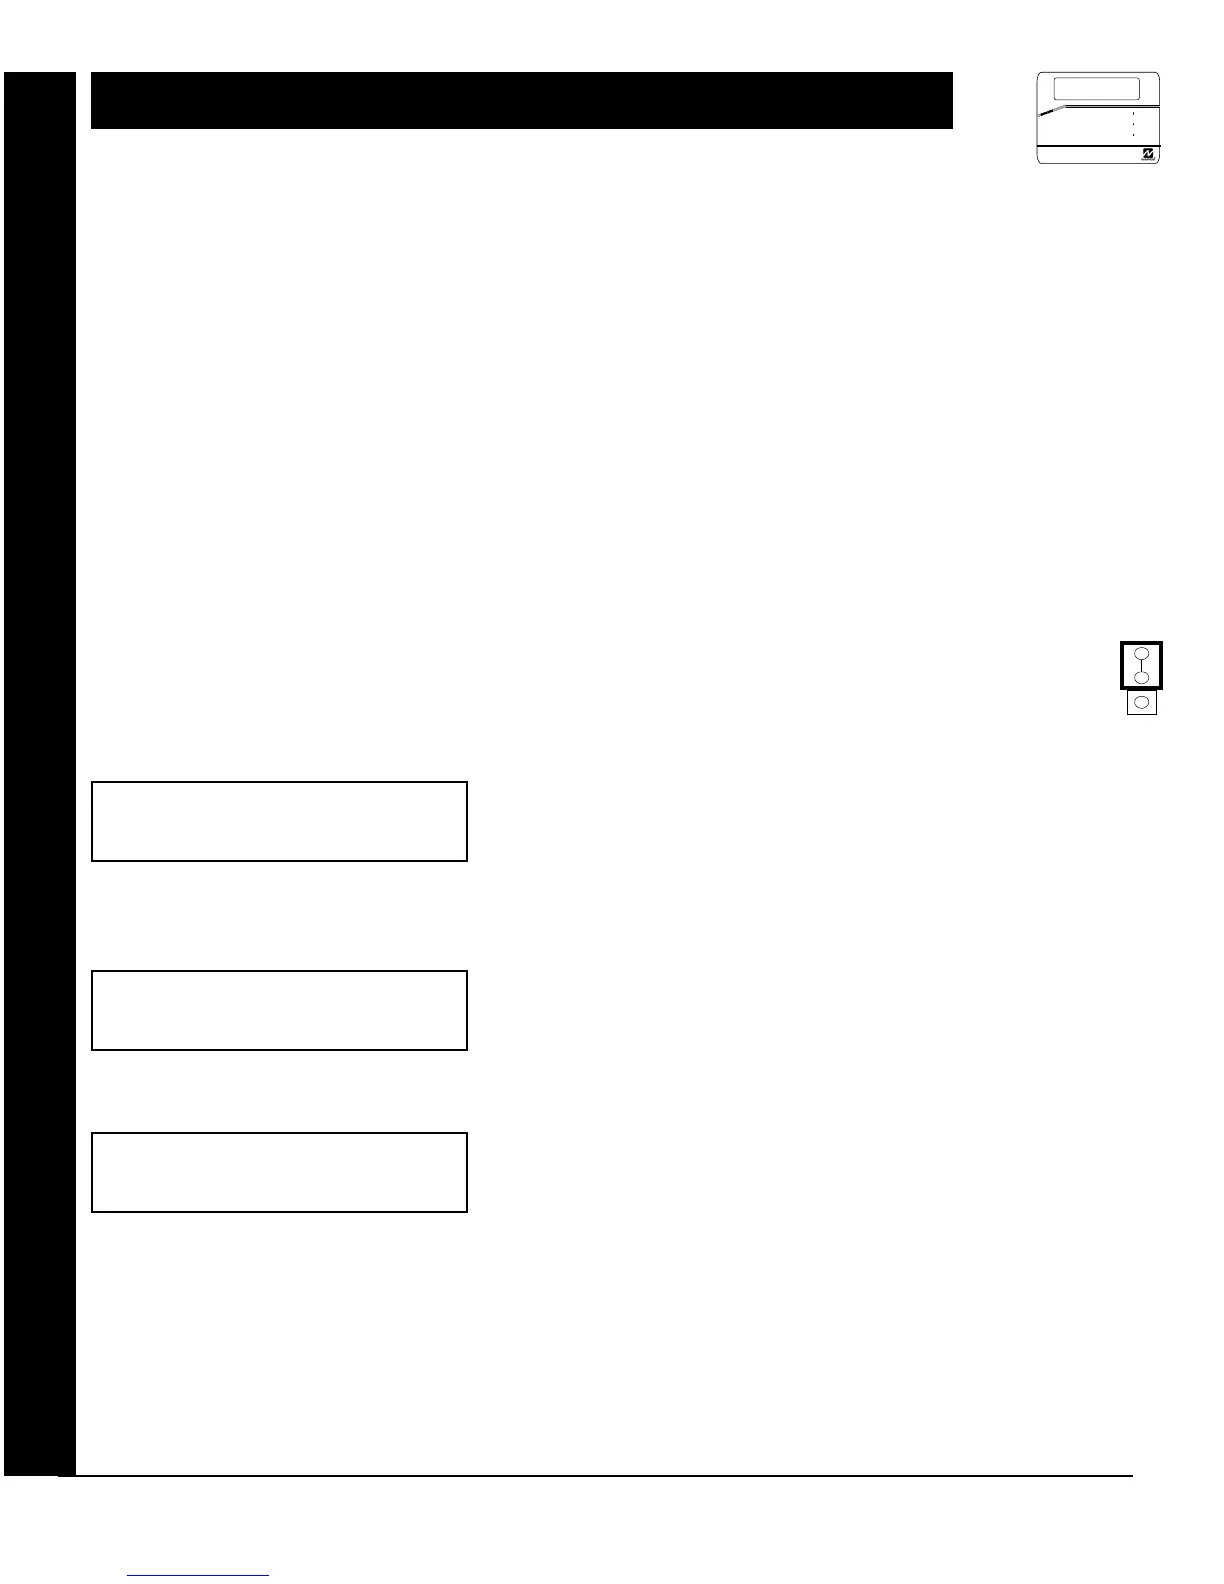
1. Move jumper JP5 (located at the upper-right corner of the control panel board) from Pins 1-2 (top two) to Pins
2-3 (bottom two).
NOTE:
See Wiring Diagram on page 80.
2. After about 15 seconds, the display will read “
XX OUT OF SYSTEM
”, where XX indicates the keypad address.
3. Press
11123 A and proceed as follows. (Repeat the following procedure
for all keypads.)
Keypad Tactile Beep
Upon entering the Keypad Configuration Mode, “
KEYPAD BEEP ON
” will be displayed,
indicating that the tactile beep, which sounds when any button is pressed, is on. To
turn off the tactile beep, press the
J
button (the
J
button will toggle the tactile
beep on and off).
Press the
A
button to continue or press the
C
button to exit.
Entry Sounder
To turn off the keypad sounder during entry time, press the
J
button (the
J
button
will toggle the tactile beep on and off). Press the
A button to continue or
press the C button to exit.
Keypad Address
If more than one keypad is installed, each must be assigned a unique keypad
address (that is, no two keypads may be numbered alike):
!
keypads must be numbered consecutively (missing numbers are not permitted)
!
only Keypad No. 1 may be used for programming.
To assign the keypad number, proceed as follows:
1. Enter the assigned keypad number 01–15, then press the
J
button to save. A valid number will be acknowledged by a short
beep; an invalid number will be rejected by a long beep.
2. Press the
A button to continue or press the C button to exit.
KEYPAD BEEP ON
ENTRY SOUNDER ON
KEYPAD ADDRESS 01
NORMAL
KEYPAD
CONFIGURE
R
COMPUTERIZED SECURITY SYSTEM
GEMINI
ARMED
STATUS
SYSTEM ARMED
01/01/97 12:00AM
12
4
3
56
7890
A
B
C
D
E
F
G
NEXT/YES
PRIOR/NO
AREA
# OF ZONES IN AREA 1
ENTER # ZONES X X
KEYPAD BEEP ON
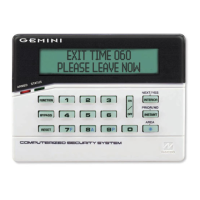
Keypad Configuration Mode: Configuring the Keypads
 Loading...