58
IV.
FRAME
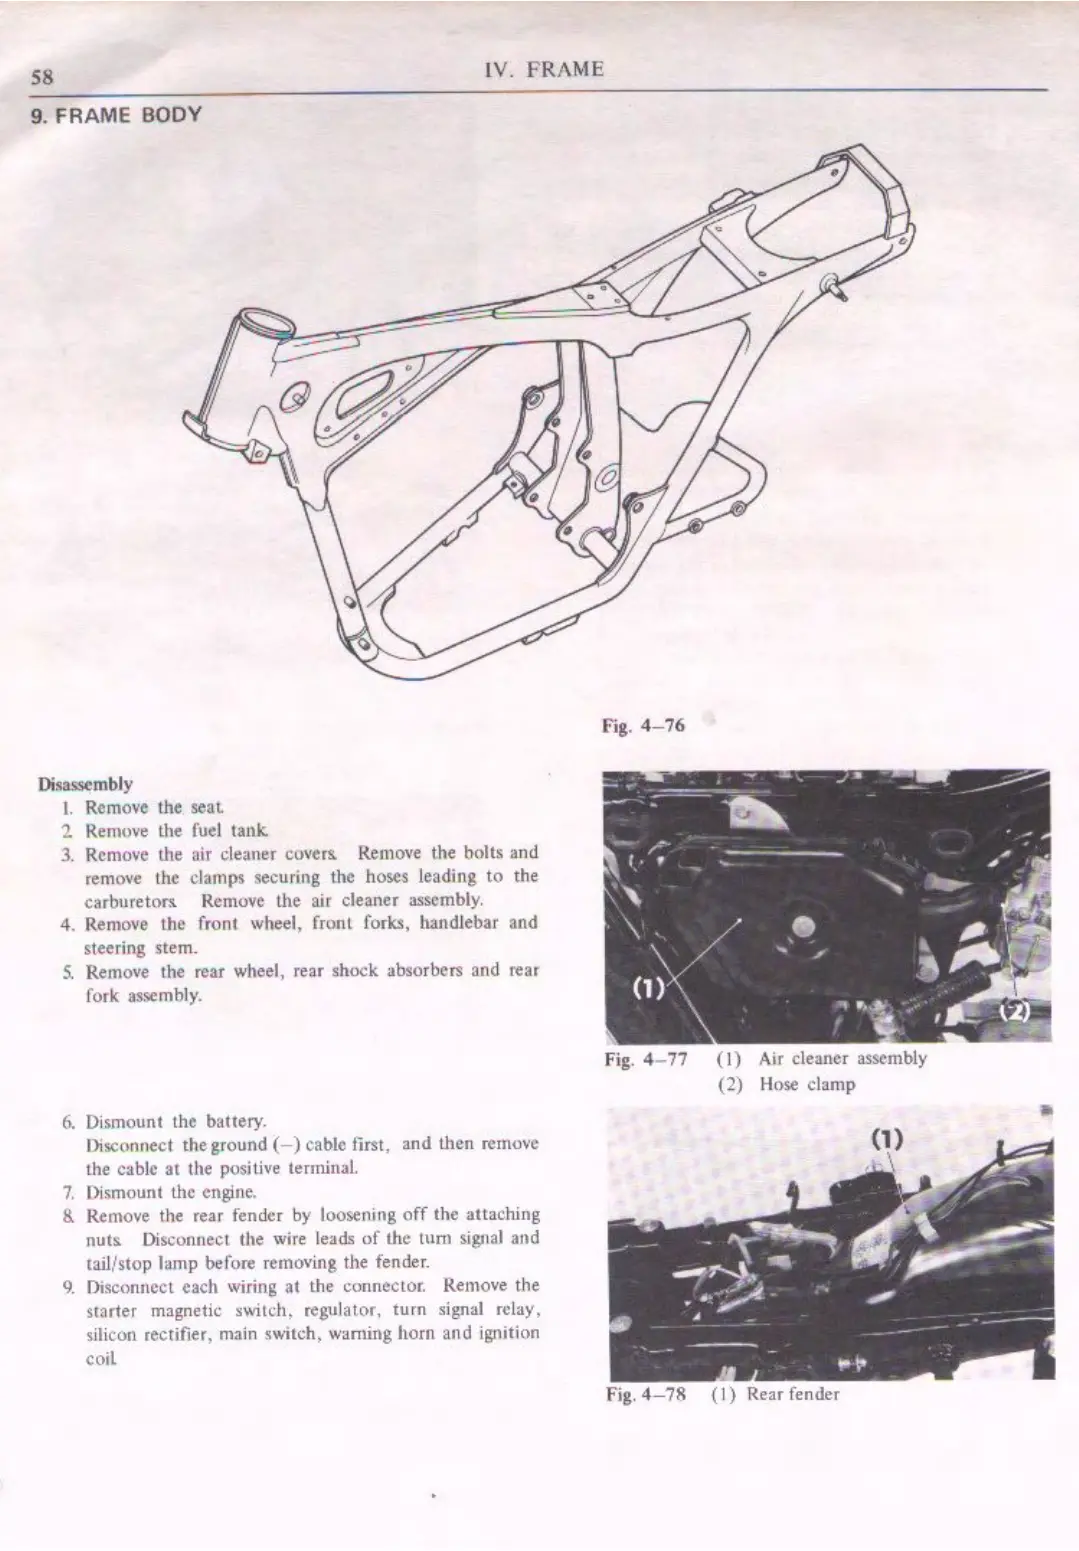
9. FRAME BODY
Disas.sembly
I.
Remove the
seaL
2 Remove the fuel tank.
3.
Remove the air cleaner
covers.
Remove
the bolts and
remove the clamps securing the hoses leading to the
carbureton
Remove
the air cleaner assembly.
4. Remove the front wheel, front forks, handlebar and
steering stem.
S.
Remove the rear wheel, rear shock absorbers and rear
fork
ass,,mb
l
y.
6.
Dismount the battery.
Disconnect theground (- ) cable first , and
U,en
remove
the cable at the positive temtinal.
7.
Dismount the engine.
& Remove the rear fender
by
loosening
off
the attaching
nuts.
Discon11ect
the
wire
leads
of
the
tum
signal
and
tail/stop lamp before removing the fender.
9.
Disconnect each wiring at the connector. Remove the
starter
magnetic switch, regulator,
turn
signal relay.
silicon rectifier,
main
.switch,
wan1ing
horn
and
ignition
coil
fig.
4-76
Fig
. 4- 77
(I)
Ajr
cleaner assembly
(2)
Hose
clamp
Fig.
4-78
(1) Rear fender

 Loading...