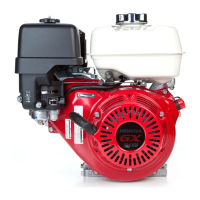
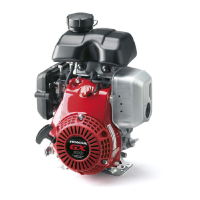
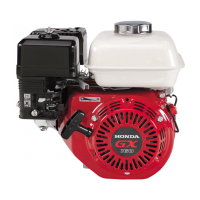
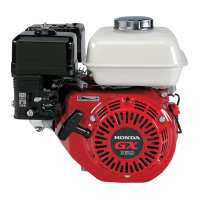
CRANKCASE
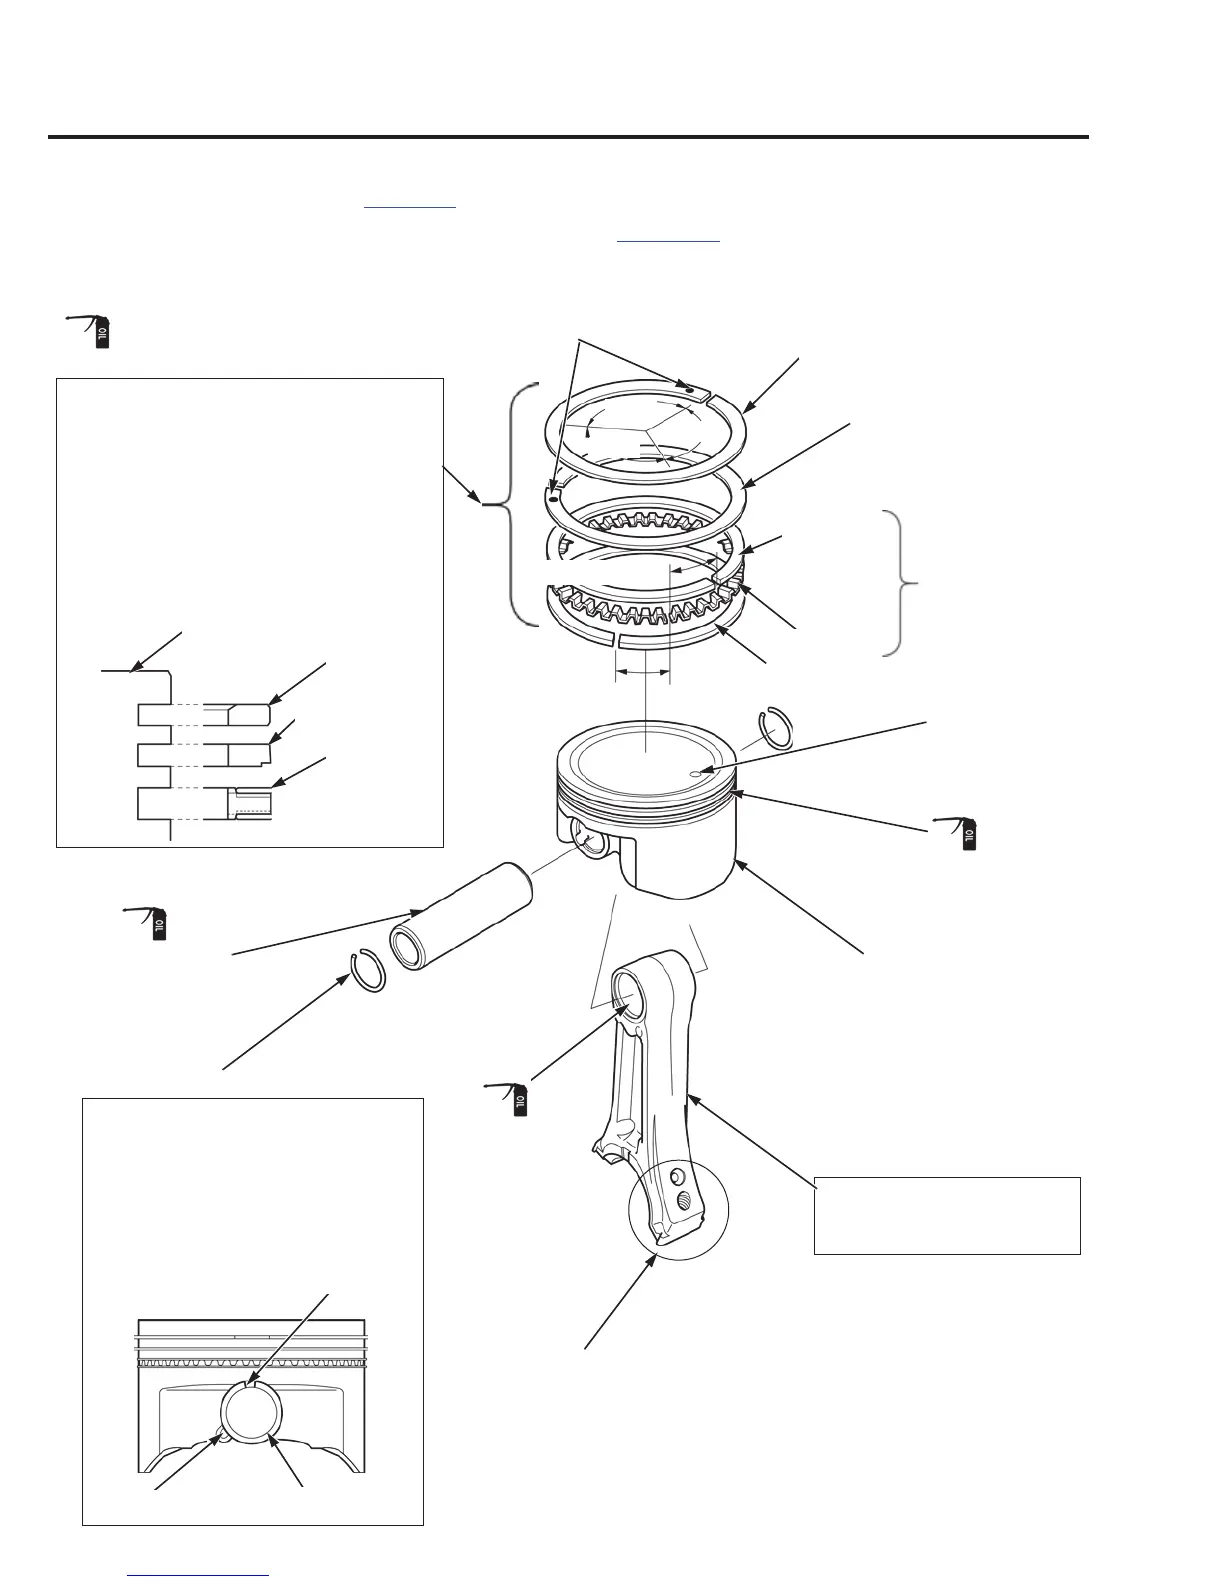
PISTON DISASSEMBLY/ASSEMBLY
Remove the piston (page 13-5).
PISTON PIN CLIP
CUTOUT
END GAP
PISTON
CONNECTING ROD UPPER
LONG END
SIDE RAIL
SPACER
PISTON RING SET
TOP RING
SECOND RING
OIL RING
PISTON PIN CLIP (20 mm) (2)
PISTON PIN
TOP RING
SECOND RING
MAKER MARK
10 mm (0.4 in)
120°
120°
120°
10 mm (0.4 in)
PISTON
SIDE RAIL
(Chrome plated)
ASSEMBLY:
Set the connecting rod upper with
the long end toward the mark on
the piston head.
OIL RING
(COMBINATION
RING)
ASSEMBLY:
Be sure that the top ring and second ring are
not interchanged.
Install the top ring and second ring on the
piston with the maker mark side facing up.
Check that the piston rings rotate smoothly
after installing them.
Space the piston ring end gaps 120 degrees
apart, and do not align the ring end gaps with
the piston pin bore.
ASSEMBLY:
Install by setting one end of the piston pin
clip in the groove of the piston pin bore,
holding the other end with long needle
pliers, and rotating the clip in.
Do not align the end gap of the piston pin
clip with the cutout of the piston pin bore.
MARK
NOTE: Honing should be performed on engines with cast iron sleeves (page 13-16) whenever the piston rings are replaced and
the existing cylinder is within service limits and reused.
 Loading...