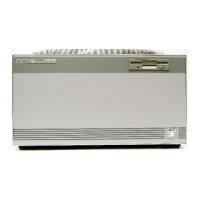
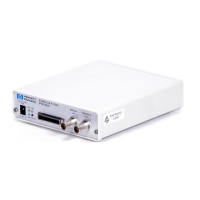
The Instrument at a Glance
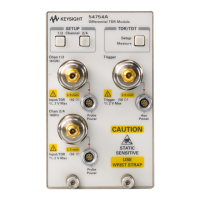
Installing a Plug-in Module
1-6
Installing a Plug-in Module
You do not need to turn off the mainframe to install or remove a plug-in module.
The plug-in module can be installed in slots 1 and 2 or 3 and 4 on the HP 83480A,
54750A mainframe. The plug-in module will not function if it is installed in slots
2 and 3.
To make sure the instrument meets all of the published specifications, there
must be a good ground connection from the plug-in module to the mainframe.
The RF connectors on the rear of the plug-in module are spring loaded, so finger-
tighten the knurled screw on the front panel of the plug-in module to make sure
the plug-in is securely seated in the mainframe.
CAUTION
Do not use extender cables to operate the plug-in module outside of the
mainframe. The plug-in module and/or mainframe can be damaged by
improper grounding when using extender cables.
Trigger
The external trigger level range for this plug-in module is ±1 V. The trigger
source selection follows the slots the plug-in module is installed in. For example,
if the plug-in module is installed in slots 1 and 2, then the trigger source is listed
as trigger 2. If it is installed in slots 3 and 4, then the trigger source is listed as
trigger 4. Because the external trigger capability of this module is restricted to
signals of 2.5 GHz or less, use of the HP 54753A and HP 54754A modules with
Option 100, extended trigger, is not recommended.
CAUTION
The maximum safe input voltage is
±
2 V + peak ac (+16 dBm). Therefore, to
avoid damaging the trigger input circuitry, do not apply any voltage outside
this range.
CAUTION
The input circuits can be damaged by electrostatic discharge (ESD).
Therefore, avoid applying static discharges to the front-panel input connectors.
Before connecting any coaxial cable to the connectors, momentarily short the
center and outer conductors of the cable together. Avoid touching the front-
panel input connectors without first touching the frame of the instrument. Be
sure the instrument is properly earth-grounded to prevent buildup of static
charge.
!
 Loading...