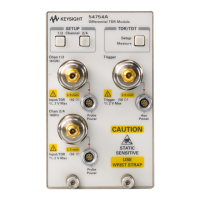
In Case of Difficulty
If the Plug-in Does Not Operate
13-4
If the Plug-in Does Not Operate
Make the following checks:
1
Is the plug-in module firmly seated in the mainframe slot?
• Are the knurled screws at the bottom of the plug-in module finger-tight?
• Is a trigger signal connected to a trigger input?
• If other equipment, cables, and connectors are being used with the plug-in
module are they connected properly and operating correctly?
• Review the procedure for the test being performed when the problem
appeared. Are all the settings correct? Can the problem be reproduced?
2
Perform the following procedures:
• Make sure the instrument is ready to acquire data by pressing
Run
.
• Find any signals on the channel inputs by pressing Autoscale.
• See if any signals are present at the channel inputs by pressing:
Trigger
Sweep
freerun
After viewing the signal, press
triggered
.
• Make sure Channel Display is on by pressing:
Channel
Display on off
on
• Make sure the channel offset is adjusted so the waveform is not clipped off
the display.
• If you are using the plug-in module only as a trigger source, make sure at
least one other channel is turned on.
• If all of the channels are turned off, the mainframe will not trigger.
• Make sure the mainframe identifies the plug-in module by pressing:
Utility
System config...
The calibration status of the plug-in modules is listed near the bottom of the
display, in the box labeled “Plug-ins”. If the model number of the plug-in
module is listed next to the appropriate slot number, then the mainframe has
identified the plug-in.

 Loading...