Removing a Drive
Before removing a hard drive, you can use Smart Provisioning to delete data from
the hard drive. For details, see "Erasing Hard Disks" in the
Smart Provisioning
User Guide (aarch64)
.
Step 1 Wear an ESD wrist strap. For details, see 5.2 ESD Protection.
● You do not need to power o the server when removing a drive.
● Before replacing a drive, conrm the slot where the drive to be replaced is installed and
mark the slot for the drive so that the drive can be quickly recovered when it is used
again.
Step 2 If the server is equipped with a front bezel, remove the bezel before removing a
front drive. For details, see 5.5 (Optional) Front Bezel.
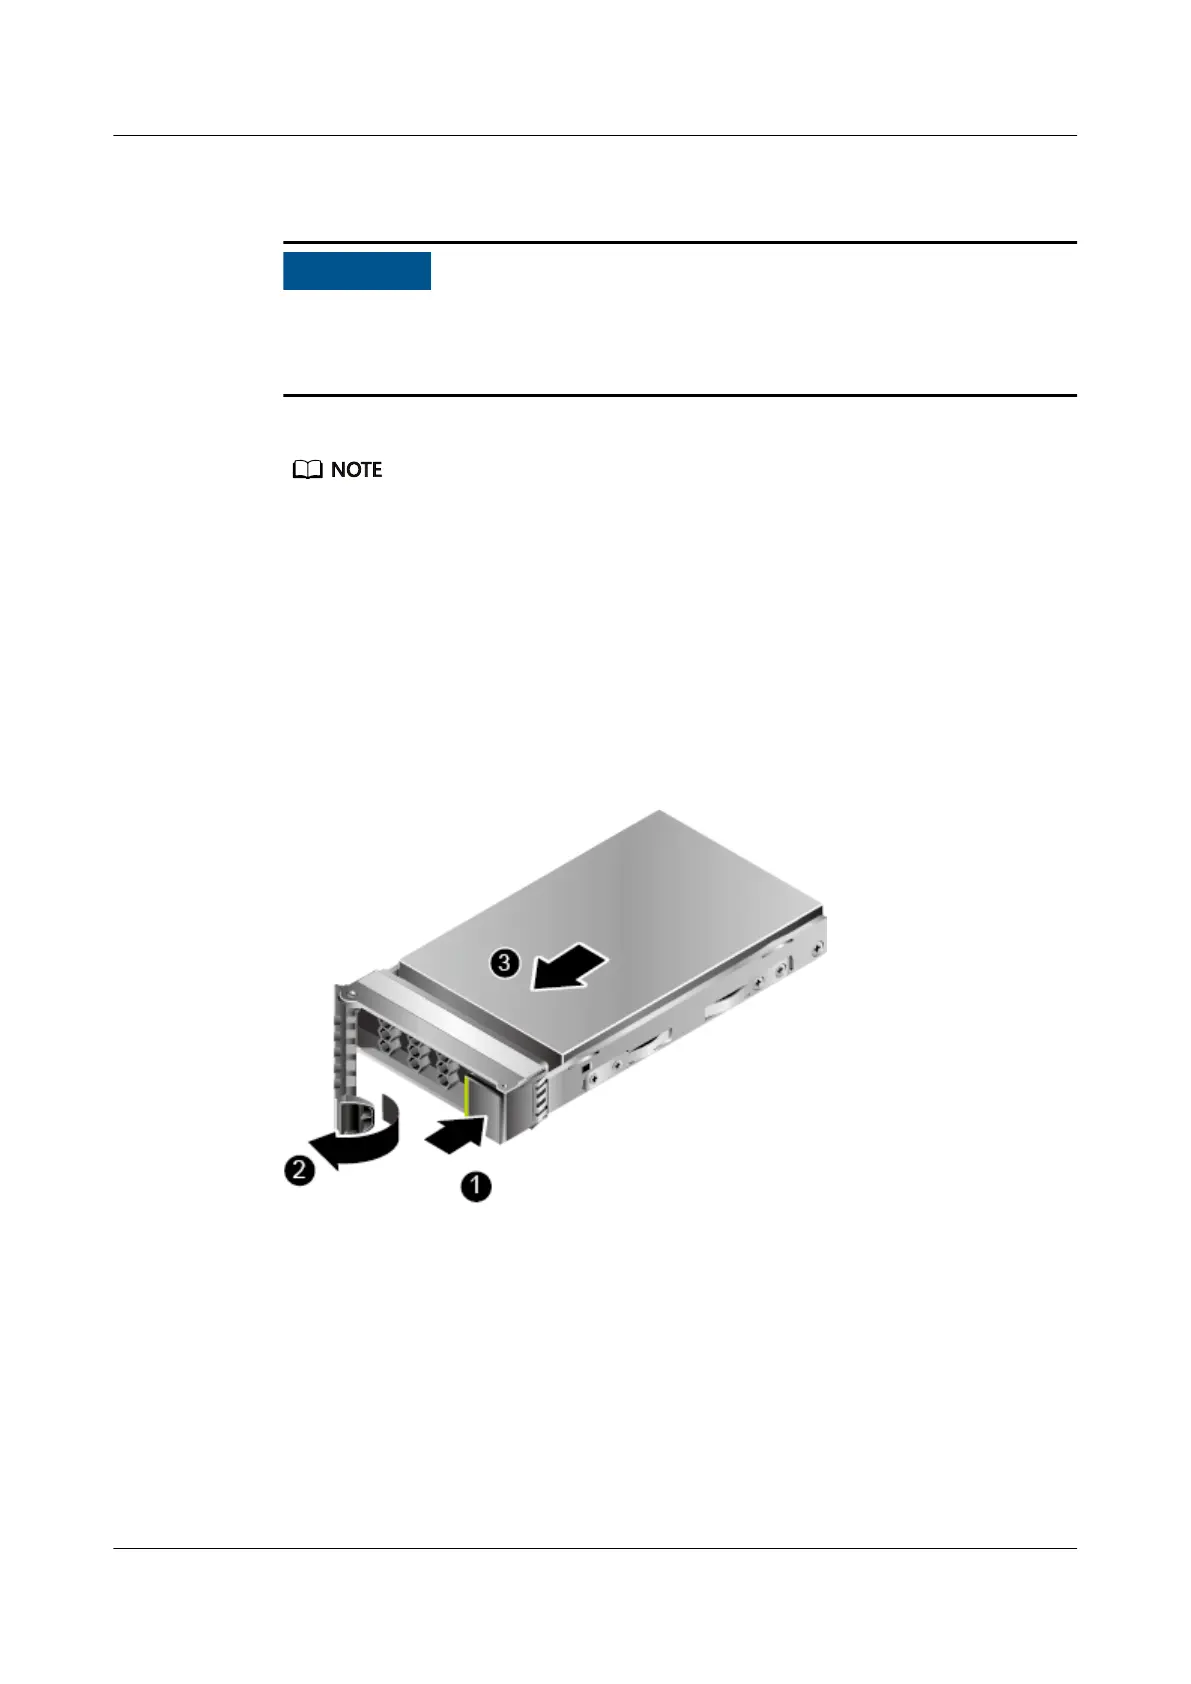
Step 3 Press the ejector release button on the drive. See (1) in Figure 5-17.
The ejector lever automatically ejects.
Figure 5-17 Removing a drive
Step 4 Holding the ejector lever, pull out the drive for about 3 cm (1.18 in.) and wait for
the drive to stop working. See (2) in Figure 5-17. For SAS/SATA drives, after the
drive is
oine, wait for at least 30 seconds until it stops rotating, and then remove
the drive from the server. For NVMe SSDs, remove the drive from the server after
the drive is
oine. See (3) in Figure 5-17.
TaiShan 200 Server
Maintenance and Service Guide (Model 2280) 5 Removal and Installation
Issue 04 (2020-01-16) Copyright © Huawei Technologies Co., Ltd. 89

 Loading...