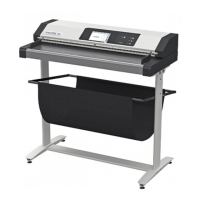
Place the scanner on the ground for the next steps.
To remove the foam rubber elements, lift the scanner on one of its small sides (Figure 1,
Picture 14) and turn the foam rubber element sideward (Figure 2, Picture 14).
Picture 14: Lift the scanner to remove the foam rubber element
Turn the foam rubber element up to an angle of approximately 45°, then pull it out of the
back side of the scanner.
Picture 15:Removing foam rubber element and cardboard element
Repeat this at the other side of the scanner. Finally remove the small cardboard elements
(Picture 15, detail 1) at the left and right side between scanner cover and side elements.
Page 22 Setup and Assembly Manual

 Loading...