C.2 Cleaning the Glass Plate
To clean the glass plate open the upper unit by clicking the locking lashes at the left and
right side of the housing.
Use the microfiber cloth which is delivered with the scanner or a fluff-free cloth to clean
the glass plate.
Note: Because of the coating of the glass plate use only a few drops of a mild
cleaning fluid with the microfiber cloth.
C.3 Replacing the Glass Plate
If the glass plate is scratched it can be replaced as one part including the glass plate rack.
The following tools are needed:
Hexagon ball shaped head screwdriver, size 2,5 mm and 3 mm
Allen wrench, size 2,5 mm
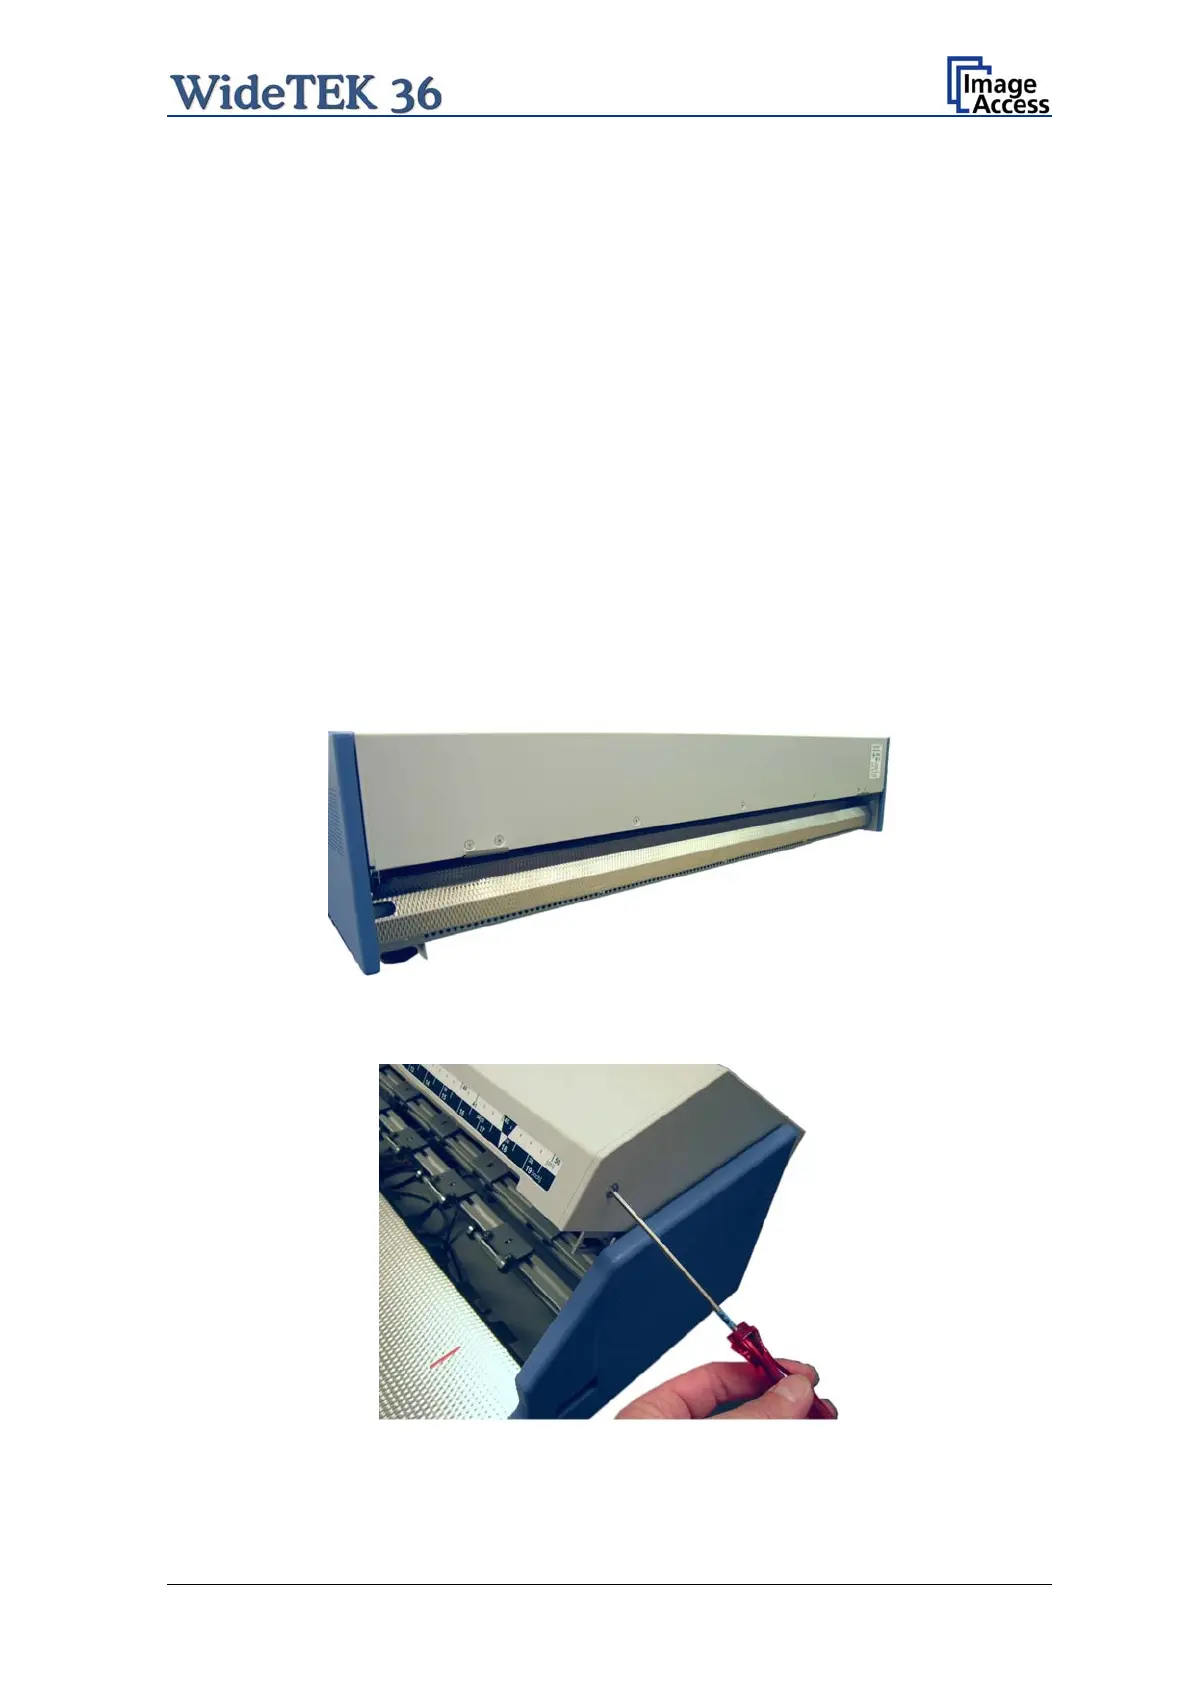
At first the main cover has to be removed. The main cover has seven hexagon head
screws at the back side
Picture 54: Hexagon screws at WT 36 backside
and one hexagon screw on the left and the right side of the housing respectively.
Picture 55: Hexagon head screw at left side of housing
Setup and Assembly Manual Page 53

 Loading...


