A.8 IP Address Setup
Controlling of the WideTEK 36 scanner is based on the Scan2Net technology.
That means, access onto the scanner and the integrated Scan2Net user interface occurs
by using a network connection. For this connection, every browser software can be used.
IP address at delivery: 192.168.1.50
This IP address is also active after a “Reset to Factory Defaults”.
To integrate the scanner into an existing network structure all network parameters can be
defined and/or modified by using the touch panel as well as the integrated Scan2Net user
interface.
The following chapter describes how to setup the network parameters of the scanner by
using the touch panel. The setup of the network parameters in the Scan2Net user
interface is described in chapter B.3.1
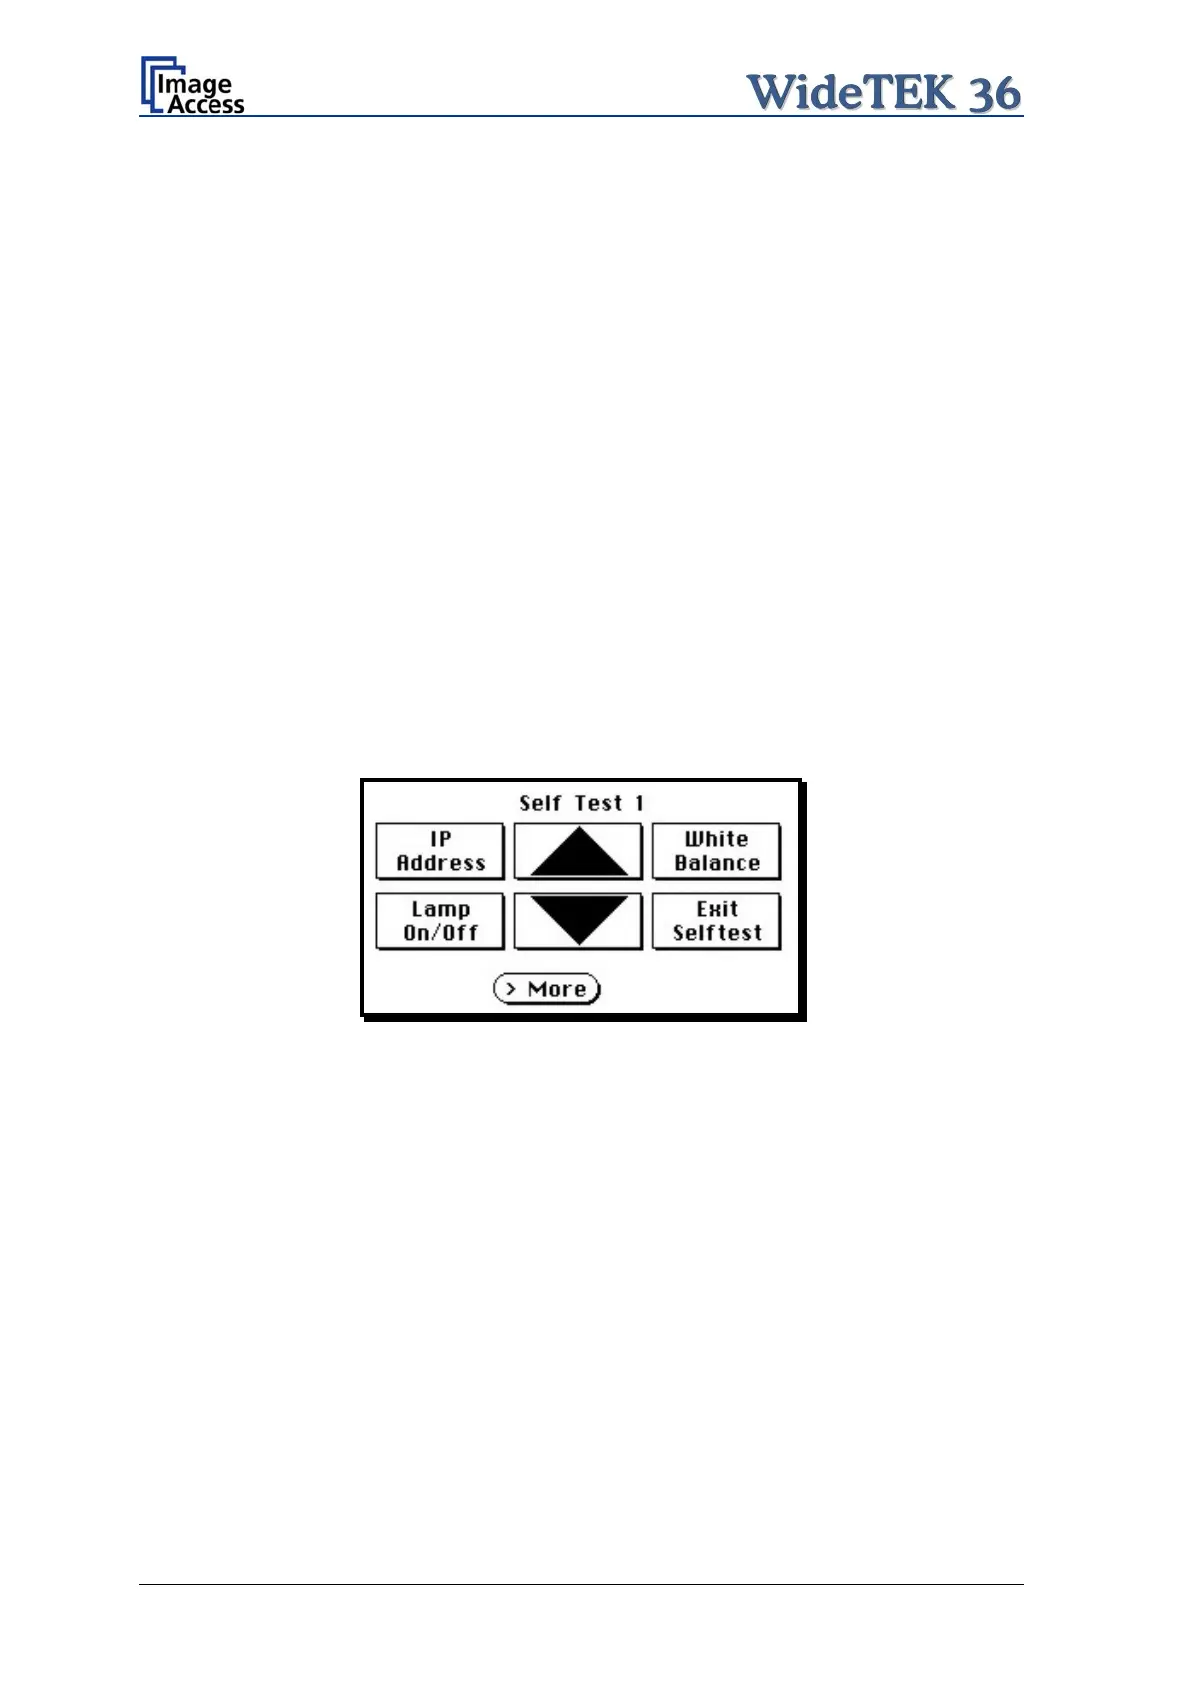
A.8.1 IP Address Setup by Touch Panel
Start the WideTEK 36 from stand-by mode by tapping on the touch panel.
While the start sequence is running tapping on the touch panel at least three times
switches the scanner to setup mode. After the start sequence is finished, the touch panel
shows the Self Test 1 screen.
Picture 25: Self Test 1 menu
Page 30 Setup and Assembly Manual

 Loading...


