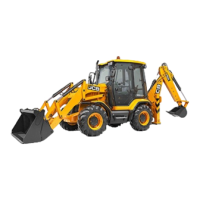
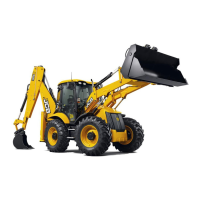
Dismantling and Assembly
Unloader Valve
The numerical sequence shown on the illustration is intended
as a guide to dismantling.
For assembly the sequence should be reversed.
The following points MUST be avoided when dismantling
and assembling the valve:
• CONTAMINATION
• DAMAGE TO SPOOL
• DAMAGE TO SEAL GROOVES
All or any of the above points may result in possible
problems with the valve.
Dismantling
When removing 'O' rings and seals, use an an appropriately
rounded tool that WILL NOT cause any damage to the seal
grooves.
Discard ALL 'O' rings and back up rings. DO NOT use worn
or damaged items.
Use a nylon rod to push out spool assembly item 23, DO
NOT damage spool bore.
Inspect the valve components for scratches, nicks or any
other type of damage, replace with new if required.
Assembly
Renew all 'O' rings and back-up rings.
Lubricate parts with JCB Hydraulic Fluid before assembling.
Make sure that all the parts move freely.
Ensure that the small drilling through the centre of items 23,
is clear.
Shims 21 are intended to limit the maximum pressure
setting, the specified pressure setting is achieved by
adjusting capnut 15. If the specified pressure cannot be
achieved under test, it is permissible to add shims as
required. There MUST be at least one hardened shim next
to the spring item 22.
Do not over-tighten the solenoid assembly, it may effect the
operation of the solenoid, use the spanner flats and torque
tighten to figure indicated in the table below (items 1 and 5).
Fit chamfered end of spring 22 against head of pilot poppet
item 23.
Check pressure setting after refitting, refer to Service
Procedures, Loader Valve - Pressure Testing.
Check the operation of the hydraulic speed control, refer to
Service Procedures, Loader Valve - Pressure Testing.
Torque Settings
Item Nm kgf m lbf ft
1 6.7 0.7 5
5 27 2.8 20
8 81 8.3 60
12 81 8.3 60
16 45 4.6 33
19 34 3.5 25
50 - 11
Section E
Hydraulics
9803/3280
Section E
50 - 11
Issue 1
Loader Valve - Fixed Flow
 Loading...