130 - 2
Section F Transmission
9803/3280
Section F
130 - 2
Issue 1
Powershift Gearbox
Note: The illustration shows a reverser shaft assembly for
the 6 - speed transmission. The input shaft assembly has
some small differences. An explanation of the differences will
be given as they occure in the procedure. The input and
reverser shaft assemblies for the 6 - speed transmission and
the 4 - speed transmission are the same basic construction,
except the 4 - speed transmission have fewer
friction/counter plates.
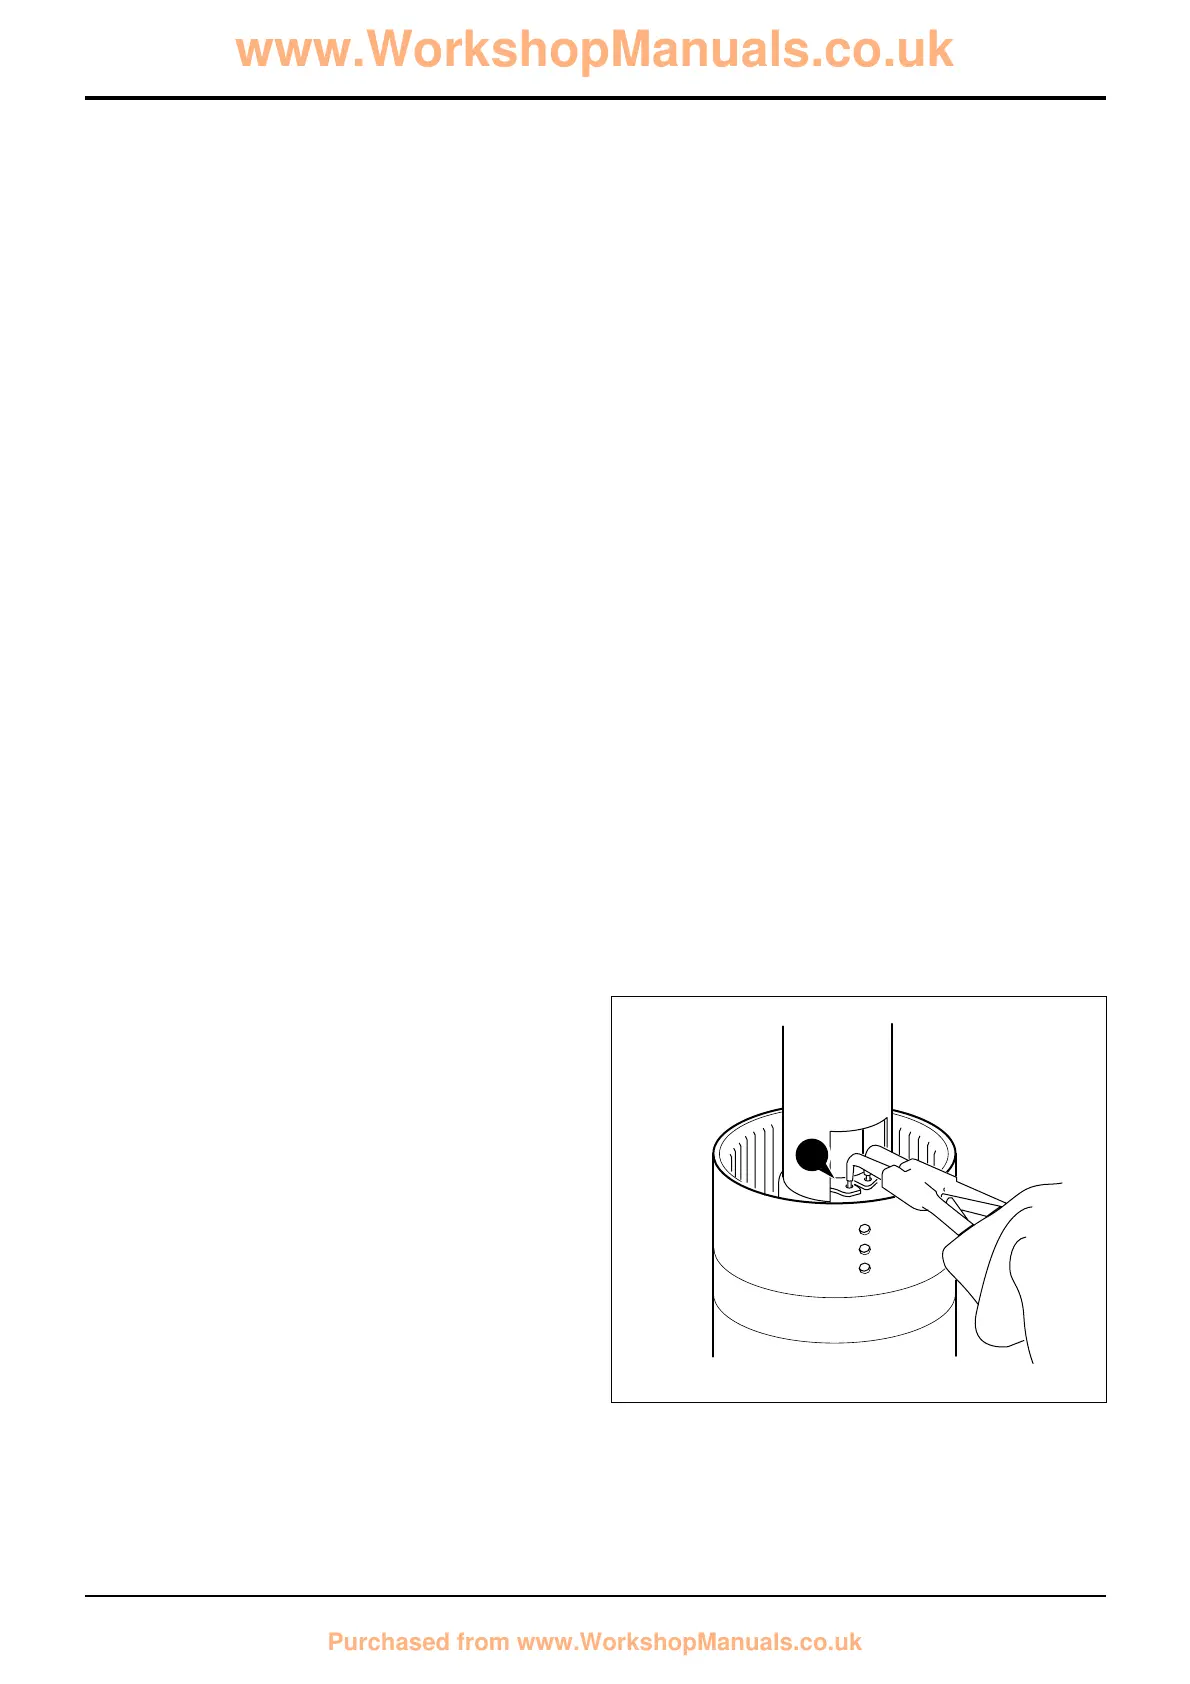
1 Carefully remove piston ring seals 1. The input shaft
does not have piston ring seals fitted at this end of the
shaft.
Note: If the piston ring seals are excessively worn then
check for burrs or damage on the shaft grooves. If necessary
remove burrs with a fine grade abrasion paper and oil.
2 Remove the clutch end bearing 2 and gear 3, using a
puller or press.
3 Remove the thrust bearing 4 and thin thrust washer 5.
4 Withdraw the gear and splined hub 6 with the needle
roller bearing 7.
5 Remove thrust bearing 9 and thick and thin thrust
washers 8 and 10.
6 Remove the friction/counter plates retaining circlip 11.
7 Remove pressure end plate 13 and shim 12, if fitted.
8 Remove the friction plates 14 and counter plates 15.
Keep them together in sets, DO NOT mix the plates with
those from other clutches.
9 Remove disc spring assembly 16.
10 Position clutch assembly in a suitable press, with a cut
away tube compress the piston spring then remove
circlip 17.
PS 760 - Forward/Input & Reverser Clutch - Dismantling
11 Lift off spring retaining plate 18.
12 Remove spring 19 and oil baffle 20.
13 Turn the assembly over and knock the clutch shaft on a
piece of aluminium (or wood) to loosen the piston 21.
Note: If the piston does not loosen when the clutch shaft is
knocked on aluminium, then hand pump air down the shaft
oil inlet hole.
14 Remove the piston 21. Remove and discard the piston
‘O’ ring 22 and shaft ‘O’ ring 23.
15 To dismantle the opposite clutch, carefully remove
piston ring seal 24. The input shaft has four piston ring
seals fitted at this end of the shaft.
16 Loosen the clutch end bearing 25 and remove using a
puller.
17 Remove thrust bearing 27 and thick and thin thru
washers 26 and 28.
18 Withdraw the gear and splined hub 29 with the need
roller bearing 30.
19 Repeat steps 5 to 14 to dismantle the clutch assembl

 Loading...