EasyManua.ls Logo

Kyocera KM-3035 User Manual

Kyocera KM-3035
296 pages
To Next Page IconTo Next Page
To Previous Page IconTo Previous Page
Page #231 background imageLoading...
Page #231 background image
Section 7 COPIER MANAGEMENT FUNCTIONS
7-89
4
Touch the “Select size” key. The “Select size” screen will be
displayed.
Inch specifications
EX
Select
size
ISO B5
Bypass setting
Paper size Paper type
Select
paper type
Auto
Detection
Input size
Others
Standard
Default setting / Counter
Paper Size
Back
Close
Auto
Auto
Metric specifications
Bypass setting
Paper size
EX
Paper type
Select
paper type
Auto
Detection
Input size
Select
size
Others
Standard
Default setting / Counter
Back
Close
Auto
Auto
5
Touch the key that corresponds to the size of paper you want
to use, and then touch the “Close” key. The touch panel will
return to the screen in step 4.
Inch specifications
Envelope
DL
Envelope
C5
Comm.
#6-3/4
Envelope
C4
8
1
/
2
x13"
Default setting / Counter
Select size Back
Close
ISO B5
Comm.#9
MO
Comm.#10
OUFUKU
HAGAKI
YOUKEI 2
8 K
16 K
YOUKEI 4
EX
Metric specifications
Envelope
DL
Envelope
C5
Comm.
#6-3/4
Envelope
C4
8
1
/
2
x13"
Default setting / Counter
Select size Back
Close
ISO B5
Comm.#9
MO
Comm.#10
OUFUKU
HAGAKI
YOUKEI 2
8 K
16 K
YOUKEI 4
EX
6
Designate the paper type by pressing the “Select paper type”
key or the “Auto” key, as desired.
If you pressed the “Select paper type” key, proceed to the
next step.
If you pressed the “Auto” key, proceed directly to step 8.
Inch specifications
EX
Select
size
ISO B5
Bypass setting
Paper size Paper type
Select
paper type
Auto
Detection
Input size
Others
Standard
Default setting / Counter
Paper Size
Back
Close
Auto
Auto
Metric specifications
Bypass setting
Paper size
EX
Paper type
Select
paper type
Auto
Detection
Input size
Select
size
Others
Standard
Default setting / Counter
Back
Close
Auto
Auto
NOTE
If you selected “Auto”, the designated paper type will be automatically
changed in accordance with the selected paper size.
7
Touch the key that corresponds to the type of paper to be
used, and then touch the “Close” key.
Inch specifications
Plain
Tr ansp-
arency
Rough
Vellum
Labels
Recycled
Preprinted
Bond
Cardstock
Color
Prepunched
Letterhead
Thick
paper
Default setting / Counter
Select paper type Back Close
Custom 2
Custom 1
Custom 3
Custom 4
Custom 6
Custom 5
Custom 7
Custom 8
Envelope
High
quality
Metric specifications
Plain
Tr ansp-
arency
Rough
Vellum
Labels
Recycled
Preprinted
Bond
Cardstock
Colour
Prepunched
Letterhead
Thick
paper
Default setting / Counter
Select paper type
Back Close
Custom 2
Custom 1
Custom 3
Custom 4
Custom 6
Custom 5
Custom 7
Custom 8
Envelope
High
quality
IMPORTANT!
BE ABSOLUTELY certain to select the paper type that corresponds to
the paper that is to be used. If the paper being used and the select
paper type differ, problems may occur in regard to the quality of the
copies.
8
Touch the “Close” key. The touch panel will return to the
screen in step 2. Touch the “End” key. The touch panel will
return to the contents of the “Basic” tab.
Paper type
Cardstock
Envelope
Plain
Paper size
OUFUKU HAGAKI
Envelope size (ISO B5, Envelope DL,
Envelope C5, Envelope C4, Comm.#10,
Comm.#9, Comm.#6-3/4, MO, YOUKEI 2,
YOUKEI 4)
Other sizes

Table of Contents

Other manuals for Kyocera KM-3035

Question and Answer IconNeed help?

Do you have a question about the Kyocera KM-3035 and is the answer not in the manual?

Kyocera KM-3035 Specifications

General IconGeneral
Print TechnologyLaser
TypeMonochrome
Resolution600 x 600 dpi
Duplex PrintingYes
Scan Resolution600 x 600 dpi
FunctionsPrint, Copy, Scan
Print Speed30 ppm
Automatic Document Feeder (ADF)Yes
Copy Speed30 cpm
Reduction/Enlargement25% - 400%
ConnectivityUSB 2.0, Ethernet
Operating System CompatibilityWindows
Fax Transmission Speed33.6 kbps (Optional)

Summary

Section 1 IMPORTANT! PLEASE READ FIRST.

CAUTION LABELS

Caution labels attached to the copier for safety purposes.

INSTALLATION PRECAUTIONS

Precautions related to the environment, power supply, and handling.

PRECAUTIONS FOR USE

Cautions and recommendations for operating the copier safely.

Cautions when handling consumables

Safety advice for handling toner containers and waste toner boxes.

SAFETY OF LASER BEAM

Information and warnings regarding the laser beam used in the copier.

Section 2 NAMES OF PARTS

Operation panel

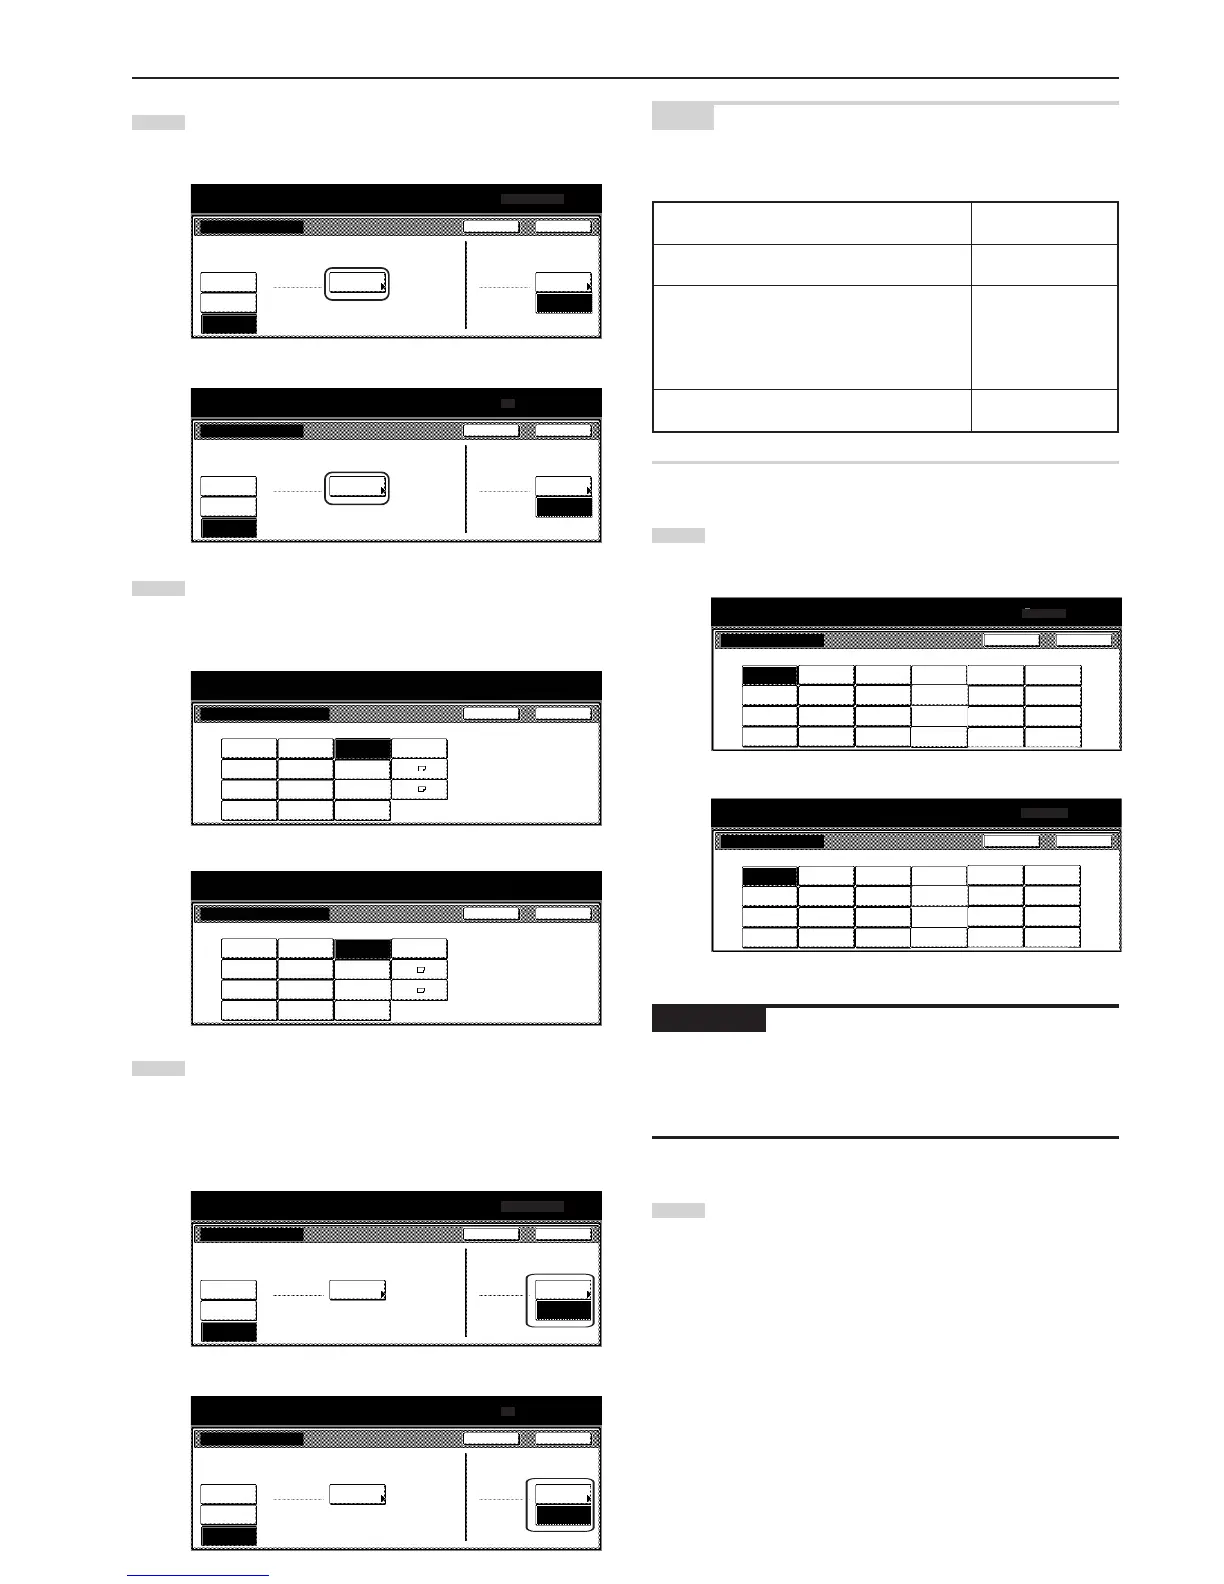
Details of the keys, lamps, and touch panel on the operation panel.

Touch panel

Overview of the touch panel interface for operating the copier.

Section 3 PREPARATIONS

Loading paper

Procedures for loading paper into the drawers and multi-bypass tray.

Loading paper into the drawer[cassette]

Step-by-step guide for loading paper into the copier's drawers.

Loading paper into the multi-bypass tray

Instructions for loading paper into the multi-bypass tray.

Section 4 BASIC OPERATION

Basic copying procedure

Step-by-step guide on how to perform a basic copy operation.

Adjusting the copy exposure

Methods for adjusting the copy exposure level manually or automatically.

Start copying

Instructions on how to initiate the copying process.

Energy-saving modes

Information on Low Power mode and Sleep mode for power saving.

Section 5 OTHER CONVENIENT FUNCTIONS

Making 2-sided copies from various types of originals [2-sided copy modes]

Creating 2-sided copies from different types of originals.

Making 2-sided copies from one-sided originals

Copying one-sided originals onto both sides of the copy paper.

Page separation/Split copy modes

Copying two-page originals onto separate sheets.

Making booklets from sheet originals [Booklet/Stitching mode]

Creating booklet formats from sheet originals with folding and stapling.

Making booklets from book originals [Book to Booklet mode]

Creating booklet formats from book originals with covers.

Automatic sorting of copy sets without the Document Finisher [Sort/Finished mode]

Automatically sorting copy sets without a document finisher.

Copying a large volume of originals in one operation [Batch scanning mode]

Scanning and copying multiple sets of originals in a single batch.

Memorizing frequently used settings [Program function]

Registering and recalling frequently used settings as programs.

Section 6 DOCUMENT AND OUTPUT MANAGEMENT FUNCTIONS

Document management functions

Functions for scanning and saving documents onto the copier's hard disk.

Output management functions

Functions for managing printing conditions via the 'Print status' screen.

Section 7 COPIER MANAGEMENT FUNCTIONS

Copy management mode

Managing copy usage by department ID-codes for tracking and control.

Copy management procedures

Overview of procedures for managing copy settings and information.

Accessing the copy management menu screen

Steps to access the copy management menu for settings adjustments.

Editing copy management information

Registering, deleting, and changing department ID-codes and restrictions.

Setting the restrictions for use

Defining restrictions on copier usage for departments based on their ID-codes.

Copying privileges ON/OFF

Enabling or disabling copying privileges for specific department ID-codes.

Printer privileges ON/OFF

Enabling or disabling printing privileges for specific department ID-codes.

Output limitation

Setting maximum copy and print limits per department ID-code.

Scanning restrictions

Setting maximum scan limits per department ID-code.

Fax transmission restrictions

Setting maximum fax transmission limits per department ID-code.

Copying restrictions

Setting maximum copy limits per department ID-code.

Printing restrictions

Setting maximum printout limits per department ID-code.

Delete department ID-codes

Procedure to delete registered department ID-codes.

Change registered information

Changing department names or ID-codes for registered departments.

Change restrictions for use

Modifying usage restrictions for departments based on their ID-codes.

Response to exceeded restriction

Determining action when department ID-code exceeds its limit.

Changing the management code

Changing the management code for copy manager access.

Section 8 OPTIONAL EQUIPMENT

Clearing a staple jam

Steps to remove jammed staples from the stapling unit.

Section 9 TROUBLESHOOTING

If one of the following messages is displayed

Troubleshooting common error messages and their solutions.

If one of these indicators lights or flashes

Troubleshooting based on copier indicator lights or flashes.

When paper misfeeds

Procedures to remove jammed paper from various parts of the copier.

Misfeed in Document Processor (optional) (JAM 70 to 76)

Procedure to remove misfed originals from the document processor.

Misfeed in Built-in Finisher (optional) (JAM 80 to 84)

Procedure to remove misfed paper from the built-in finisher.

If other trouble occurs

Troubleshooting common issues by checking checkpoints and procedures.

Section 10 MAINTENANCE AND OPERATION INFORMATION

Replacing the toner container and waste toner box

Steps for replacing toner and waste toner, including cleaning related parts.

Specifications

Technical specifications of the copier, including dimensions and performance.

Related product manuals