EasyManuals Logo

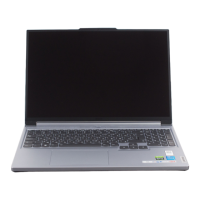
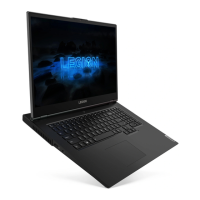
Lenovo Legion Pro 5 16IRX8 User Manual

Lenovo Legion Pro 5 16IRX8
72 pages
To Next Page IconTo Next Page
To Previous Page IconTo Previous Page
Page #42 background imageLoading...
Page #42 background image
Step 1. Disconnect the battery pack cable from the system board. Remove three screws and then remove
the right SSD bracket.
Attention: Use your fingernail to pull the connector to unplug it. Do not pull the cable.
Figure 13. Remove the right SSD bracket
Screw specifications Number of screws
M2 × L5.0 3
Go to
https://support.lenovo.com/partslookup to look up the Lenovo part numbers of the following
replacement part:
Right SSD bracket
Remove the right 2242 SSD (for selected models)
Make sure the following FRUs (CRUs) have been removed.
“Remove the lower case” on page 28
“Remove the right SSD bracket” on page 35
Step 1. Remove one screw and then remove the right 2242 SSD.
36
Lenovo Legion Pro 5i (16, 8) and Lenovo Legion Pro 5 (16, 8) Hardware Maintenance Manual

Table of Contents

Questions and Answers:

Question and Answer IconNeed help?

Do you have a question about the Lenovo Legion Pro 5 16IRX8 and is the answer not in the manual?

Lenovo Legion Pro 5 16IRX8 Specifications

General IconGeneral
Battery80Wh
WirelessWi-Fi 6E, Bluetooth 5.1
ProcessorUp to Intel Core i9-13900HX
GraphicsNVIDIA GeForce RTX 4070
Display16" WQXGA (2560x1600)
RAMUp to 32GB DDR5
Operating SystemWindows 11 Pro
Weight2.5 kg
Audio2 x 2W Harman Speakers, Nahimic Audio
Ports3x USB-A, 1x HDMI 2.1, 1x RJ45, 1x 3.5mm audio jack

Related product manuals