7.Slidethenewhot-swapstoragedriveintothedrivebayfromthefrontuntilitsnapsintoposition,
andthencompletelyclosethehandle.
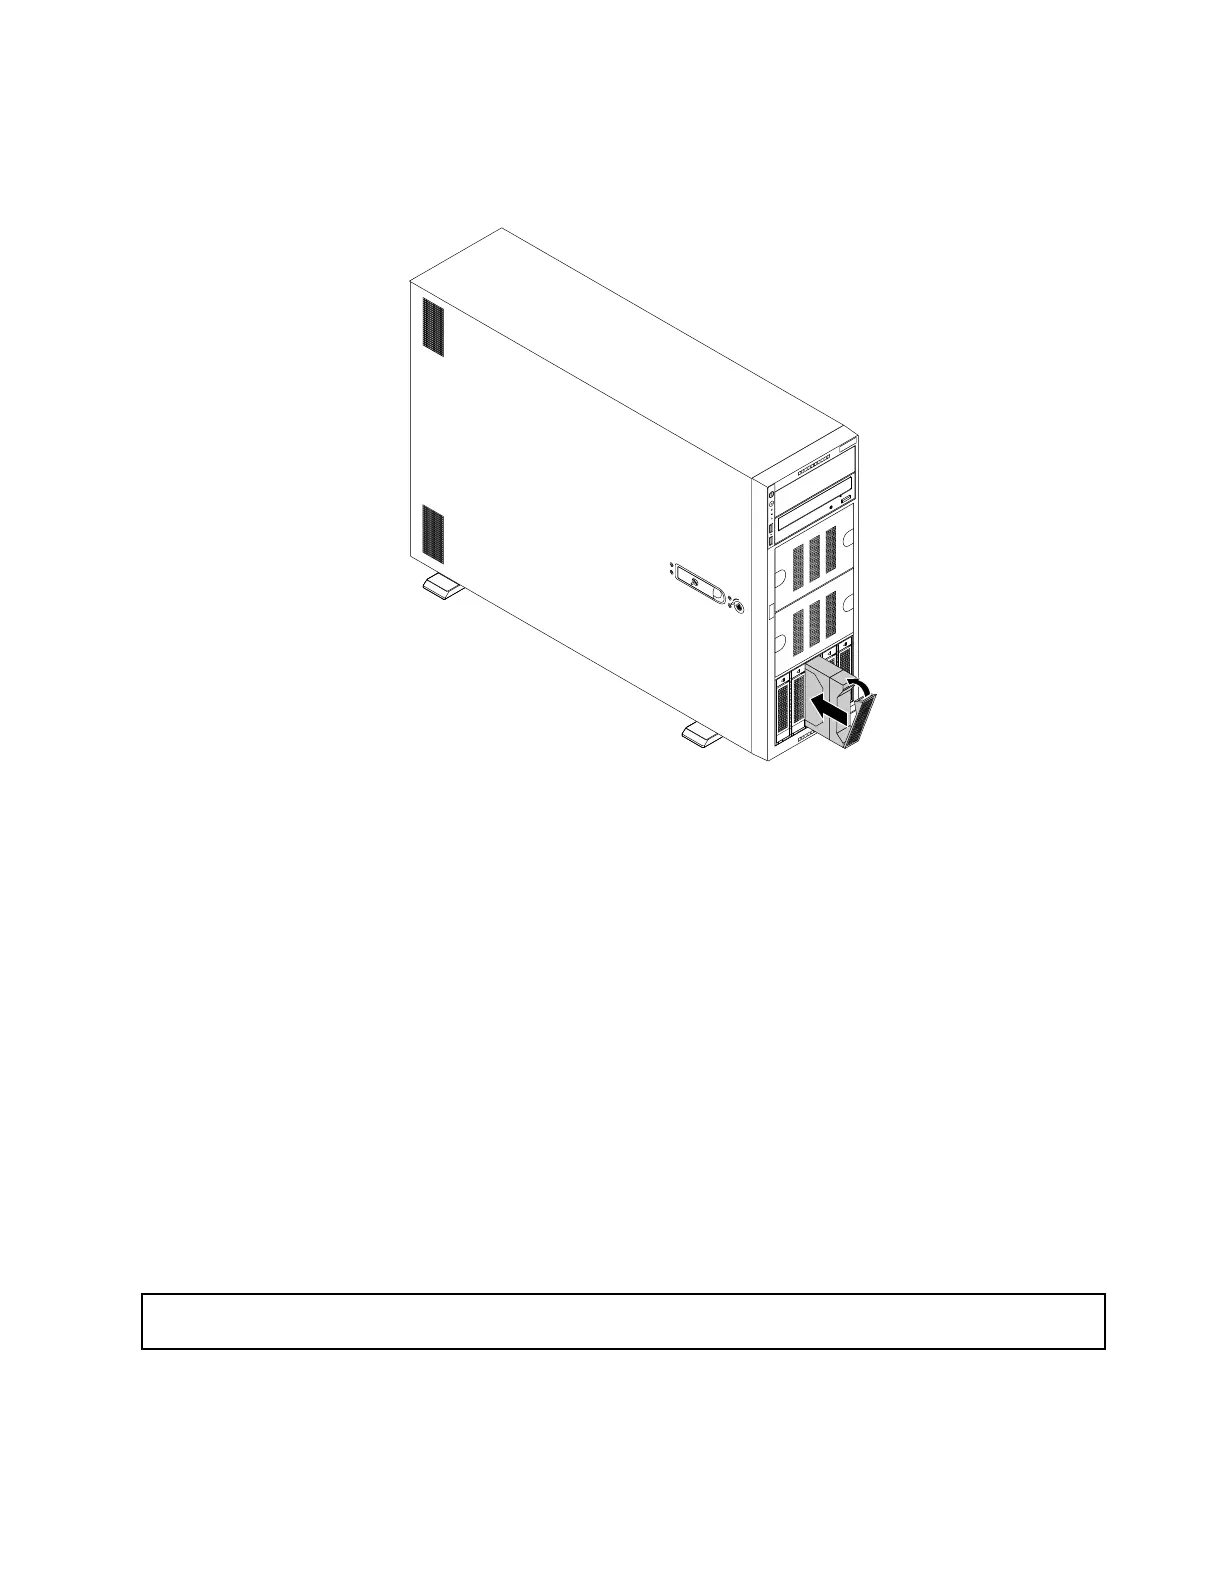
Figure89.Installingthehot-swapstoragedrive
8.Checkthehot-swap-drivestatusLEDstoensurethatthestoragedriveisoperatingcorrectly.Youmight
havetorestarttheserverforthenewly-installedstoragedrivetoberecognized.See“Hot-swap-drive
LEDs”onpage30.Ifthestoragedriveisfaulty,reinstallorreplaceituntilitisoperatingcorrectly.
9.Closethefrontdoor(ifavailable).
10.Dooneofthefollowing:
•Ifyouareinstallingahot-swapstoragedrive,savetheremoveddummystorage-drivetrayinthe
eventthatyoulaterremovethehot-swapstoragedriveandneedadummytraytocoverthedrivebay.
•Ifyouarereplacingahot-swapstoragedriveandareinstructedtoreturntheoldhot-swapstorage
drive,followallpackaginginstructionsanduseanypackagingmaterialsthataresuppliedtoyou
forshipping.
Whattodonext:
•Toworkwithanotherpieceofhardware,gototheappropriatesection.
•ToconfigureRAID,goto“ConfiguringRAID”onpage65
.
Installingorreplacinganeasy-swapdrive
Attention:Donotopenyourserverorattemptanyrepairbeforereadingandunderstanding“Readthisfirst:safety
information”onpageiiiand“Guidelines”onpage69.
Thistopicappliesonlytoservermodelsthathaveeasy-swapdrivesinstalled.See“Features”onpage7for
informationaboutthesupportedeasy-swapdrives.
Chapter6.Replacinghardware131
 Loading...