DIRECT FUEL INJECTION
90-855347R1 JANUARY 1999 Page 3B-43
Fuel Rail Cleaning
After all fuel injectors, air regulator, tracker valve, fuel regulator, inlet hoses and outlet
hoses have been removed, the fuel rails may be flushed out with a suitable parts cleaning
solvent. Use compressed air to remove any remaining solvent.
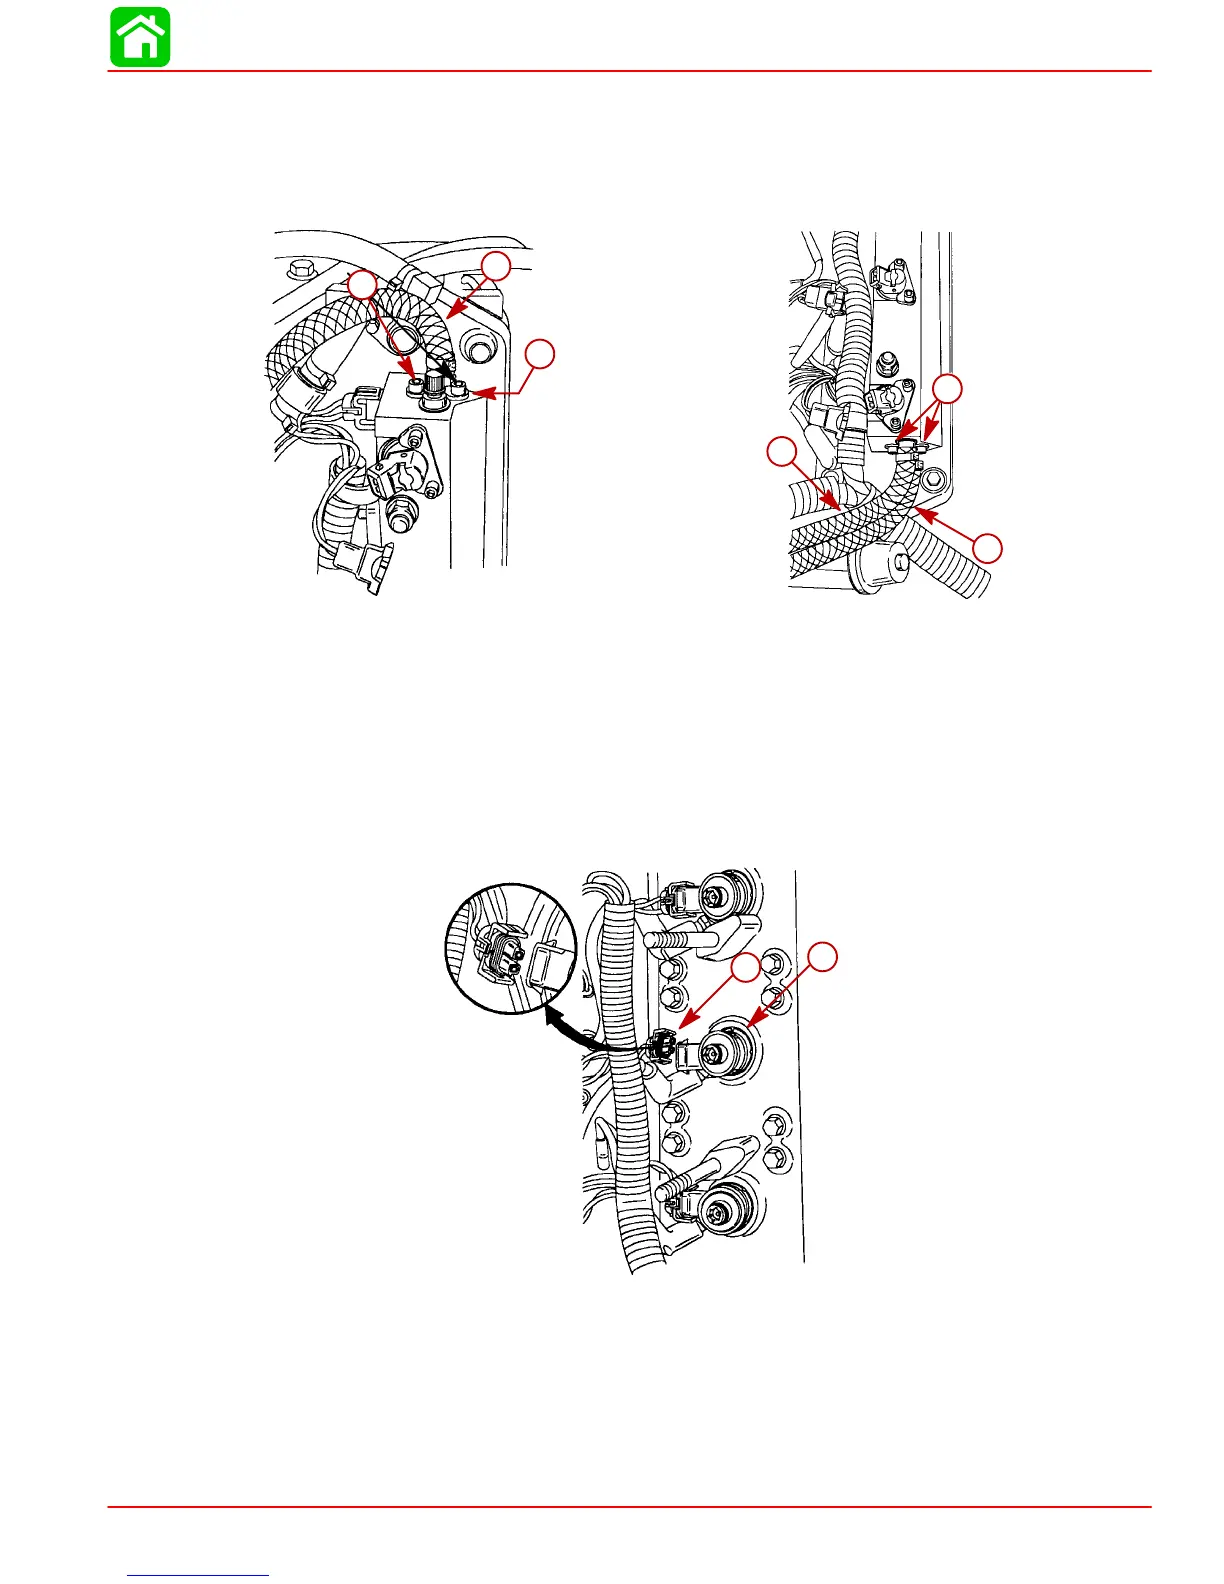
56140
c
d
e
f
c
a
b
a
b
c
Top Fuel Rail Connections Bottom Fuel Rail Connections
a-Air Hose
b-Retainer
c-Allen Screws (remove)
d-Air Hose
e-Fuel Hose
f-Allen Screws
Direct Injector Removal
1. Remove harness connectors from direct injectors.
2. Remove direct injector from cylinder head
56138
a
b
a
b
a-Direct Injector (3 each cylinder head)
b-Harness Connector
3. Inspect injector teflon sealing ring (white) for signs of combustion blowby (teflon ring
will be streaked brownish black). If blowby is present, replace teflon sealing ring. If
blowby is not present, sealing ring may be reused.
4. Inspect O-rings and cork gasket for cuts or abrasions. Replace components as re-
quired.
 Loading...