Section 2 - Initial Screens and Setup Wizard
Page 8 90-8M0087257 eng DECEMBER 2014
Initial Startup
VesselView 4 must be programed for the vessel personality. The vessel personality can be created by three different methods:
with Mercury Marine G3, a micro SD card the OEM has saved the data to, or through the onboard menu system. The vessel
personality may include, but is not limited to: the number of engines, the number of helms, the number and type of tanks, and
the type of sensors installed on the vessel.
• If a personality has been loaded with G3 or a micro SD card, and it is a single‑display installation, then no setup or
installation dialog is required.
• When multiple VesselView displays are installed, these devices will be self‑discovered. A pop‑up will appear informing that
multiple devices are installed. The station and display number must be selected through on‑screen prompts.
• If a personality has never been loaded into the product, then VesselView will use the default setup based on what is
discovered by querying the SmartCraft protocol for engine and type of drive. Further customization can be performed with
the onboard menu system.
Splash Screen
When the ignition key is turn on, a Mercury startup splash screen will appear. The number of engine hours will be displayed for
up to 2 engines. The number of hours is supported up to 9,999 hours. In the lower right hand corner of the screen is the
software version. Power packages with emissions control will show an engine icon in the lower left hand corner of the screen.
Mercury splash screen
Setup Wizard
IMPORTANT: Do not rush VesselView by pressing buttons while the system is booting up to acquire vessel and engine data.
When VesselView is initially started or after a factory reset, the system will take a few seconds to complete the boot up
process.
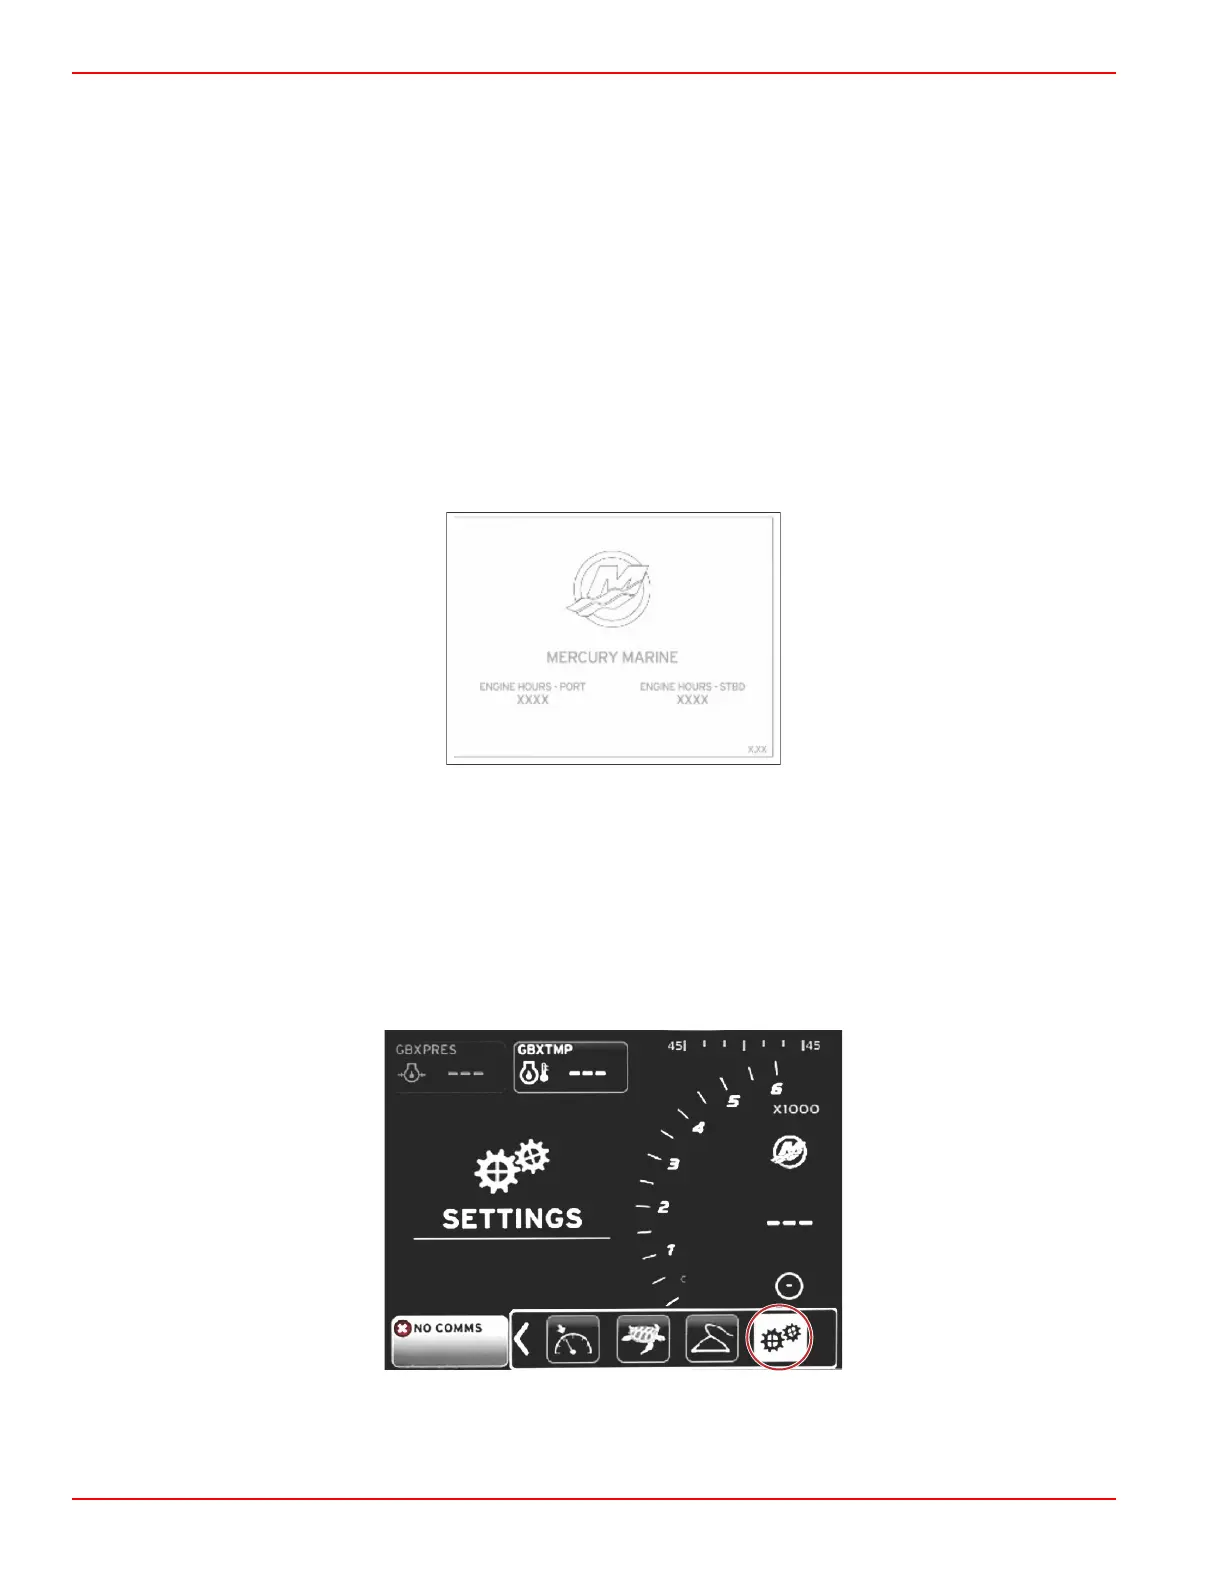
The VesselView setup wizard guides you through the first steps of configuring the VesselView. The setup wizard can be
accessed at any time through the SETTINGS icon in the scroller menu. Press the PAGES button and RIGHT ARROW to the
SETTINGS icon.
 Loading...