Image Control and Adjustment
6-5
1 For real-time B images, enter the [B MODE MENU] menu.
For real-time M images, enter the [M MODE MENU] menu.
For frozen or cine images, or opened FRM/CIN files, enter the [FREEZE MENU]
menu.
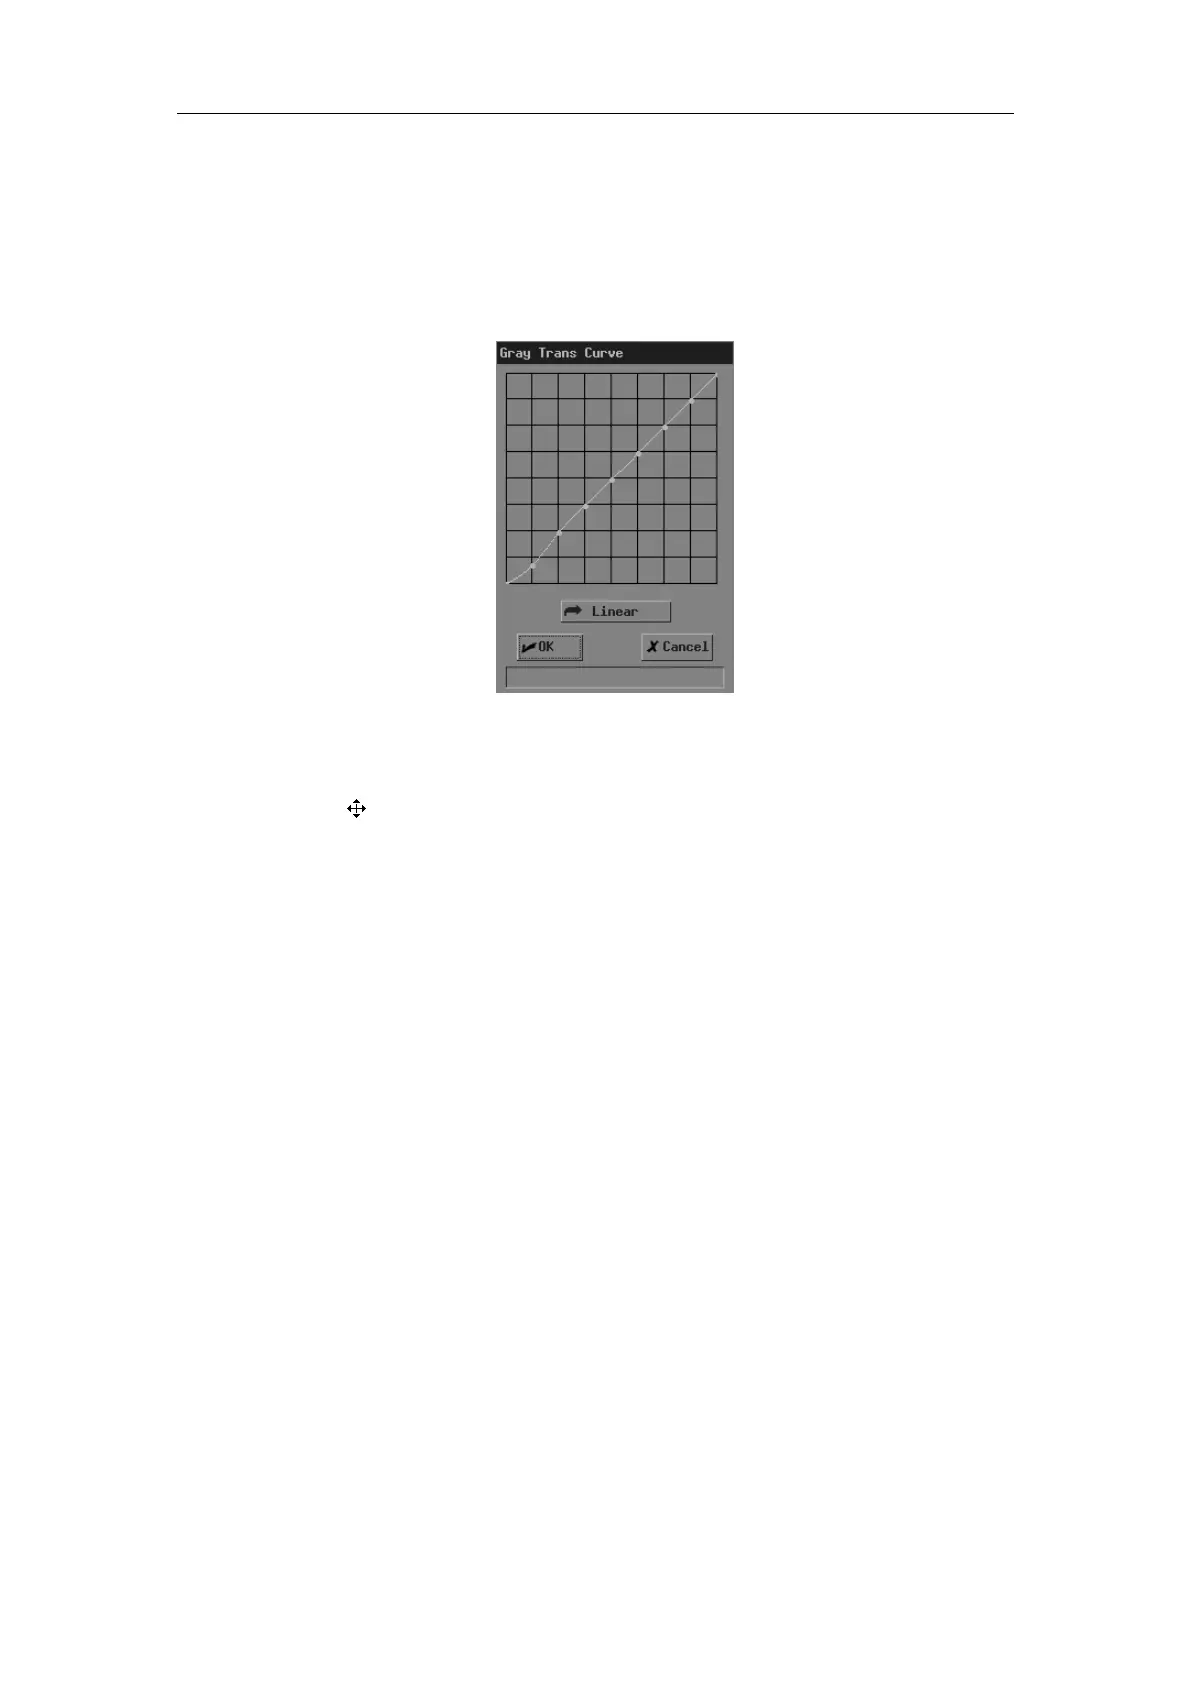
2 Select [Curve] in [Post Proc] or [B Post Proc] or [M Post Proc]. The [Gray Trans Curve]
dialog box pops up.
During the adjustment, if necessary, you can click [Linear] in the dialog box to set the
curve to a 45° straight line.
3
Move the cursor to the node “•" you want on the gray scale curve and the cursor
changes to “
”. Press <Set>.
4
Move the trackball and “•” moves with it. Move “•” to the position you want.
5
If you want to place “•” in the current position, press <Set>; if you want to cancel
the operation to “•” and restore it to its original position, click <Back>.
6 If you want to move another node, return to the step 3.
7 If you want to save the setting, click [OK]; if you want to abandon the setting and
restore the curve to the shape before adjustment, click [Cancel] or press <Esc>.
Gray rejection
The gray rejection rejects image signals lower than some gray scale.
To adjust the gray rejection curve,
1 For real-time B images, enter the [B MODE MENU] menu.
For real-time M images, enter the [M MODE MENU] menu.
For frozen or cine images, or opened FRM/CIN files, enter the [FREEZE MENU]
menu.
 Loading...


