File System
11-2
1 Freeze the image. If necessary, review images until the image to be saved is displayed
on the screen.
2 Press <File> and the [FILE MENU] menu is displayed (if no menu is displayed, press
<Menu>).
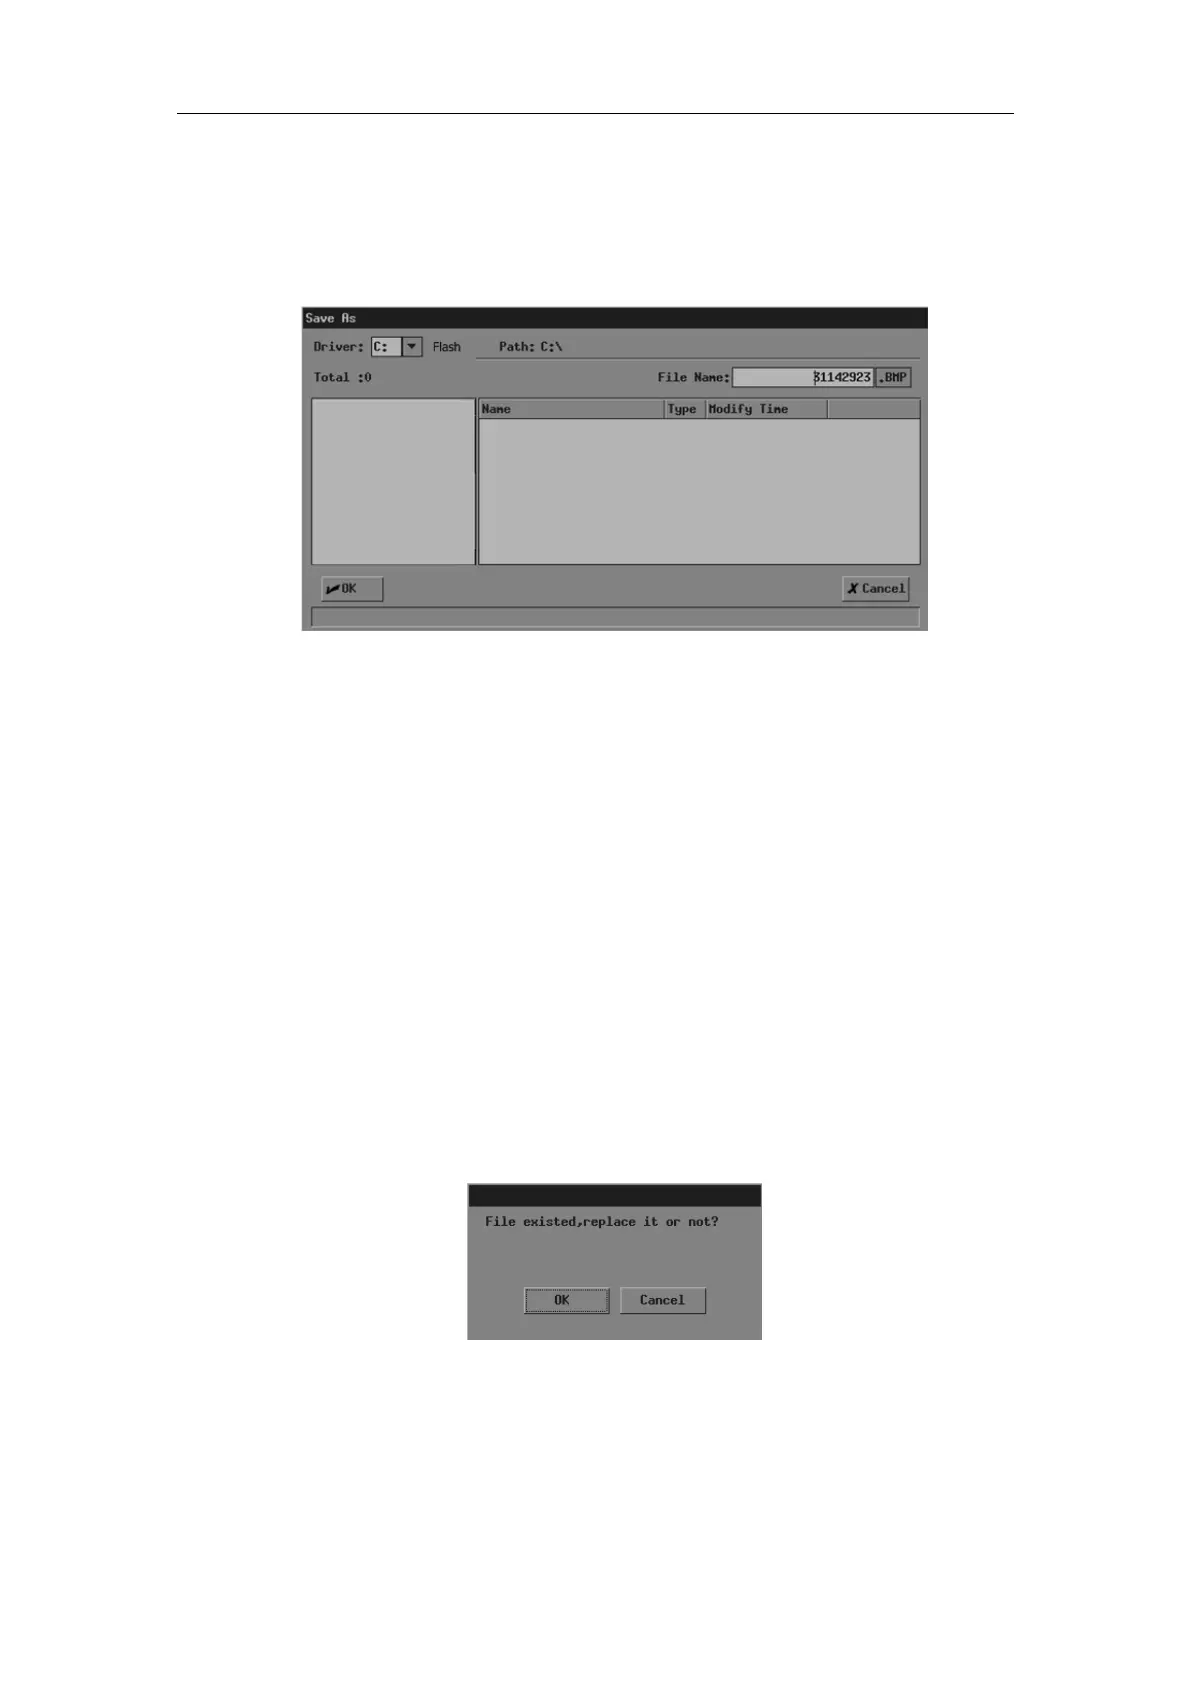
3 In the [FILE MENU] menu, click [Save BMP]. The [Save As] dialog box pops up.
In the dialog box, the default directory to save the file and the default file name are
displayed.
4 If you want to change the directory to save the file, perform the following steps.
(1) Select the driver in [Driver:]. The Flash memory in the system is the driver C,
and the remaining driver(s) belong(s) to the USB storage device if a USB
storage device is connected.
(2) If the USB storage device is selected in the previous step, move the cursor onto
the item you want in the directory list and then press <Set> twice successively
to enter the directory. If you want to return to the parent directory, move the
cursor onto [..] and then press <Set> twice successively.
5 If you want to modify the file name, input the new file name in [File Name:]. The file
type (BMP) cannot be modified.
If you want to replace an existing file, move the cursor onto the file in the file list and
then press <Set>.
6 If you want to save the current screen information, click [OK]; if you want to save
nothing, click [Cancel] or press <Esc>.
If you have selected to replace an existing file, the following dialog box pops up.
If you want to replace the existing file with the current image, click [OK]; if you do not
want to replace the existing file, click [Cancel] and the current image is not saved.
11.3 Opening Files
You can open and browse the image files in a storage device.
 Loading...


